
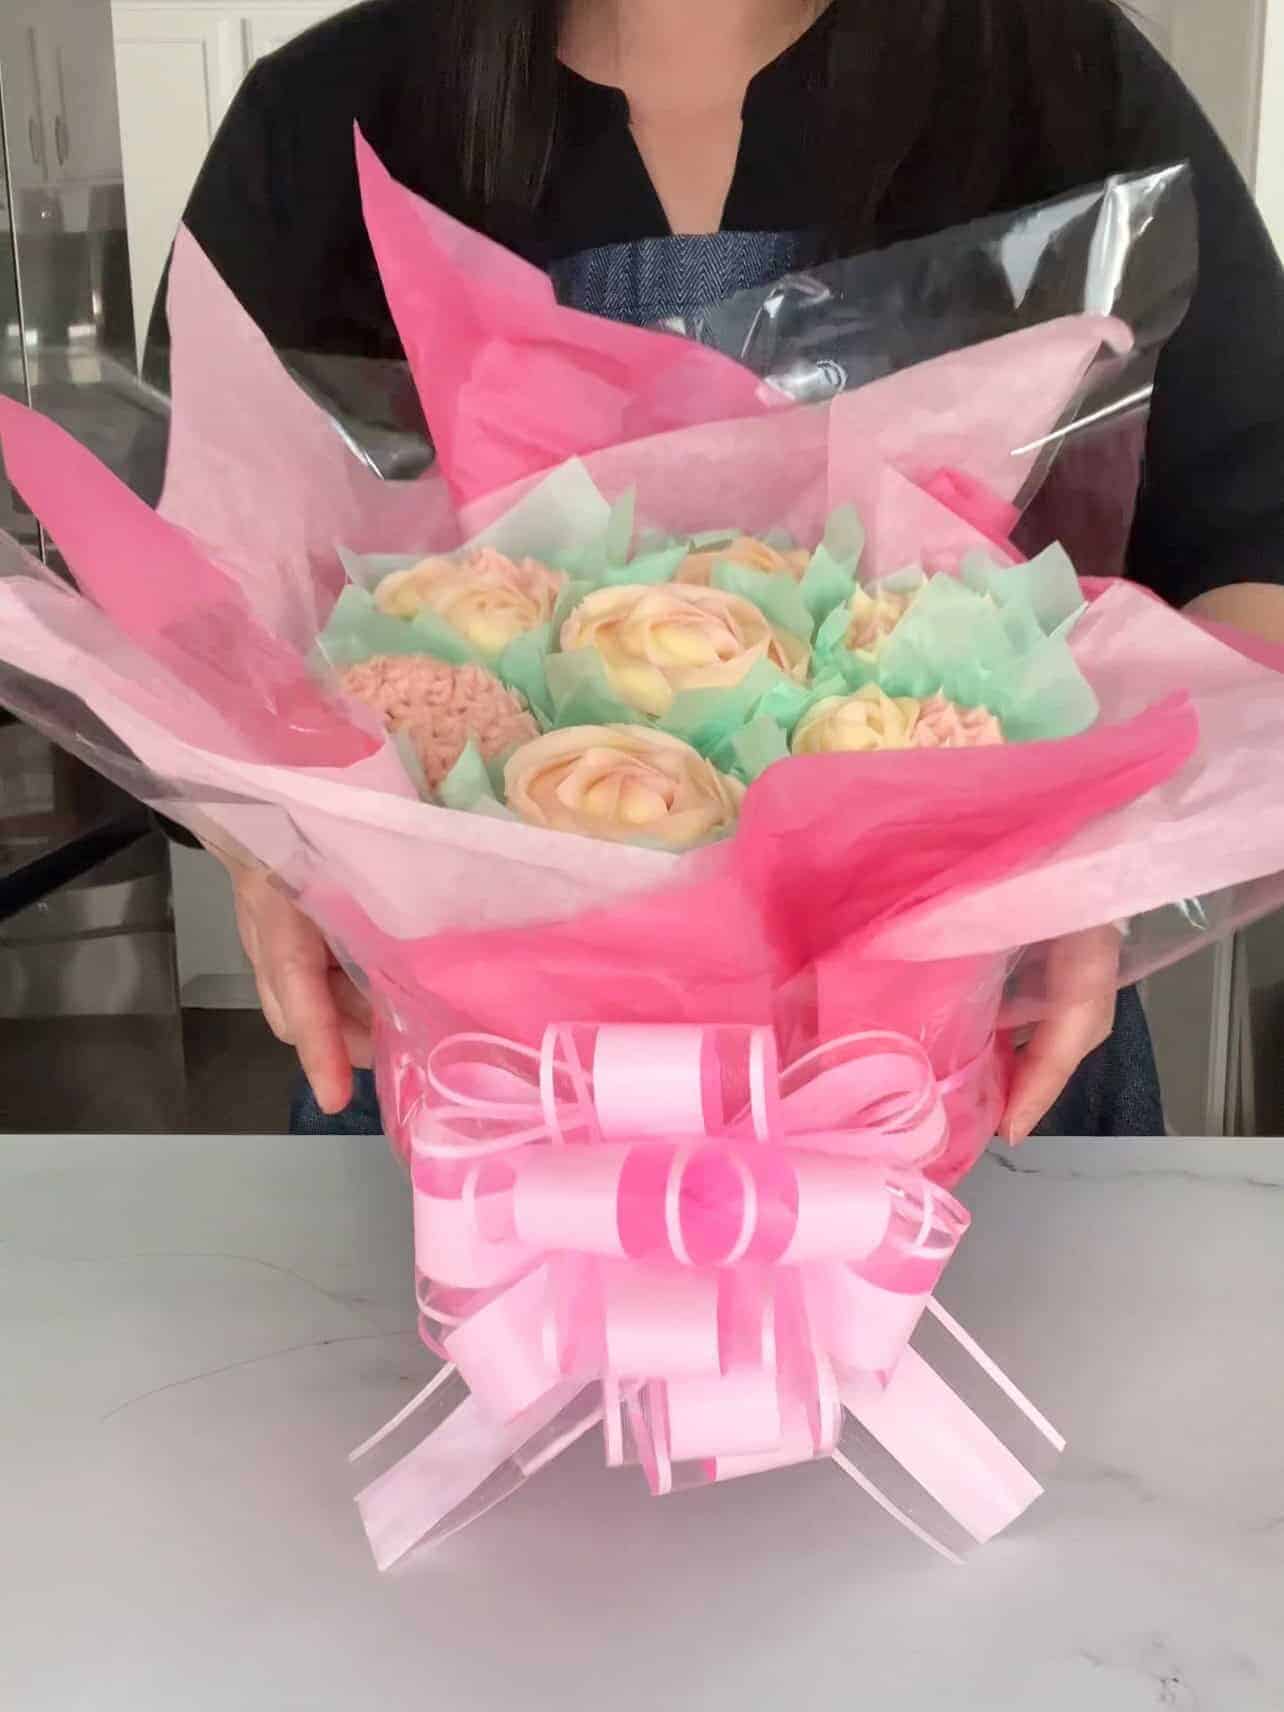
Learning How To Make A Cupcake Bouquet has never been easier, and so much fun! Get ready to turn your cupcakes into a gorgeous gift using just a few simple supplies - disposable cups, a cake board, tissue paper, and a little cellophane magic. Top it off with a big bow, and you’ve got a beautiful edible arrangement that’s perfect for Mother’s Day, birthdays, teacher gifts, or any celebration that deserves something sweet and special. Don’t worry - it’s WAY easier than it looks, and I’ll walk you through each step so you can create your own bakery-worthy bouquet at home!
Now here is the fun part - how will you make it your own beautiful bouquet creation? Use your favorite cupcake flavors, go wild with frosting colors, and have fun playing "florist" with your piping tips.
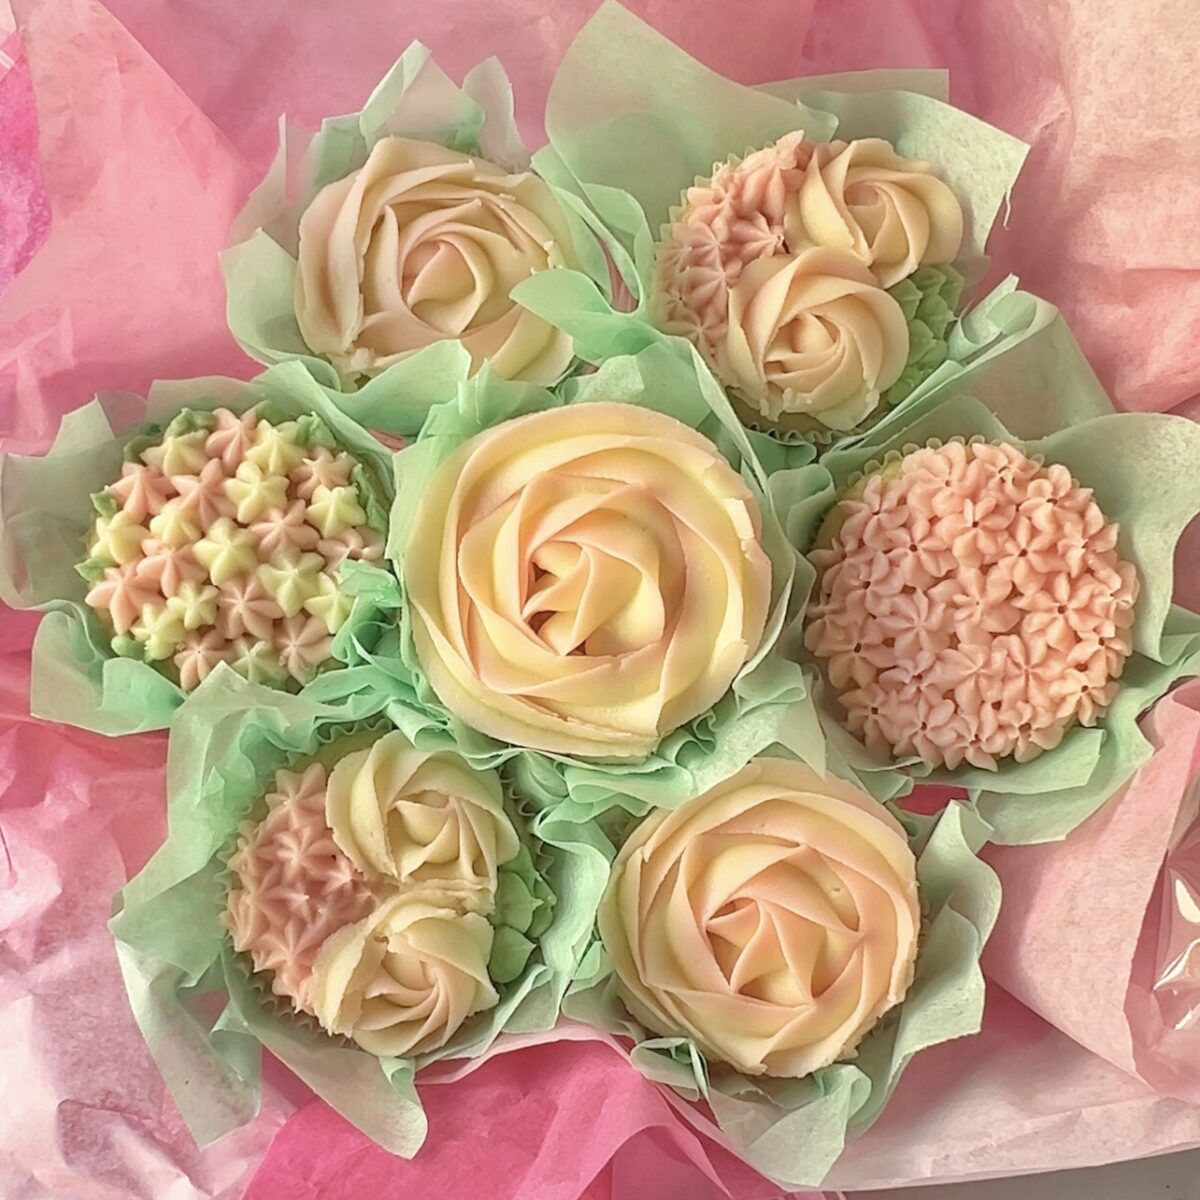
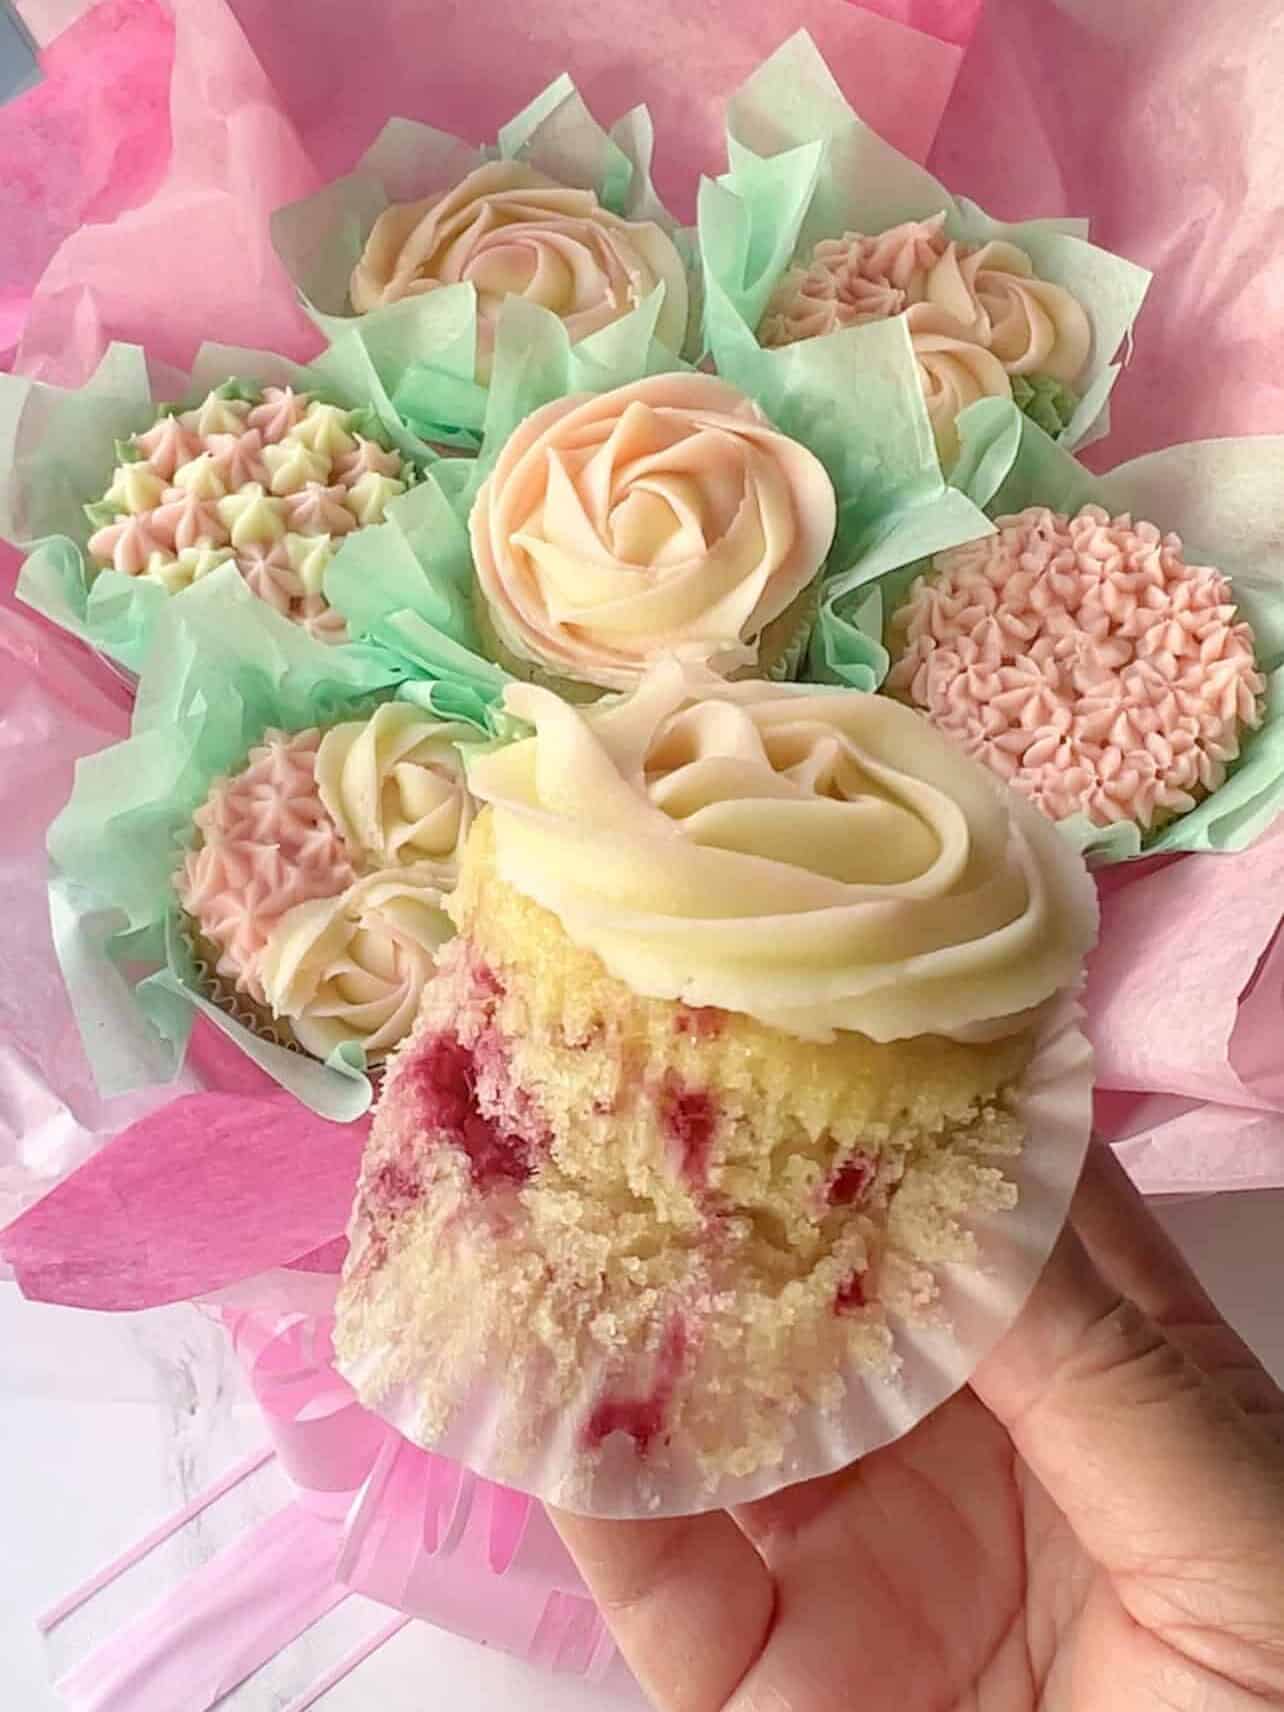
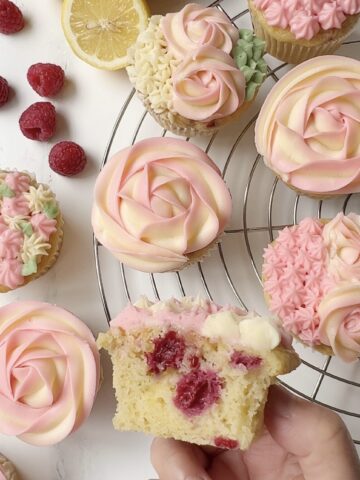
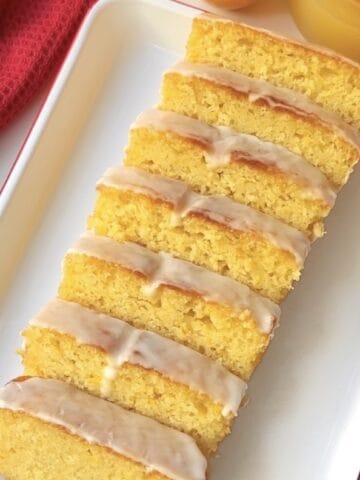
I made this bouquet using my Lemon Raspberry Cupcakes with Lemon Cream Cheese Frosting because who doesn’t love a little sweet-meets-tangy treat? But seriously, anything goes! Whether you’re all about pastels, neon brights, or matching a party theme, this is your chance to get creative and whip up a bouquet that’s as fun to make as it is to eat.
Jump to:
What You'll Need
- 7 - baked and floral-decorated cupcakes: Any flavor - I highly recommend trying my Lemon Raspberry Cupcake with Lemon Cream Cheese Frosting recipe!
- 7 - disposable cups: Use any plain paper or plastic cups - they will be covered by the cellophane and tissue paper. If you're using standard-size cupcakes, the cup diameter should be close to 2¾-inch (7cm) across. If you're using jumbo-size cupcakes, you will need to adjust to bigger cups.
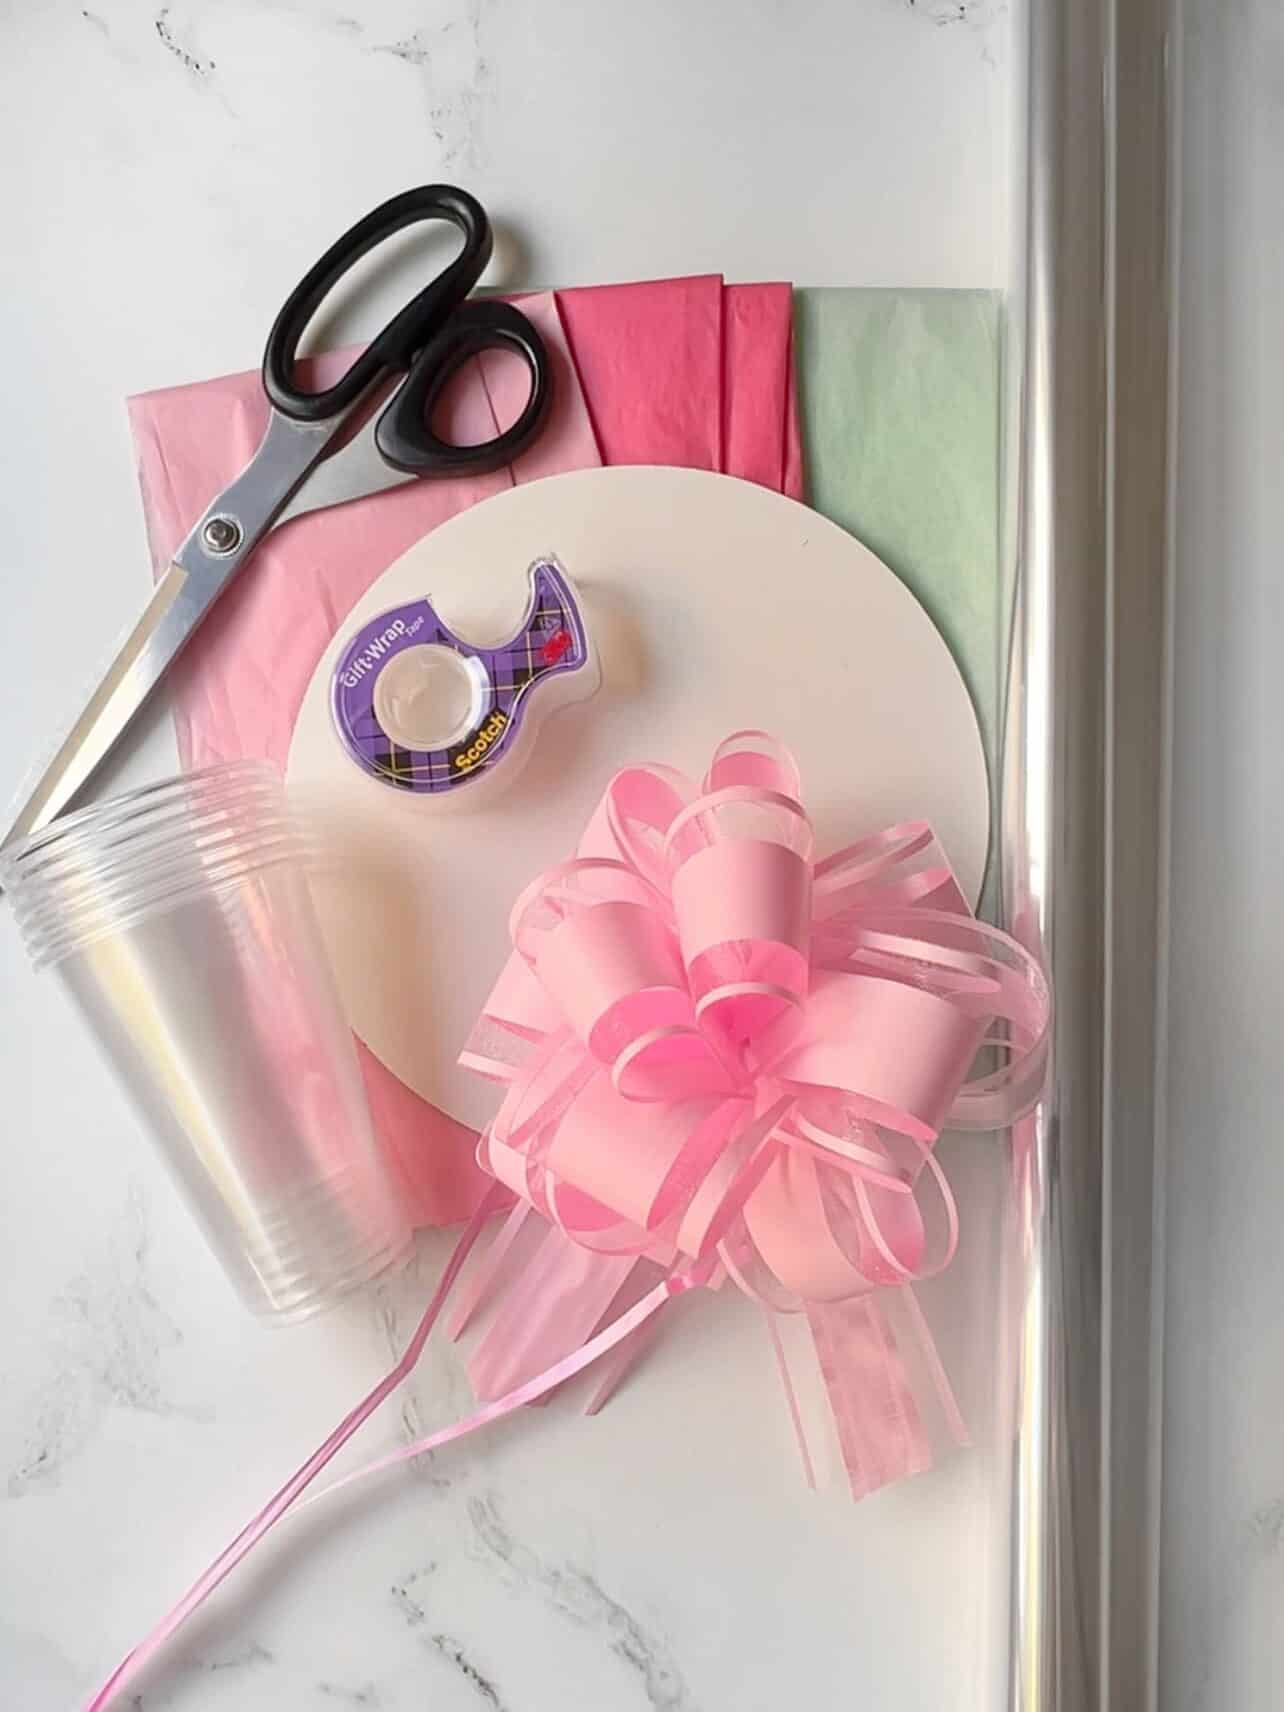
- 8-inch round cake board (20cm): Or anything similar to provide a sturdy base for your bouquet.
- Gift tissue paper sheets: Use any color or paper beige - you can find some packages with a variety of colors. We will use this as the bouquet wrap and I highly recommend grabbing green tissue paper to cut into 5-inch squares. These make the perfect individual cupcake wrappers. They add a great touch to resemble flower "leaves", plus they make it easy to grab each cupcake. This tissue paper can usually be found in stores in the gift wrapping aisle.
- Clear cellophane: Since my tissue paper was precut into 20-inch squares (50cm), I unrolled this cellophane and cut it into a 22-inch (55cm) square.
- Gift bow: Optional, but highly recommend to add the final bouquet touch. These large pull gift bows I bought on Amazon were gorgeous!
- Scissors.
- Scotch tape.
Assembly
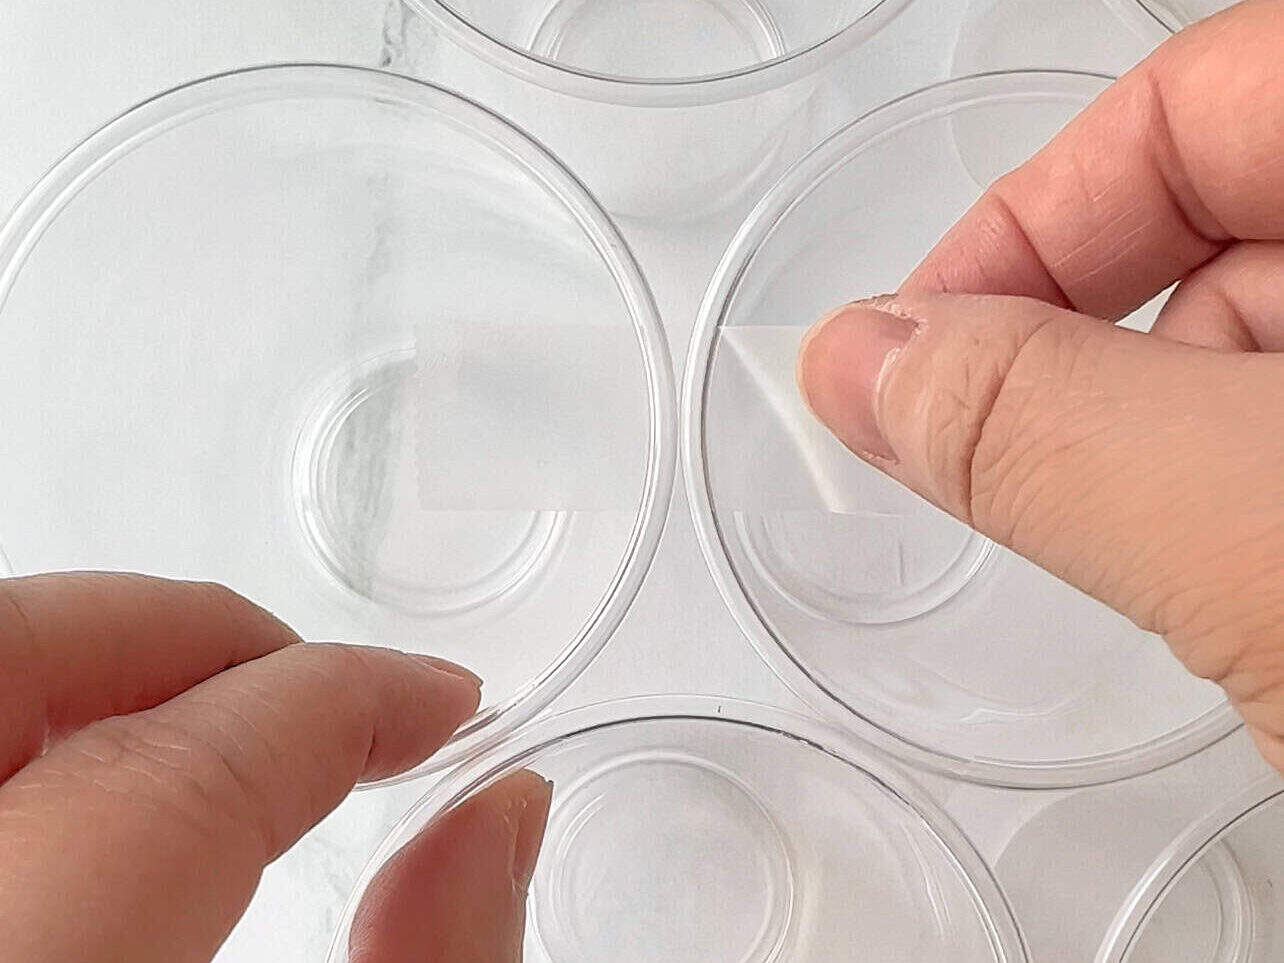
Slice 12 pieces of tape 1-1½-inch (2-3cm) long. Have the pieces ready to tape cups together. TIP: Have your cupcakes chilling or freezing while you assemble the bouquet. Freshly decorated cupcakes are hard to place into the bouquet as the frosting has not had enough time to set.
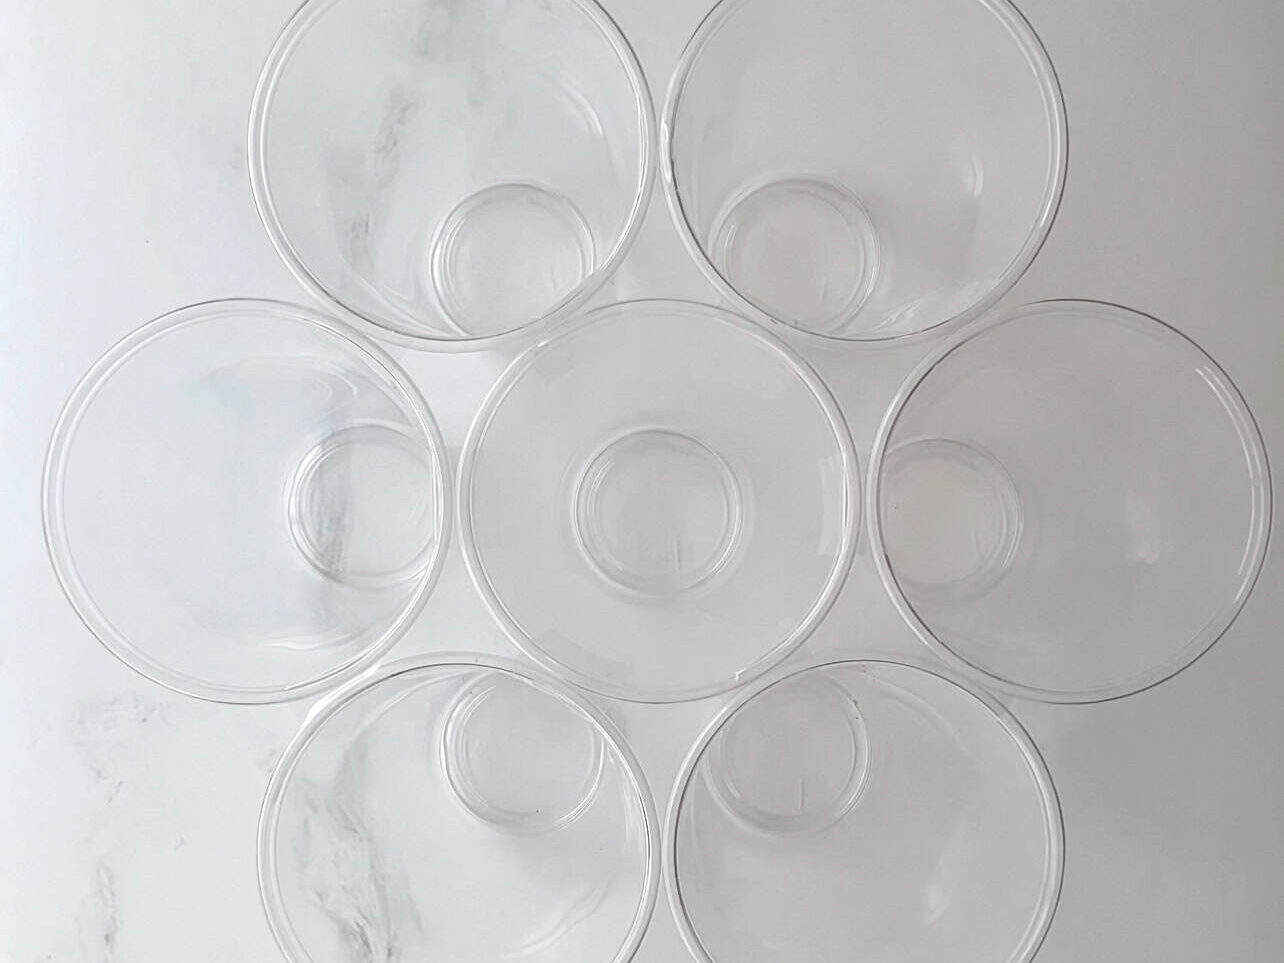
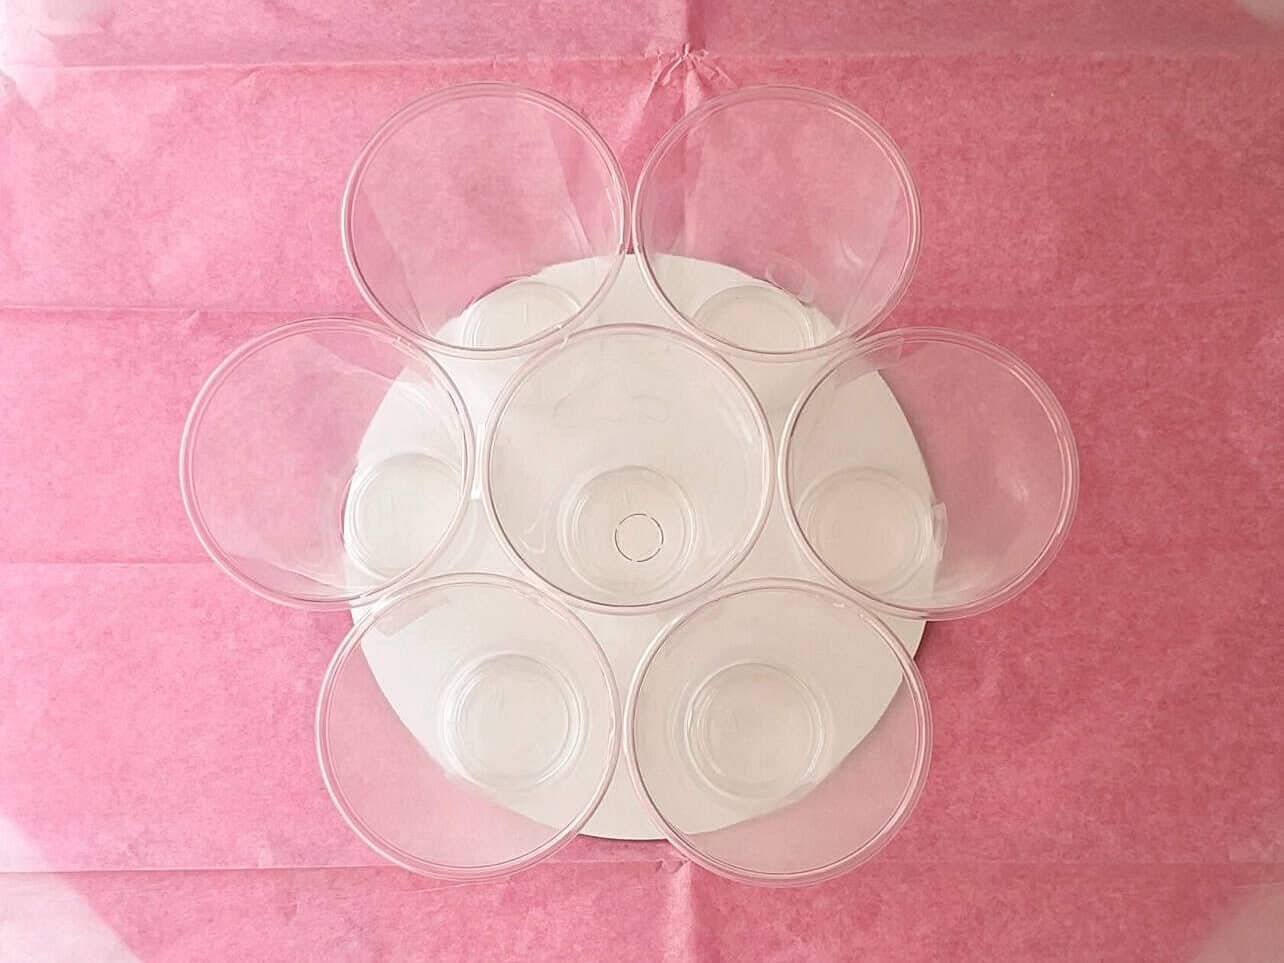
Tape cups together in a "2-3-2" design as shown above.
Place cups on white side of cake board and secure down with tape.
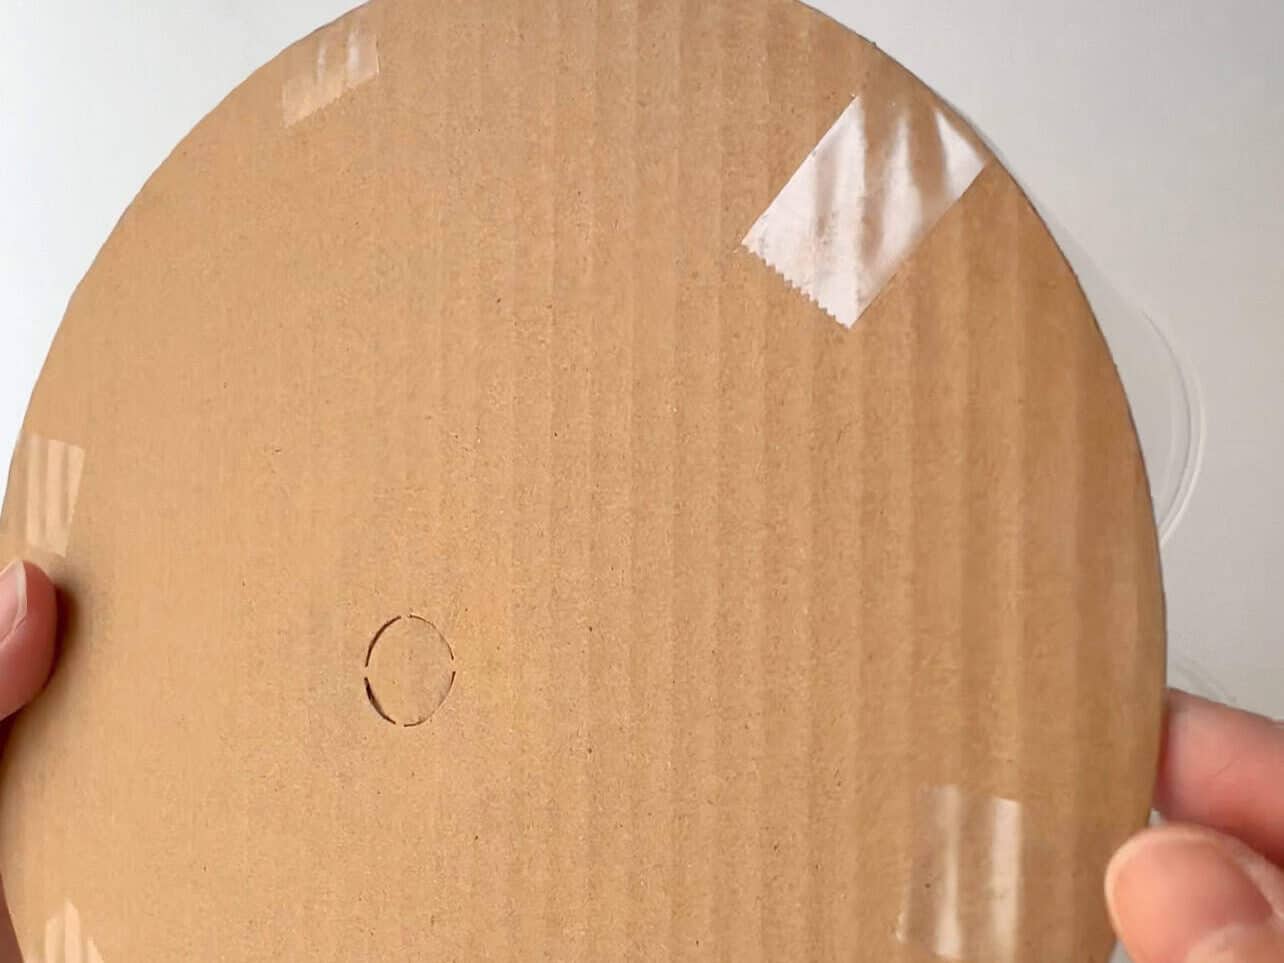
If your cake board has a cardboard side, it should be facing down.
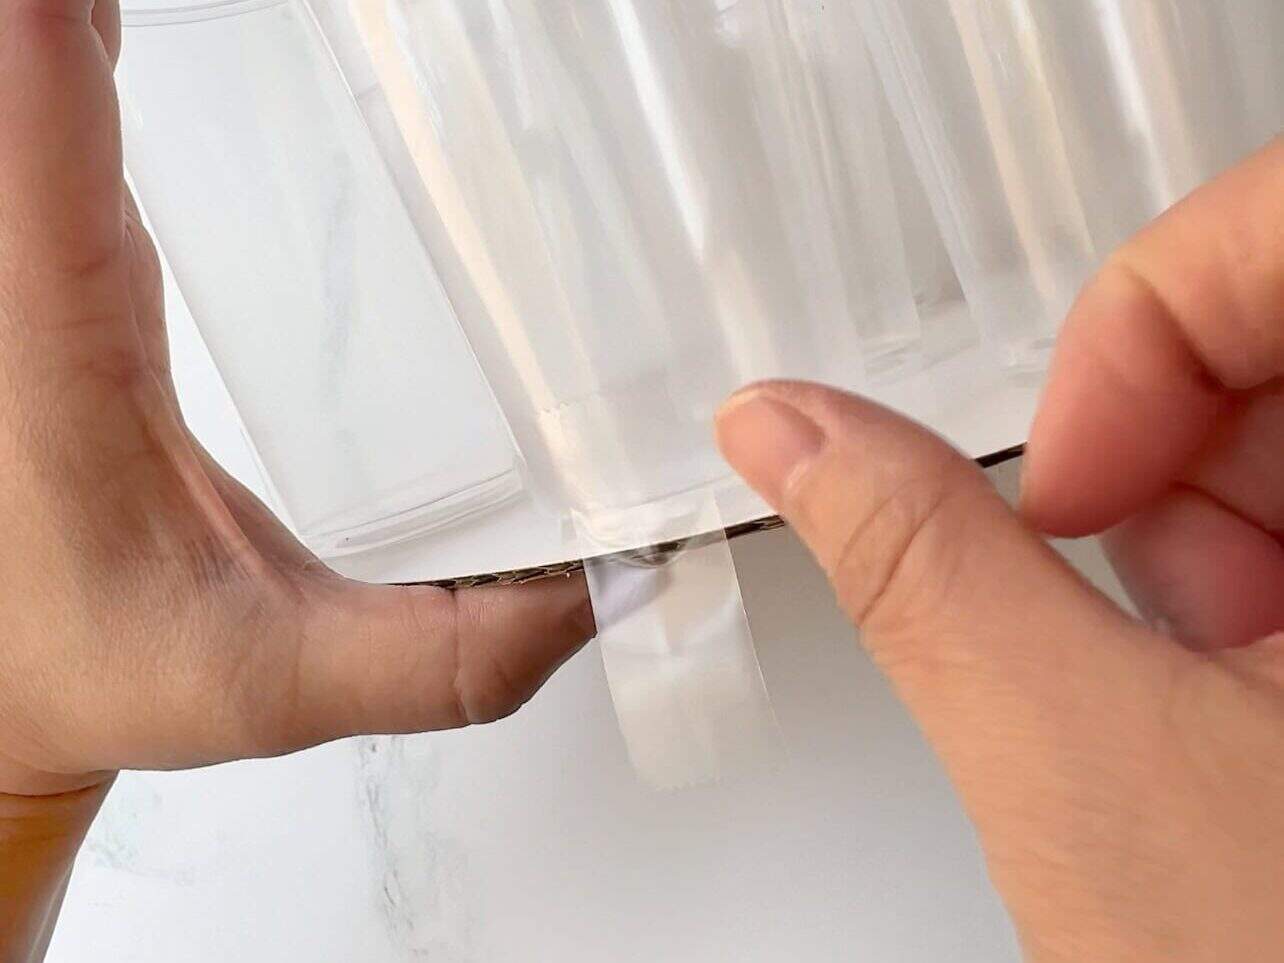
Cut your clear cellophane to size. Lay down the cellophane, then tissue paper, then the cups/board. Tape the cake board to the tissue paper to keep it center.
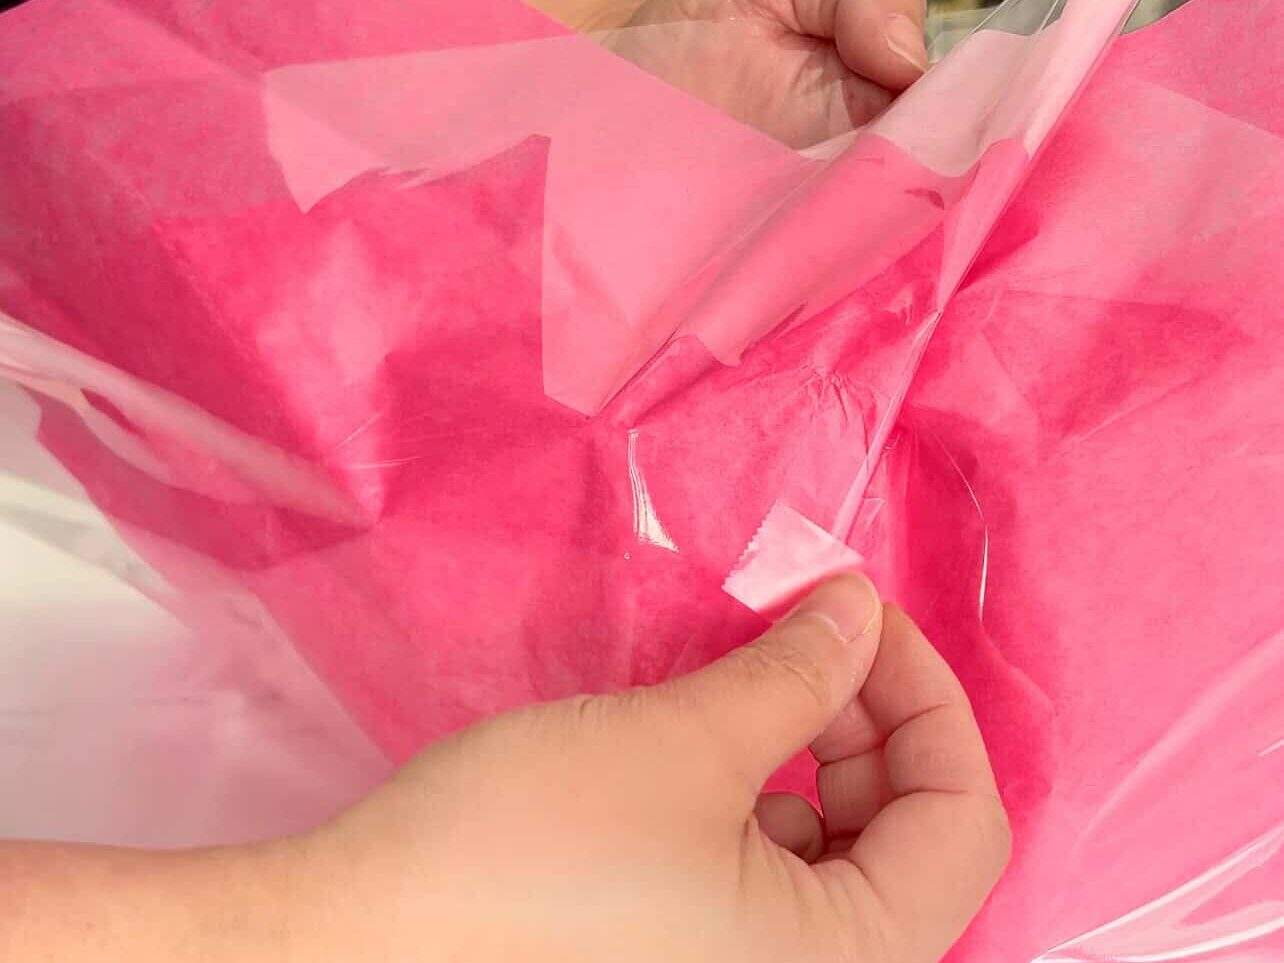
Cut approx 6-7 additional pieces of tape and have it ready. Then gather the cellophane/tissue paper and fold into a crease and tape it securely to tighten the bottom half of the bouquet. These folds resemble how you would fold/crease your flat bed sheet at each bed corner.
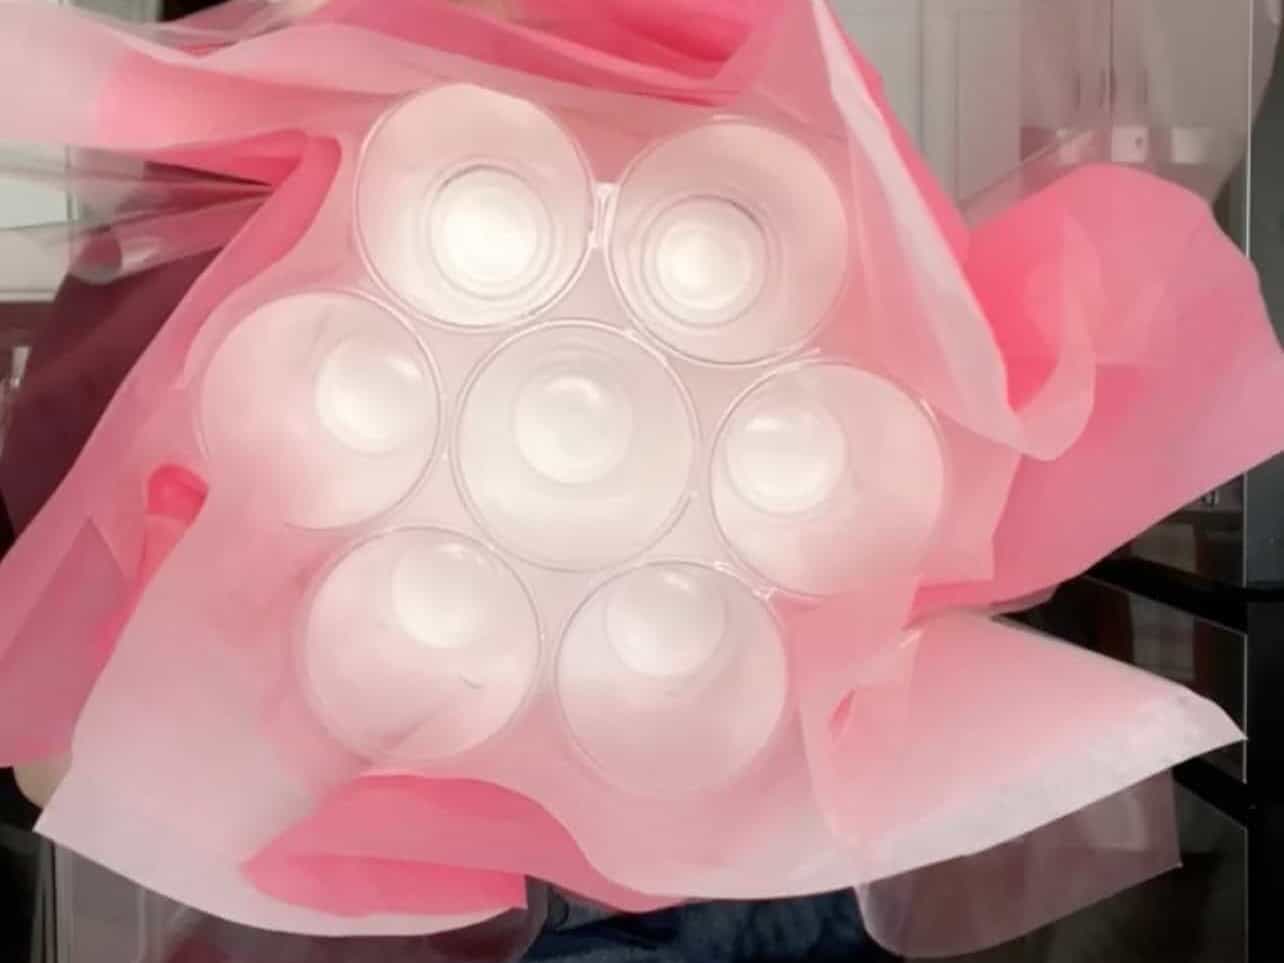
This is how it looks from the top. The cellophane/tissue paper points will be pointing up in various directions. Try to attempt something similar to resemble a true flower bouquet arrangement.

Cut green tissue paper into 5-inch squares (12.7cm) to use as decorative cupcake liners. I find t's the perfect size to hide the cup rims. I used 2-3 squares for each cupcakes since they were very thin. They add a great touch to resemble flower "leaves", plus they make it easy to grab each cupcake while serving.
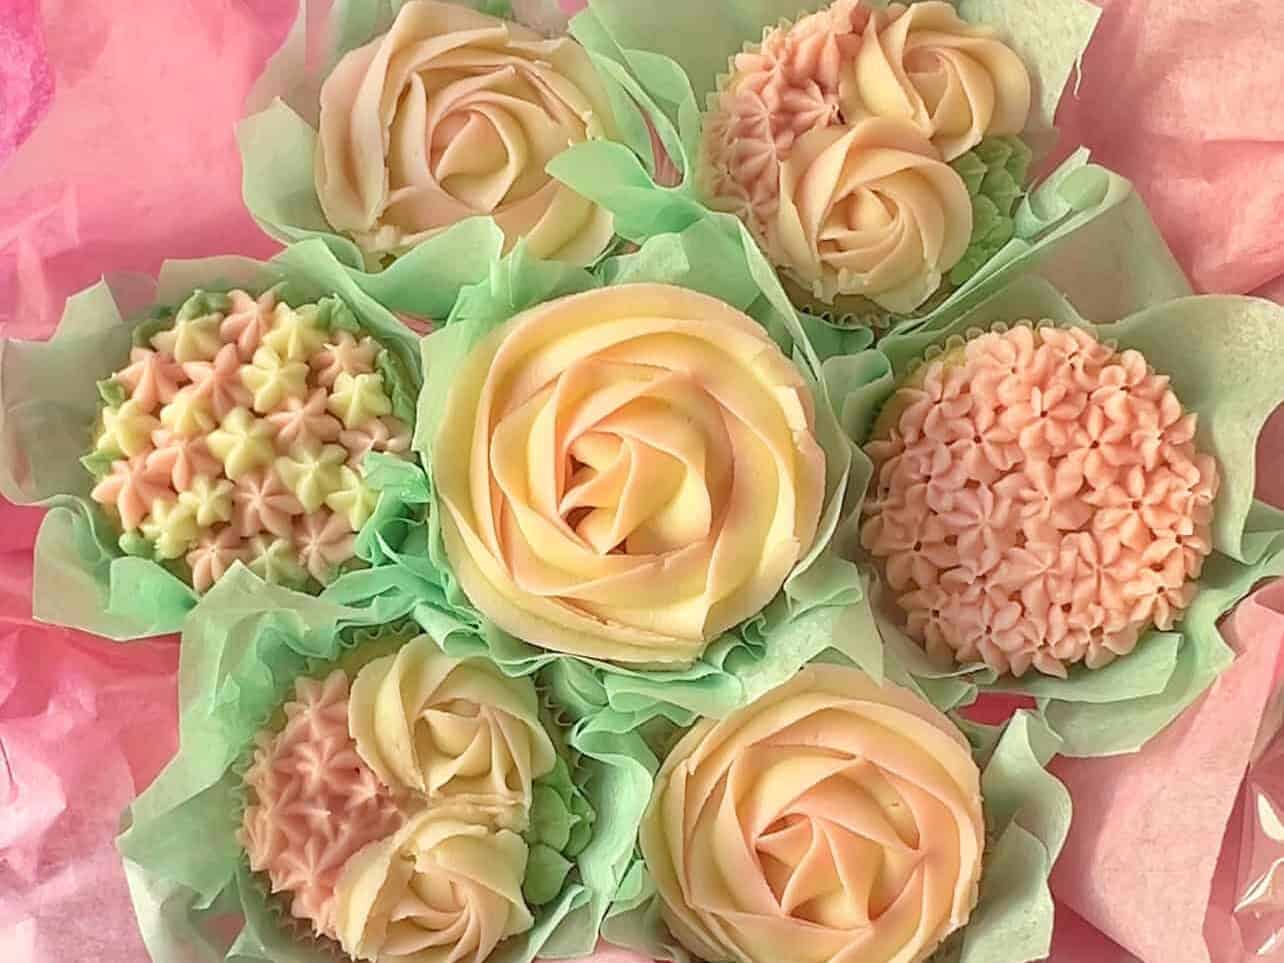
Place your chilled/frozen cupcakes into each cup.

Tie ribbon around the cups and secure tightly. Chill bouquet in fridge until ready to present.
Suzy's Tips For Success
- Prep your tape strips ahead: Especially if you're assembling by yourself, it's very helpful to have the tape cut and ready to use - just as when you're wrapping presents!
- Use the right cups: If you want to skip the cellophane/tissue paper wrapping, then decorative cups will be a nice touch! If you are wrapping it, then plain cups are the way to go since no one will see them. Just be sure to buy the right size cups - standard size cupcakes will be anywhere from 2½-2¾ inches in diameter.
- Using tissue paper as liners for each cupcake served multiple purposes: Not only did it complete the bouquet look as "leaves", they also did a great job hiding the cup rims! I used 2-3 squares for each cupcakes since they were very thin. Plus, it made grabbing each cupcake very easy. I found that placing the cupcakes with no liners caused some of the cupcakes to sink down the cup below the rim.
- Place cupcakes into the cups AFTER they have chilled: Allow time for the frosting to set before arranging them into the bouquet. Freshly piped frosting is VERY SOFT, so you take more risk in accidentally messing up your beautifully piped flowers.
Best Way To Store A Cupcake Bouquet
If not enjoyed within 2 hours, store cupcakes with any cream cheese frosting in the fridge in an airtight container and consume within 5 days. To freeze, allow frosted cupcakes in freezer uncovered on a baking sheet for 1-2 hours to firm up the buttercream. Once firm, wrap each cupcake tightly in plastic wrap and place in an airtight container or freezer-safe bag. Thaw in the refrigerator overnight.
FAQ
You can easily find them at any Walmart, Target, your local arts & crafts store, or available online on Amazon.
Any flavor! Make them from scratch or use your favorite store cake mix.
I initially searched online, but realized it was easy to cut them myself. I made them 5-inch squares (20cm) and they were the perfect size to hide the cups. You can usually locate gift tissue paper in the gift-wrapping aisle.
You Might Also Like...


Equipment
- 7 disposable cups (2½ to 2¾-inches in diameter) paper or plastic
- clear cellophane roll approx 22-inch square (55cm)
- gift tissue paper sheets approx 20-inch squares (50cm)
- large gift bow optional
- scissors
- scotch tape
Instructions
- Chill or freeze your cupcakes as you assembly the bouquet to allow frosting to set. Freshly decorated cupcakes will be harder to place into the bouquet as the frosting will be delicate, soft, and easy to accidentally mess up.
- Cut cellophane and green tissue papers to desired size. Slice approx 20 pieces of tape 1-1½-inch (2-3cm) long ready to use. Set aside.
- Tape all cups together in a "2-3-2" design in 3 rows. Place cups on white side of cake board and secure down with tape.
- Lay down the cellophane, tissue paper, then the cups/board last. Tape the cake board to the tissue paper to keep it center. Then, gather the cellophane/tissue paper and fold into a crease and tape it securely to tighten the bottom half of the bouquet. These folds resemble how you would fold/crease your flat bed sheet at each bed corner. The cellophane/tissue paper points will be pointing up in various directions.
- Use 2-3 green tissue squares as cupcake liners and gently place all chilled cupcakes into the cups.
- Tie ribbon around the cups and secure tightly. Chill bouquet in fridge until ready to present.
Notes
- Refer to Assembly section above and video for clear visual instructions if needed.
Looking for other recipes like this?
Did you make this recipe? Let me know!