
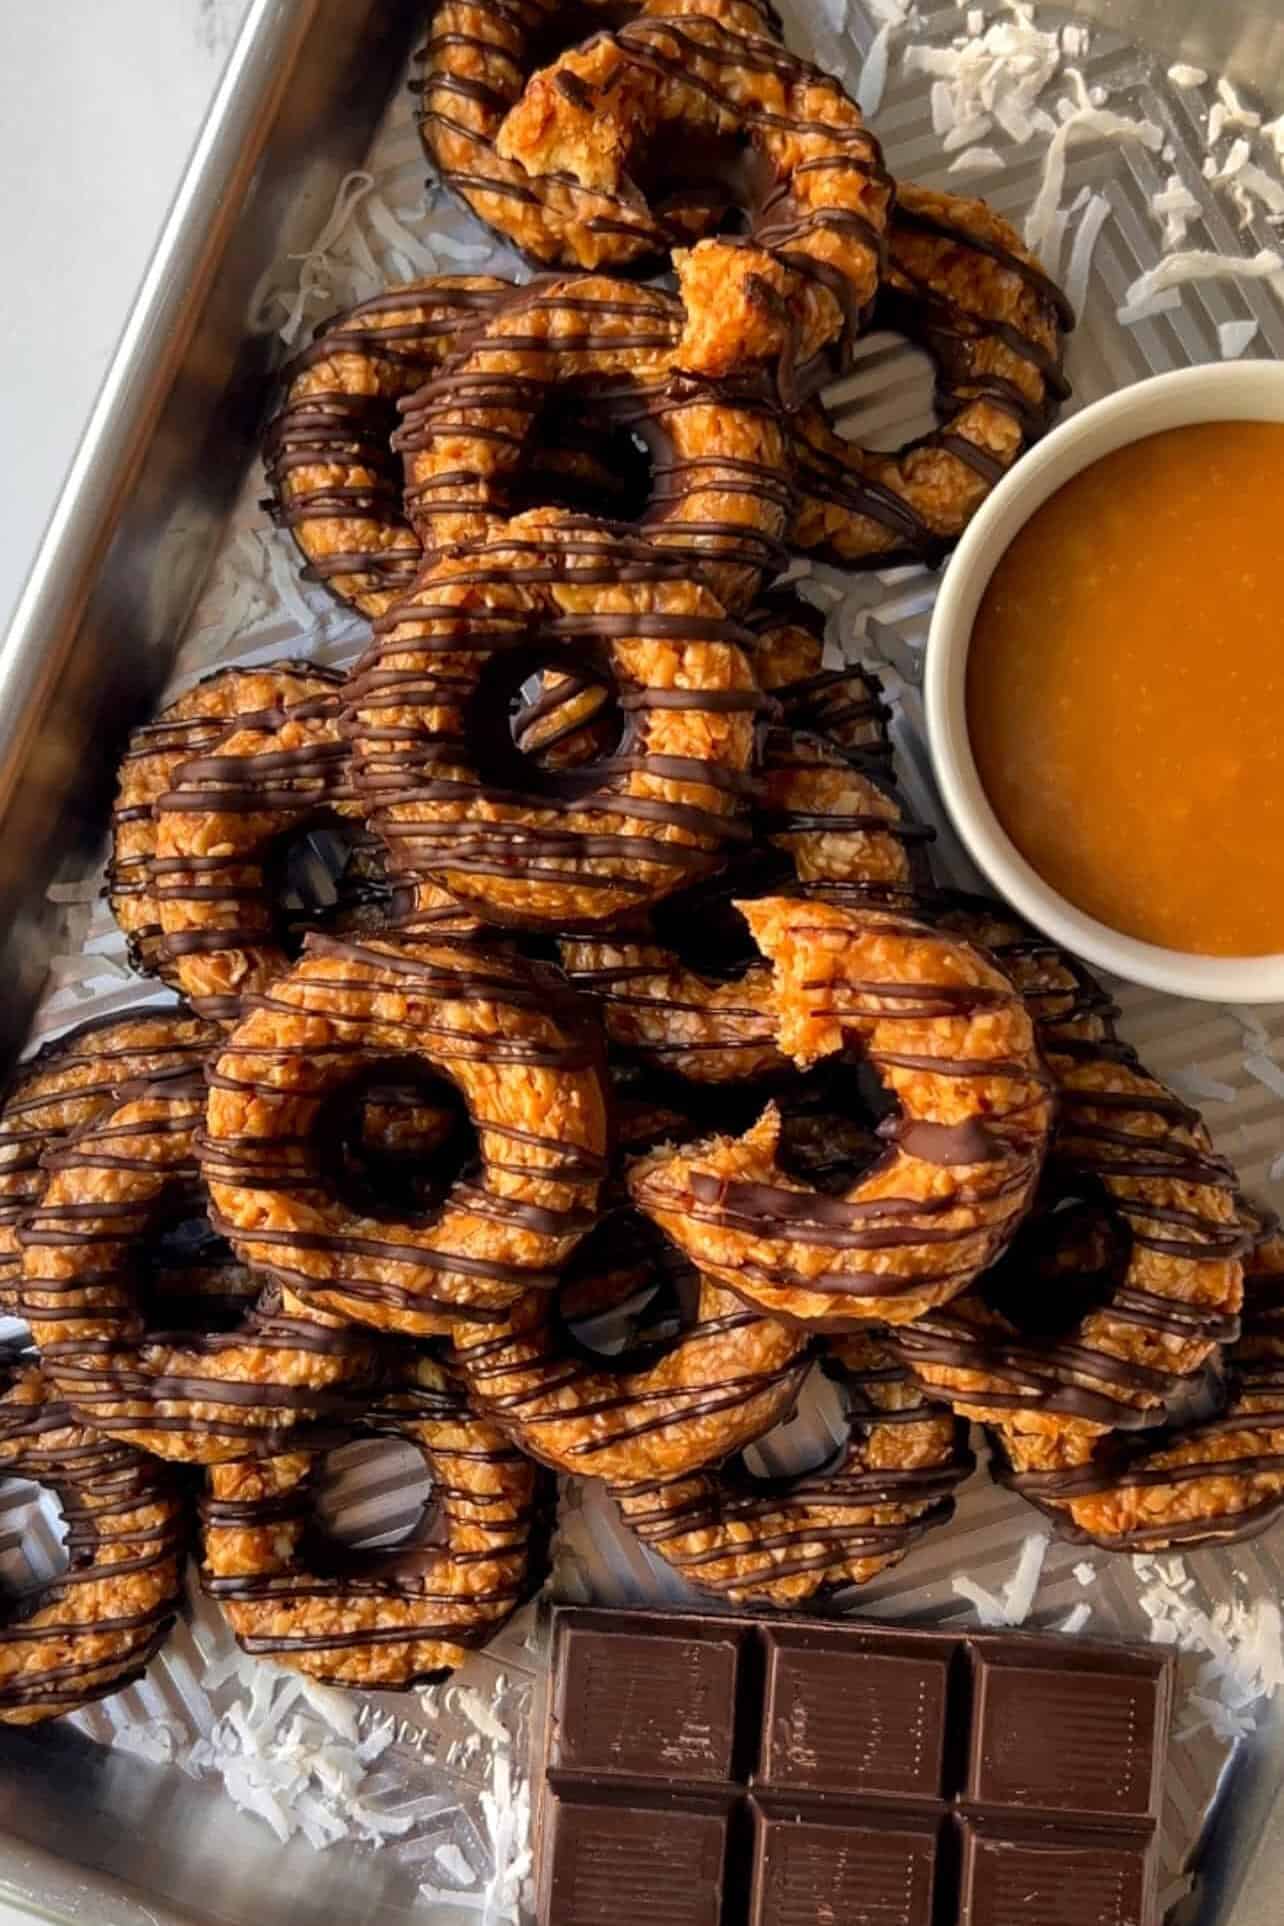
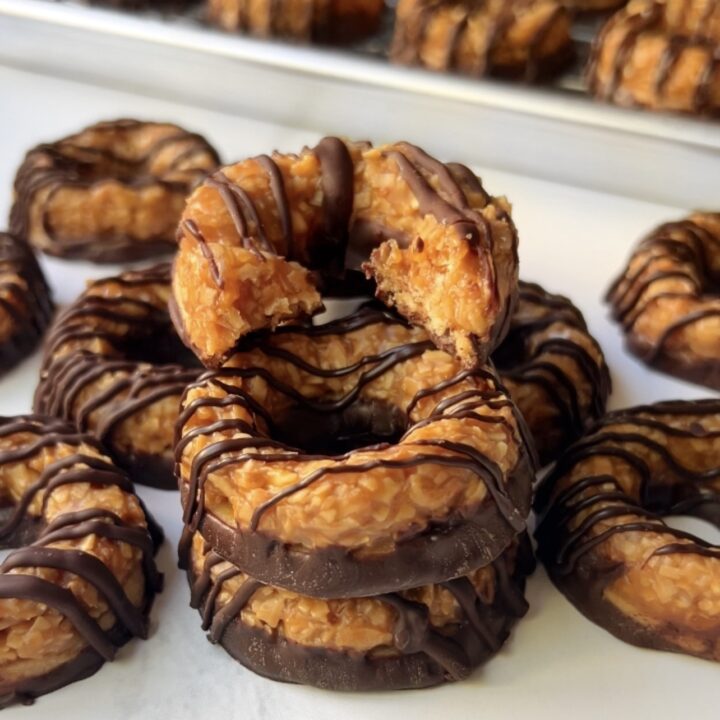
Girl Scouts Copycat Samoas Cookies (also known as Caramel deLites) are one of those treats that instantly gets you excited for cookie season - except now you can make them any time you want! This recipe will show you easy-to-follow full step process so you can bake these at home with your friends and family whenever that cookie craving hits you!

Made with a buttery shortbread cookie base, a gooey topping of rich caramel mixed with toasted coconut mixed, and plenty of chocolate on the bottom and drizzled on top - these Girl Scout Copycat Samoas Cookies are the second highest selling next to their Thin Mints. I've shared my final test batches with my friends and they concur - this recipe will make you question if they are better than the original.
It includes a super easy shortcut caramel using the microwave that tastes creamy and delicious, or you can go all out with my from-scratch homemade caramel recipe that is absolutely worth it. Full of texture, so much flavor, and of course nostalgia. Bonus: these cookies store really well, so you can be rest assured your family can enjoy them even with cookie season months away.
I'm sure I'm not the only one to notice that Girl Scout cookies in general are not quite as scrumptious as I remember them, and smaller too! Or is it just me? Please do continue to support your favorite Girl Scouts. They are out there working so hard! It just makes me happy we all can enjoy our favorite Samoas all year long.
Jump to:
Notes About A Few Key Ingredients
- Butter: When cookie recipes call for "softened butter" or "room temperature butter," the best way to achieve this is to allow butter to soften on counter until it reaches 65-68ºF (18-20ºC). This is the optimal temperature of butter to cream with sugar as it is then not too cold or too warm. That allows sugar to be evenly dispersed to dissolve properly, while trapping tiny air pockets to expand during baking to yield a light and fluffy texture.
- Milk: Contributes moisture and helps create a softer tender cookie texture.
- Almond extract: Optional, but highly recommend! It adds a subtle nuttiness that truly compliments the shortbread cookie.
- Salt: Essential in balancing the sweetness and enhances all other flavors. Reduce amount if using salted butter.
- Coconut: Unsweetened flakes.
- Chocolate: Personally, I feel dark chocolate works the best as it counters the sweet caramel. Bittersweet would be delicious, too. Diehard Girl Scout Cookie fans know classic Samoas are made with dark chocolate, while the modern Caramel deLites are made with milk chocolate. So use your favorite!
- Caramel: The simplest way to streamline caramel is using Werther's Soft Caramels from the store. Simply unwrap the squares (the most tedious part!) into a bowl with heavy cream and melt slowly in the microwave until you have a creamy sauce consistency. It does the job beautifully. The honest downside - this is caramel made with either glucose or corn syrup (and let's face it probably a few more ingredients we do not recognize) which some of you would not prefer. I used my homemade caramel in this recipe, made with only 5 ingredients. It has more flavor, less cloyingly sweet, but I totally get it - if you're a beginner, making caramel is intimidating. But trust me - it's a skill you'll be glad you learned.
How To Make Girl Scouts Copycat Samoas Cookies
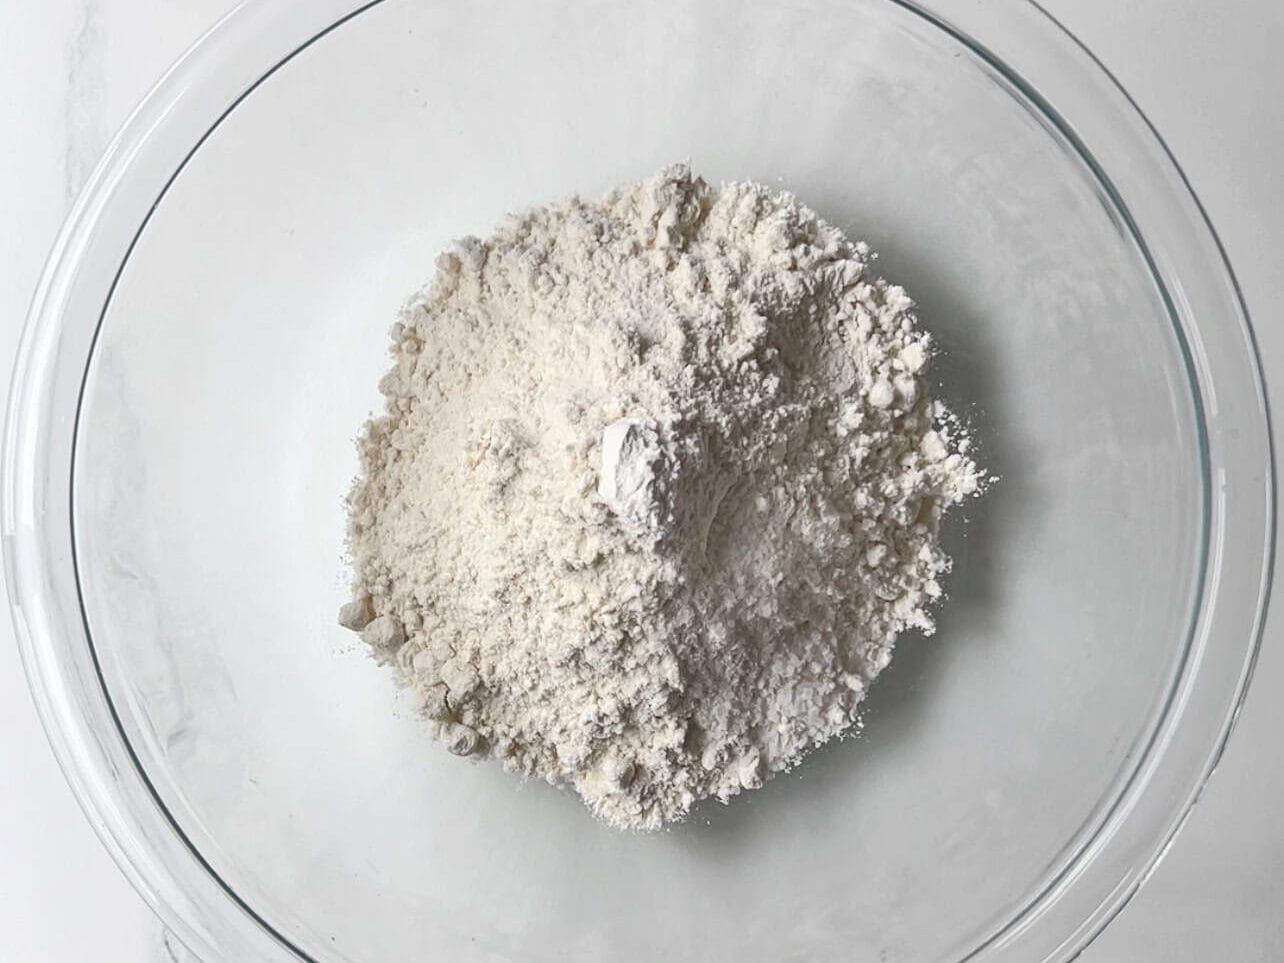
In a small mixing bowl, combine and mix all dry ingredients.

In a separate large bowl, cream sugar with softened butter. Beat on med speed for approx 3 minutes.
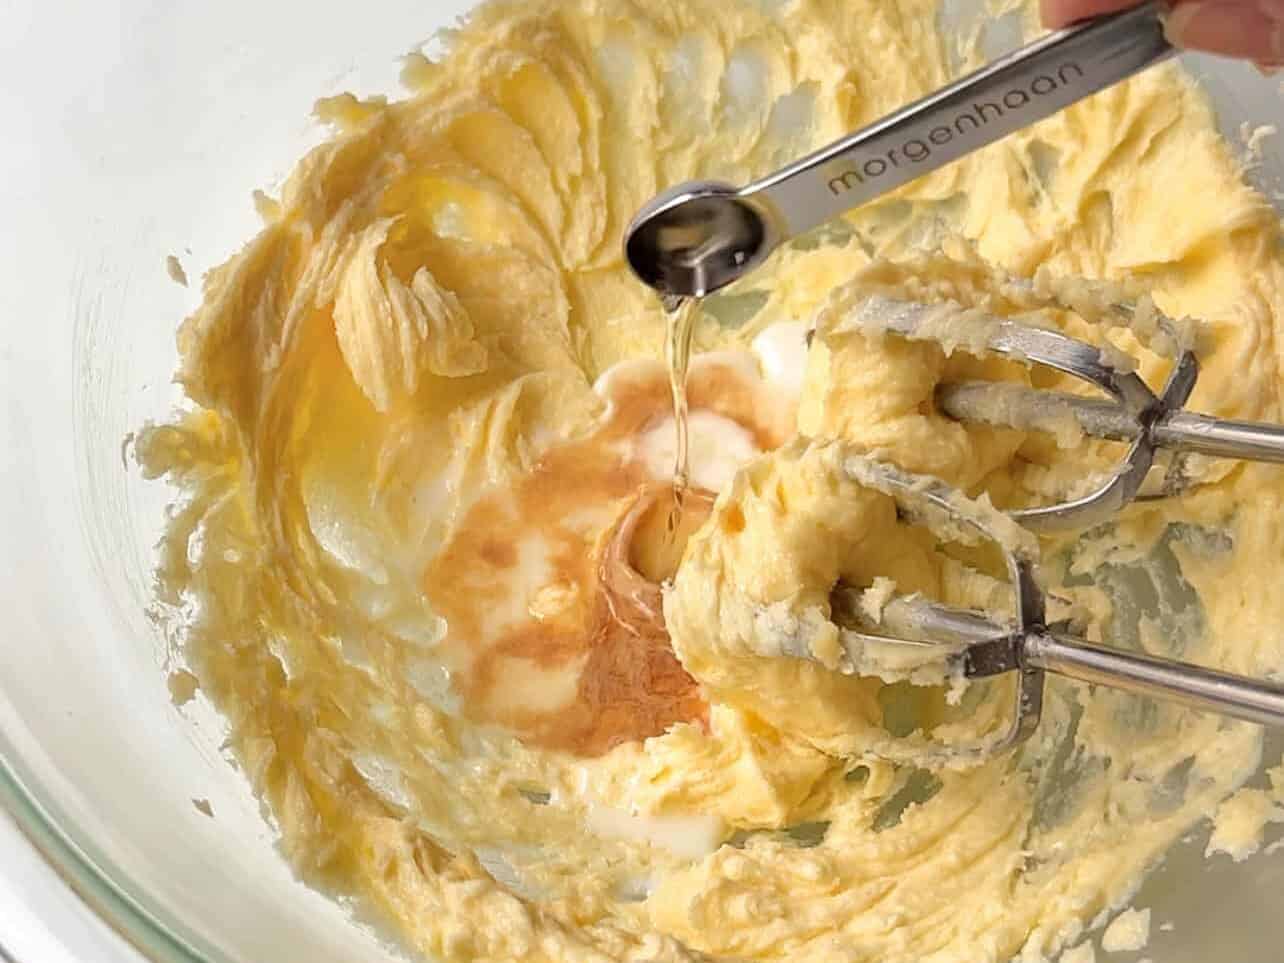
Add in milk, vanilla, almond extract and mix.

Combine dry and wet ingredient bowls together. Fold flour in with a spatula until fully absorbed and dough comes together cleanly off the bowl. Avoid kneading the dough.
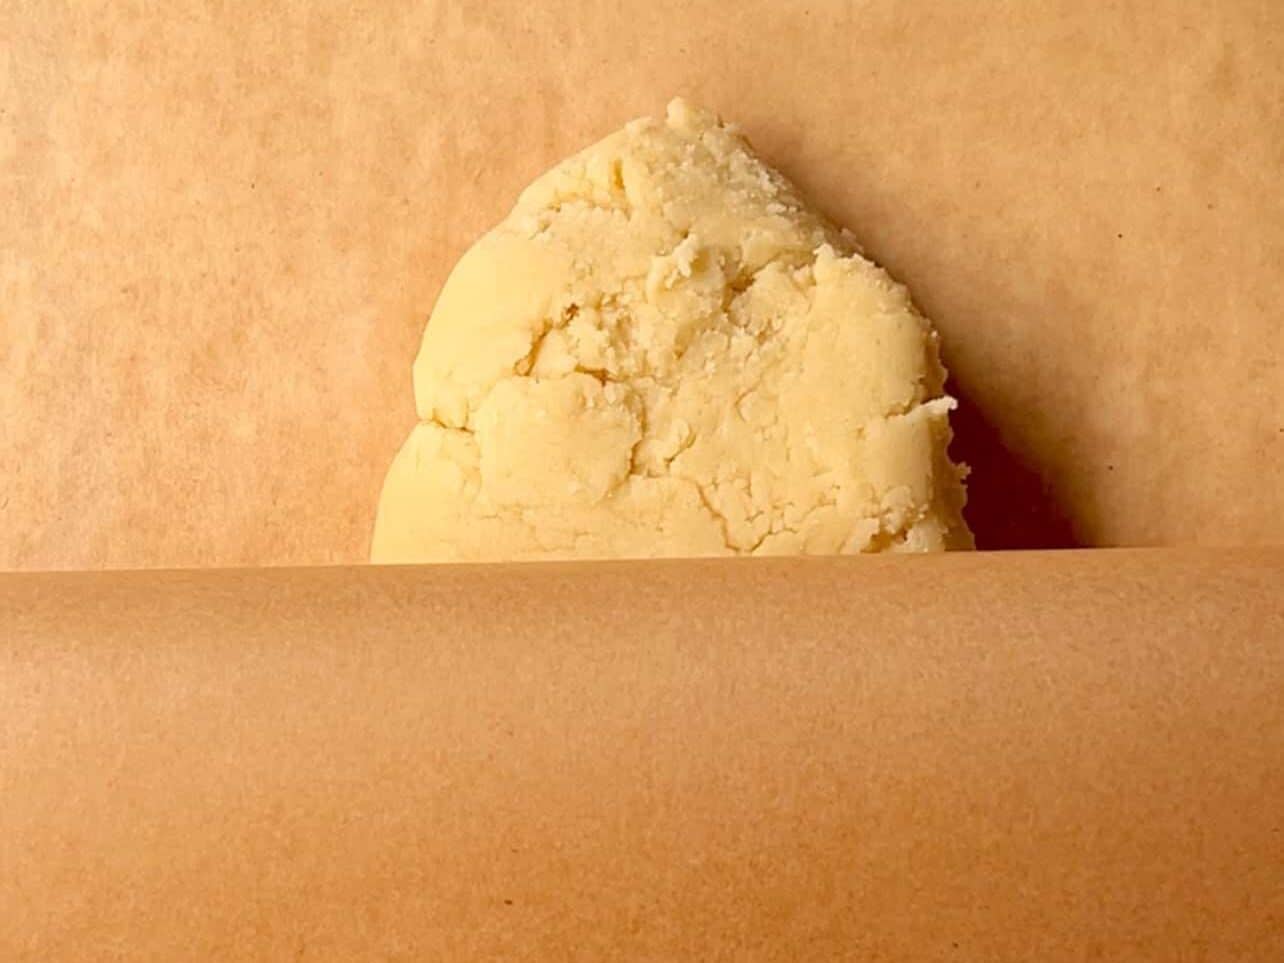
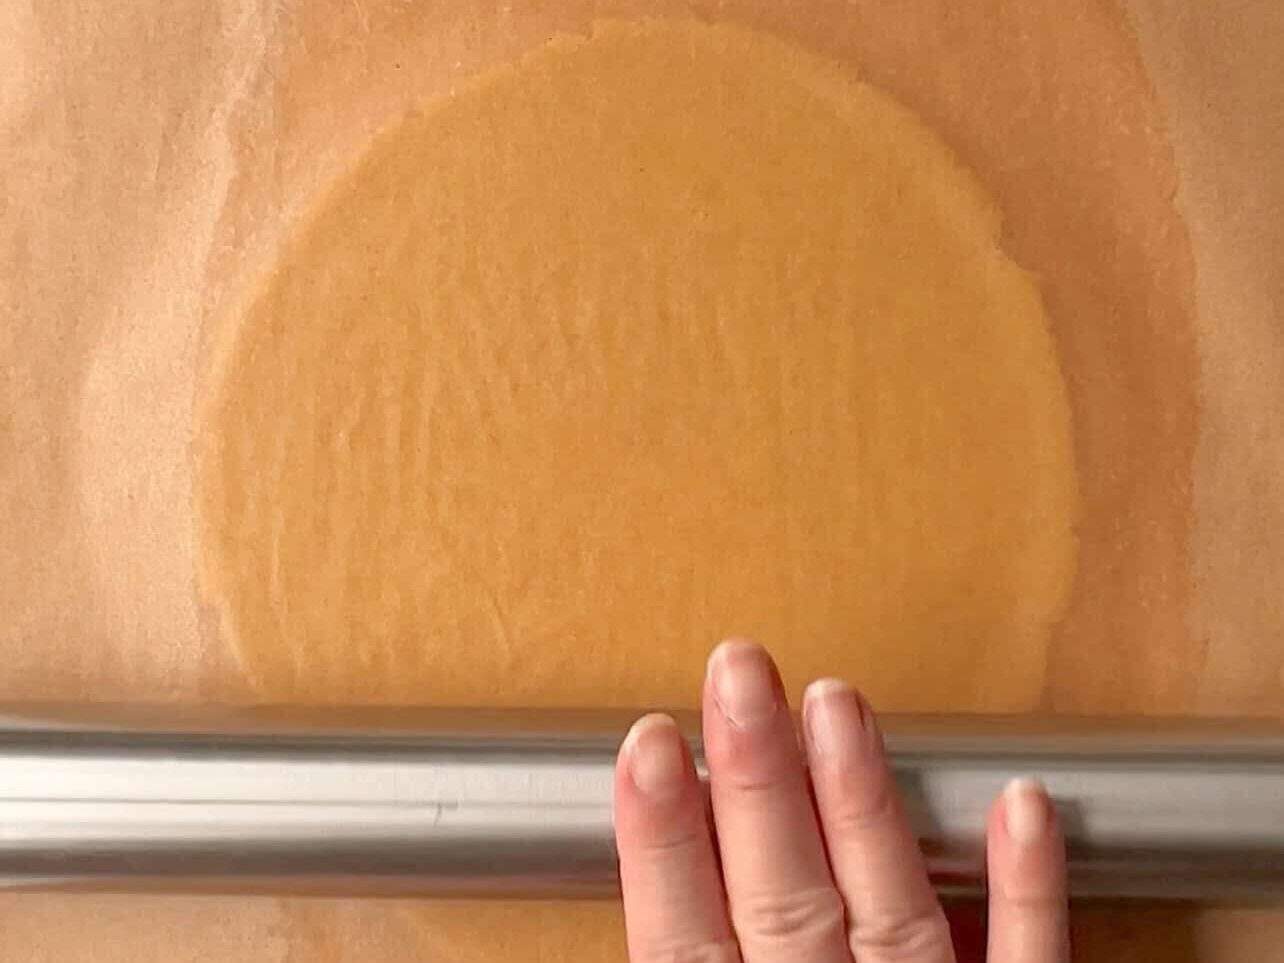
Place cookie dough in center of two parchment papers.
Using a rolling pin, roll dough into a sheet approx ¼-inch (6mm) thick. Chill in fridge for 1 hour min to overnight.

Once ready to bake, preheat oven and spread coconut flakes onto a baking sheet.
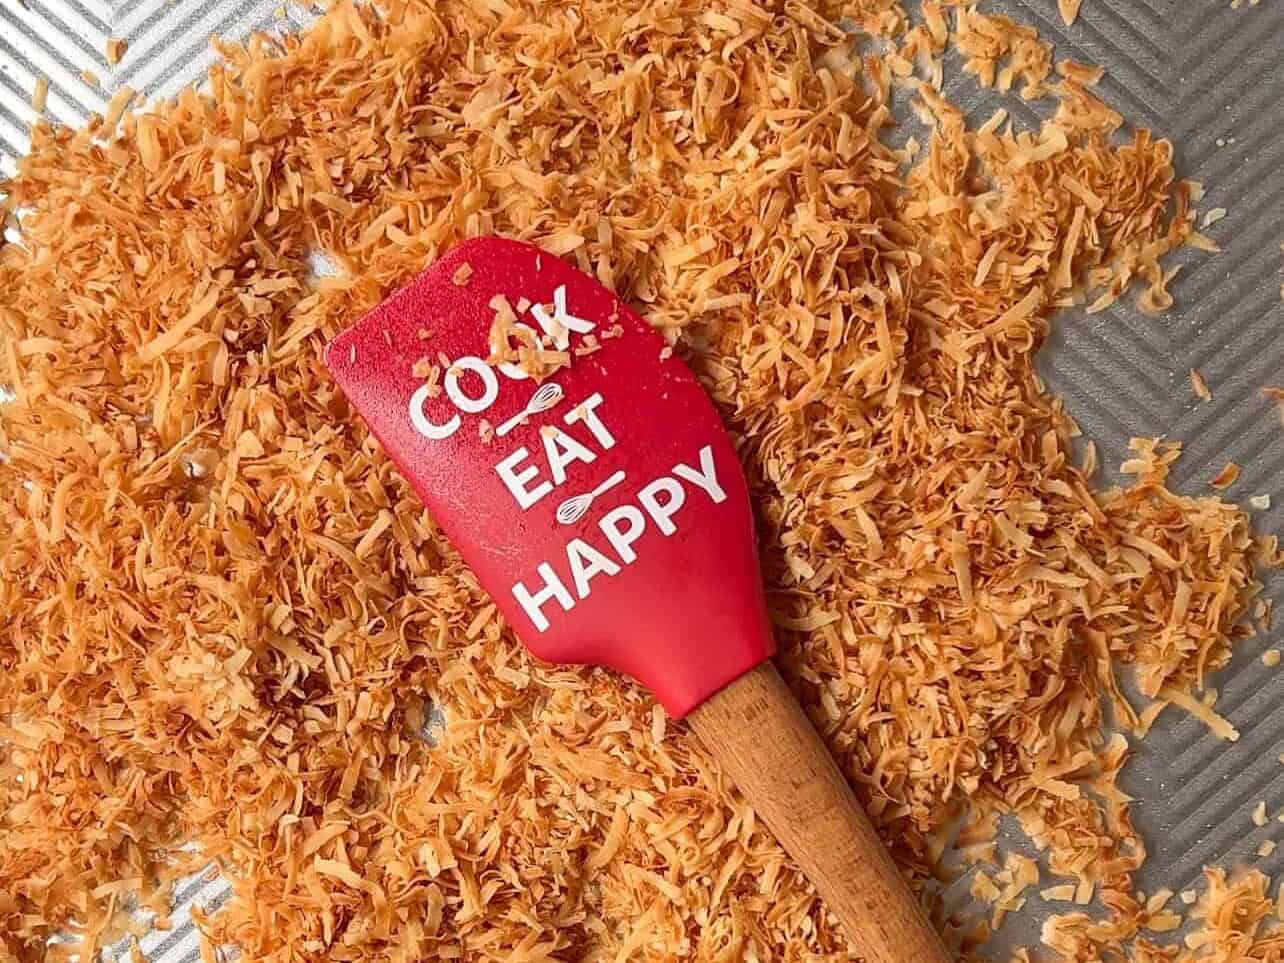
Toast coconut stirring a few times to allow them to brown evenly.
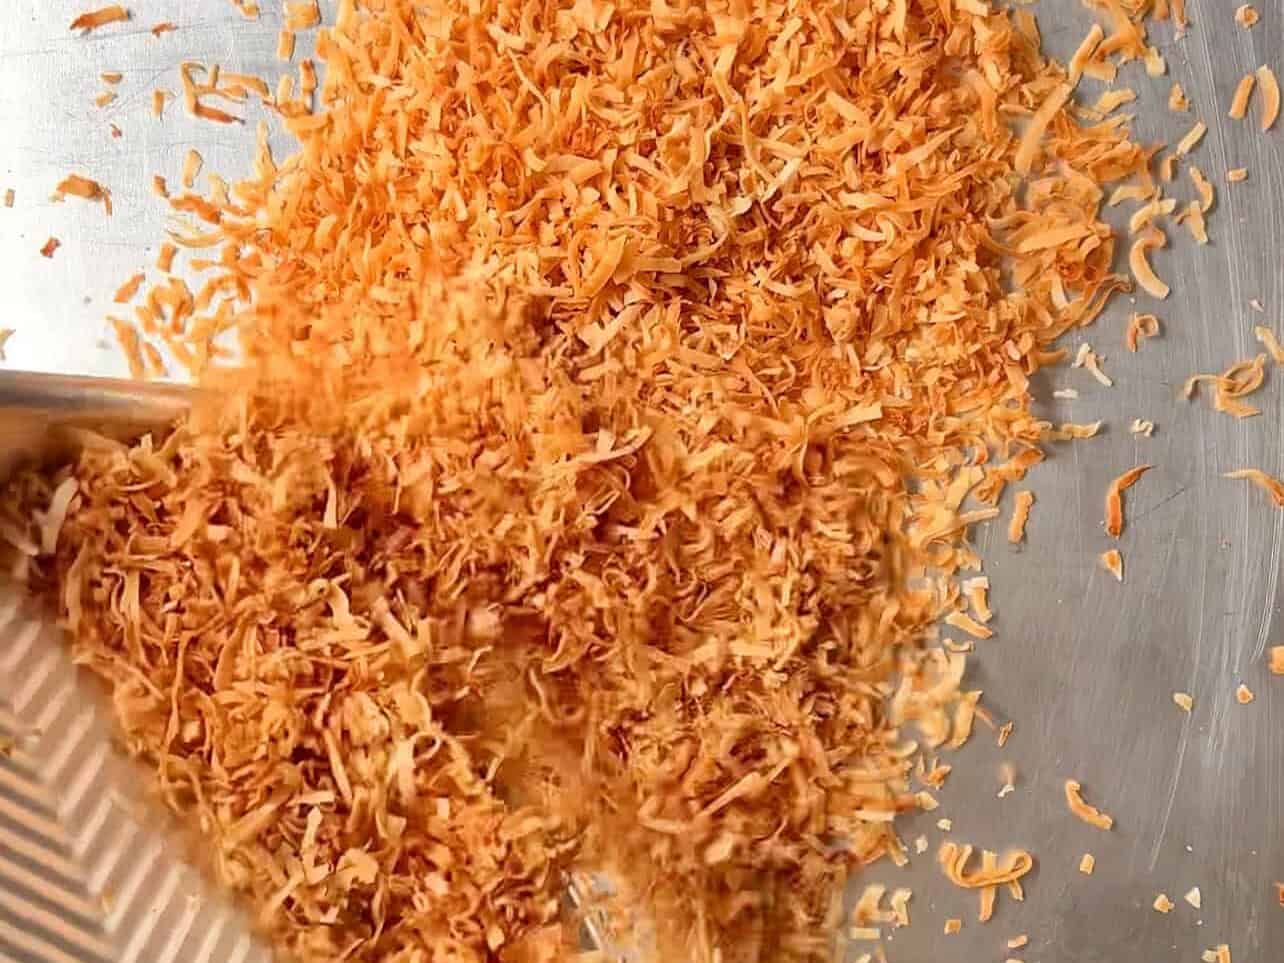
To avoid coconut from burning from the residual heat, transfer finished flakes from oven immediately to a cool pan.
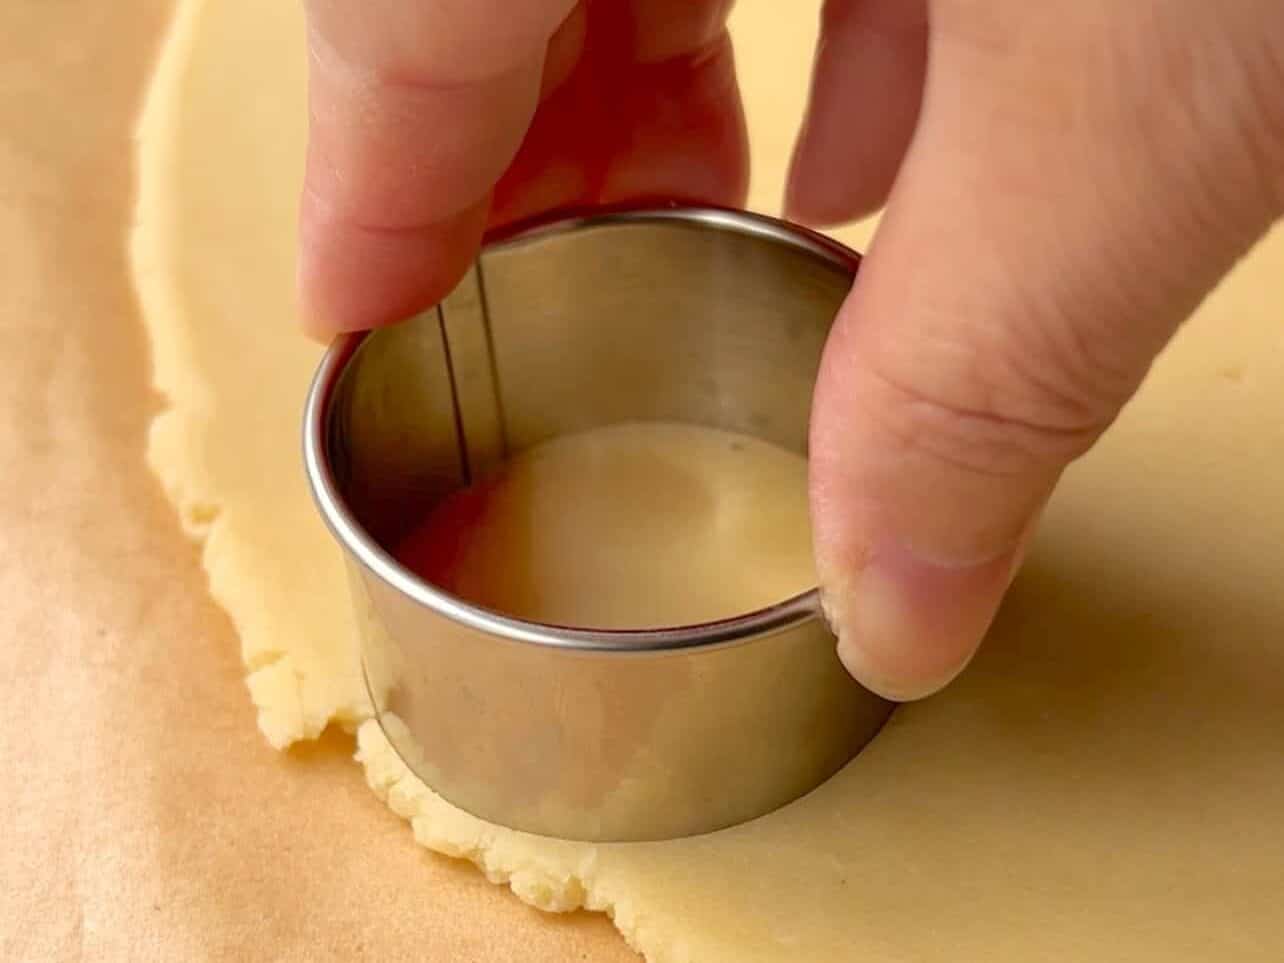
Remove chilled cookie dough, remove top parchment paper, and cut out donut shapes using a 2-inch round cookie cutter.
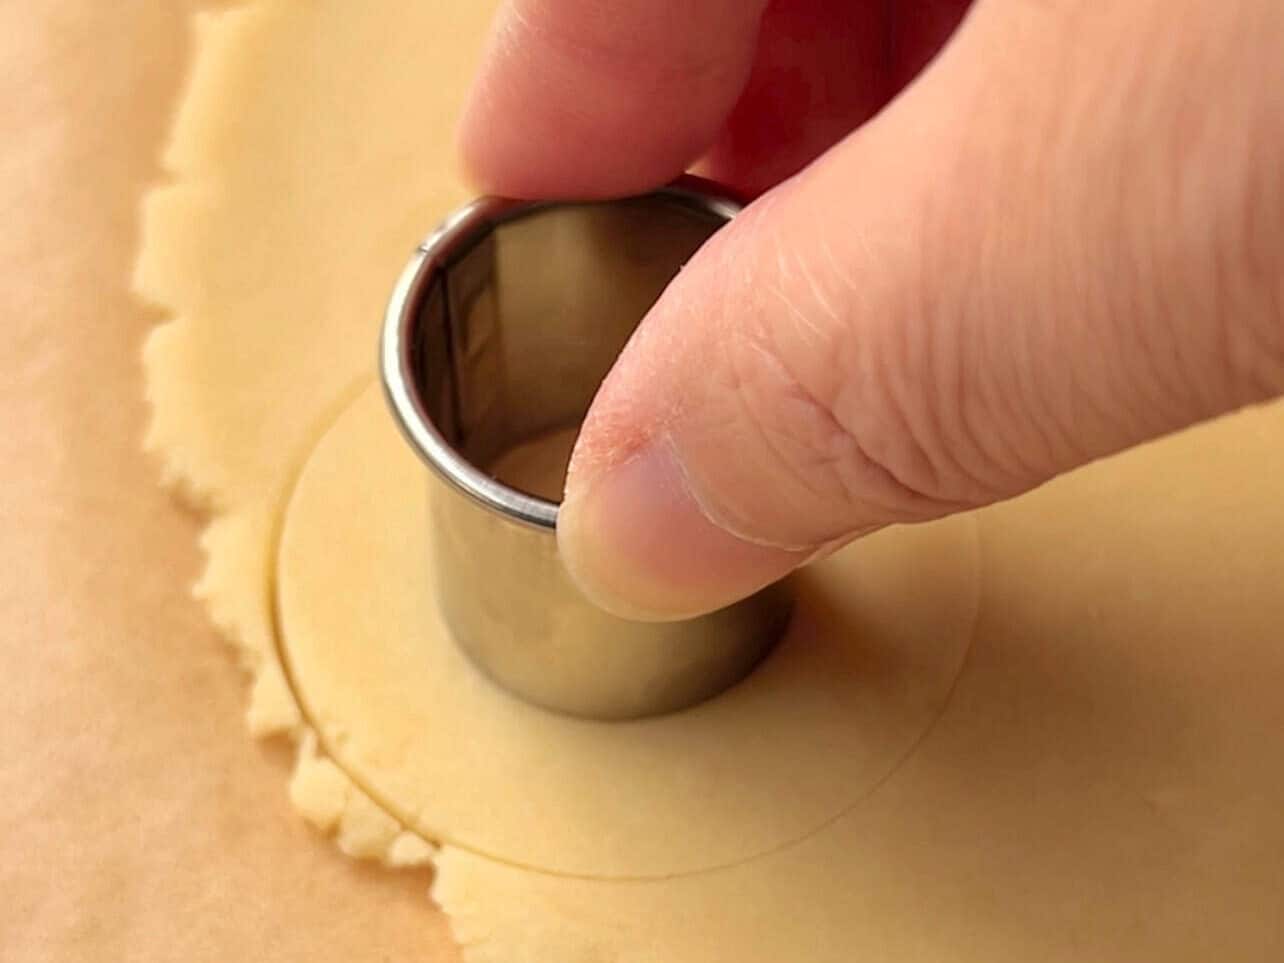
Cut out the center using a 1-inch cookie cutter. Piping tips can also be used - they are commonly. the same size.

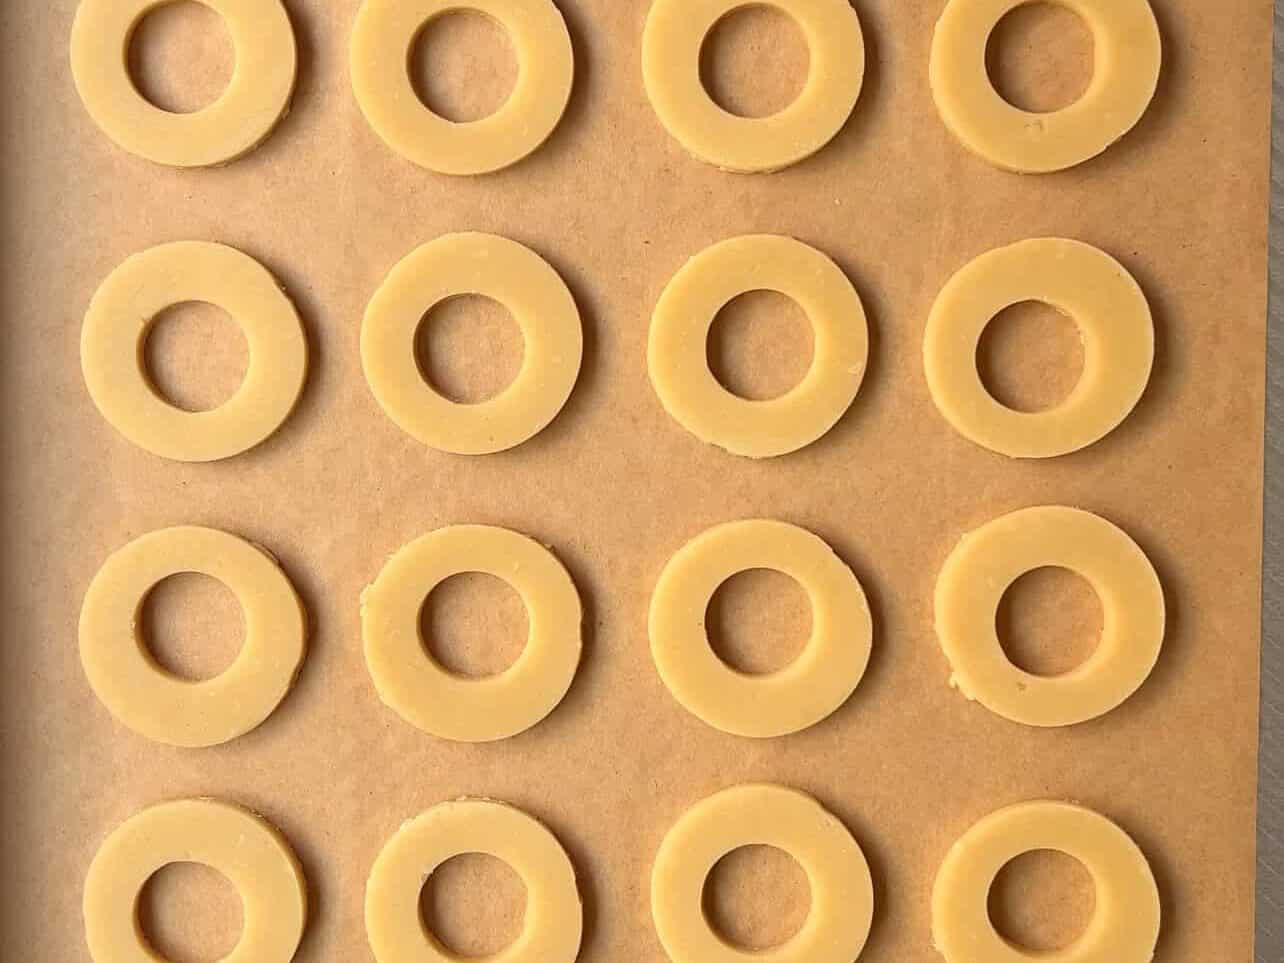
Cut out as many cookies as you can as you remove the center. If the dough starts to feel too soft and the cut-outs loses its shape, chill the dough and try again. Be sure not to discard the scraps!
Bring all the scraps together into a dough ball and roll into a ¼-inch sheet once again using the same parchment paper. Chill in fridge, then cut out cookie shapes. In total, you should yield approx 24-27 cookies altogether.
Two options: Bake the cookies in two batches or one. Transfer the cookies you cut out from the first dough into the oven as you wait for the smaller dough to chill. Once you cut out cookies from the smaller dough, bake those after the first batch. Or simply fridge the initial cut-out cookies, repeat with the second scrap dough, and bake them ALL at once.
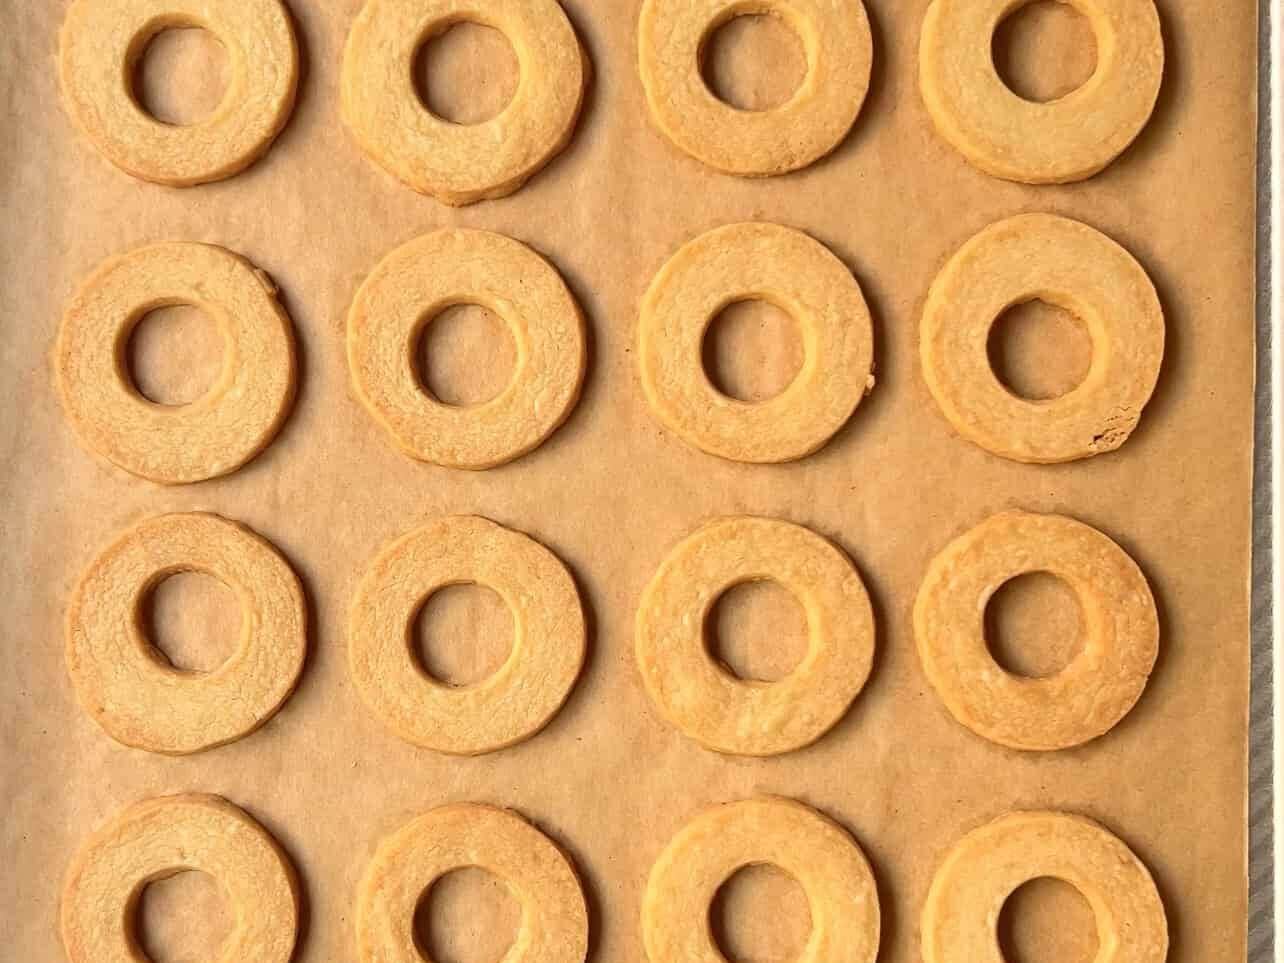
Bake cookies until golden brown and cool completely on wire rack.
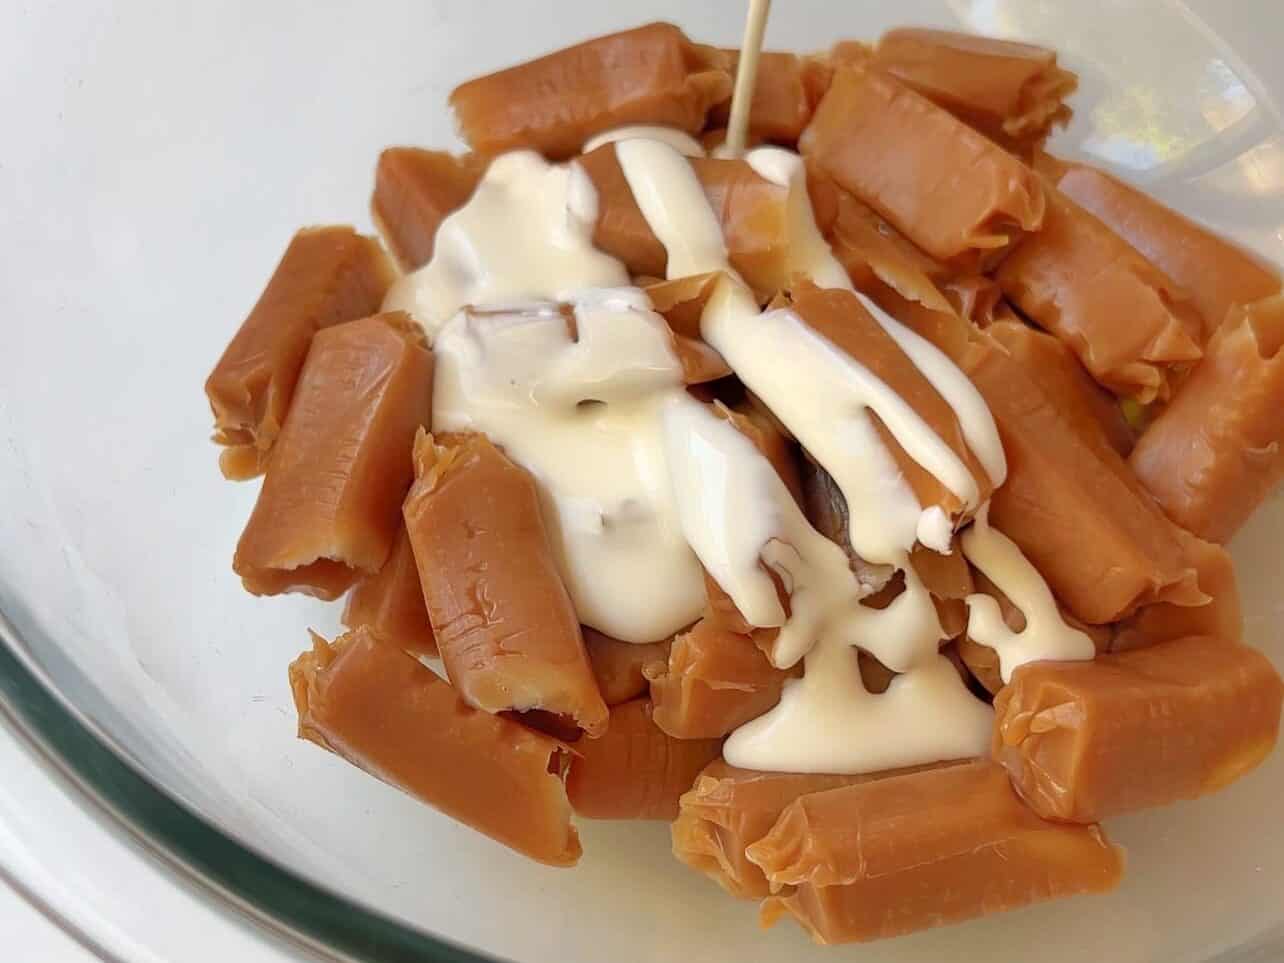
Unwrap caramel squares and add in heavy cream. Microwave bowl and stir in short 15-20 secs increments until caramel starts to melt. Add another tablespoon of heavy cream if needed. If you prefer caramel with no glucose or corn syrup, feel free to use my homemade caramel recipe!
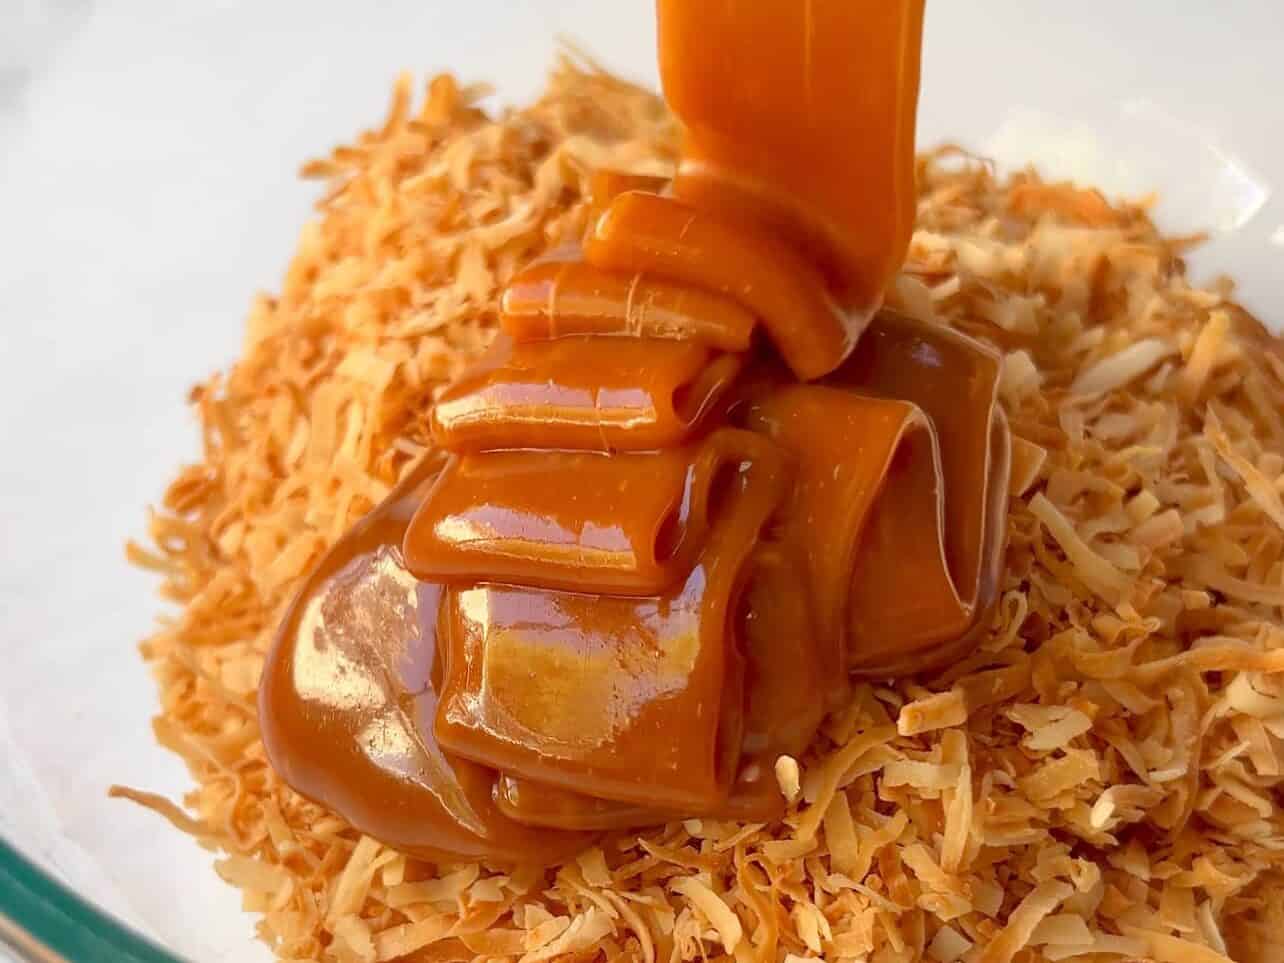
Caramel should be smooth and falls in a ribbon trail consistency. Pour majority of the caramel immediately over the toasted coconut. You should have a small amount remaining for assembling the cookies.
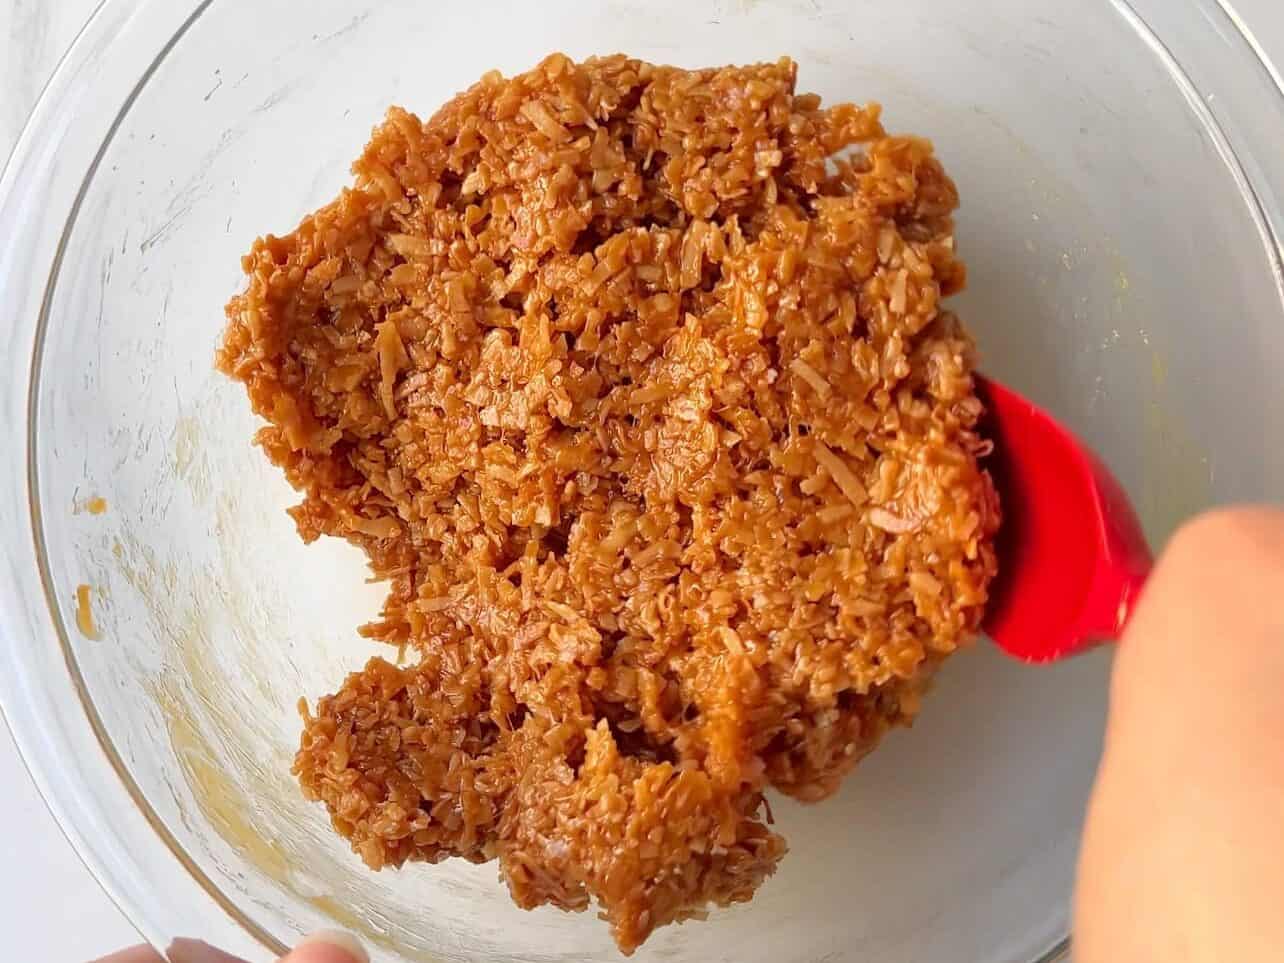
Mixture should be sticky, but still pull away from the bowl.
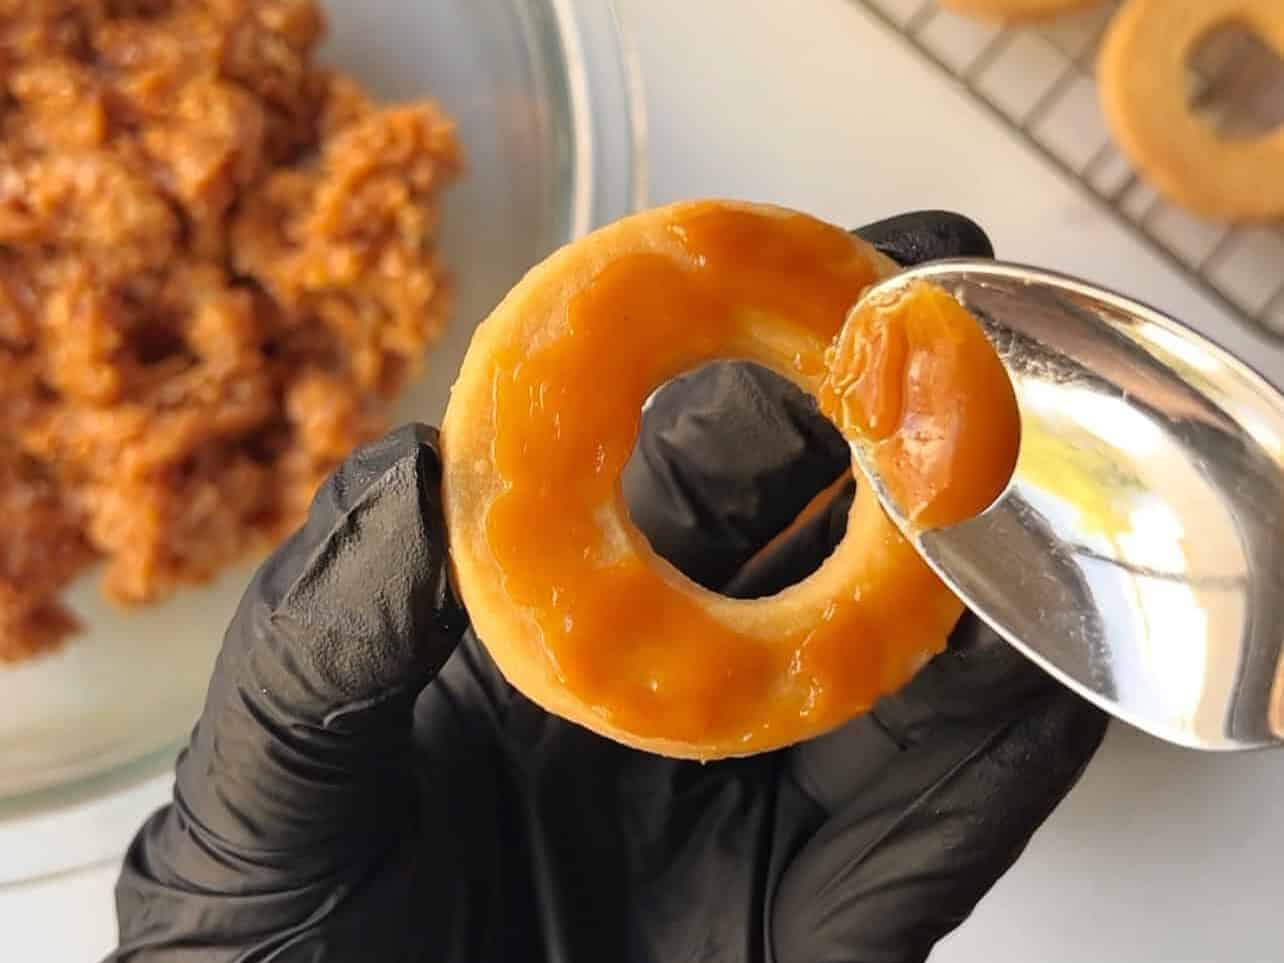
Use the back of a spoon or spatula to smear a layer oof caramel on top of each cookie. This acts as the glue for the coconut.

Add approx 1 tablespoon (14g) of caramel coconut, pressing down all along each cookie ring.
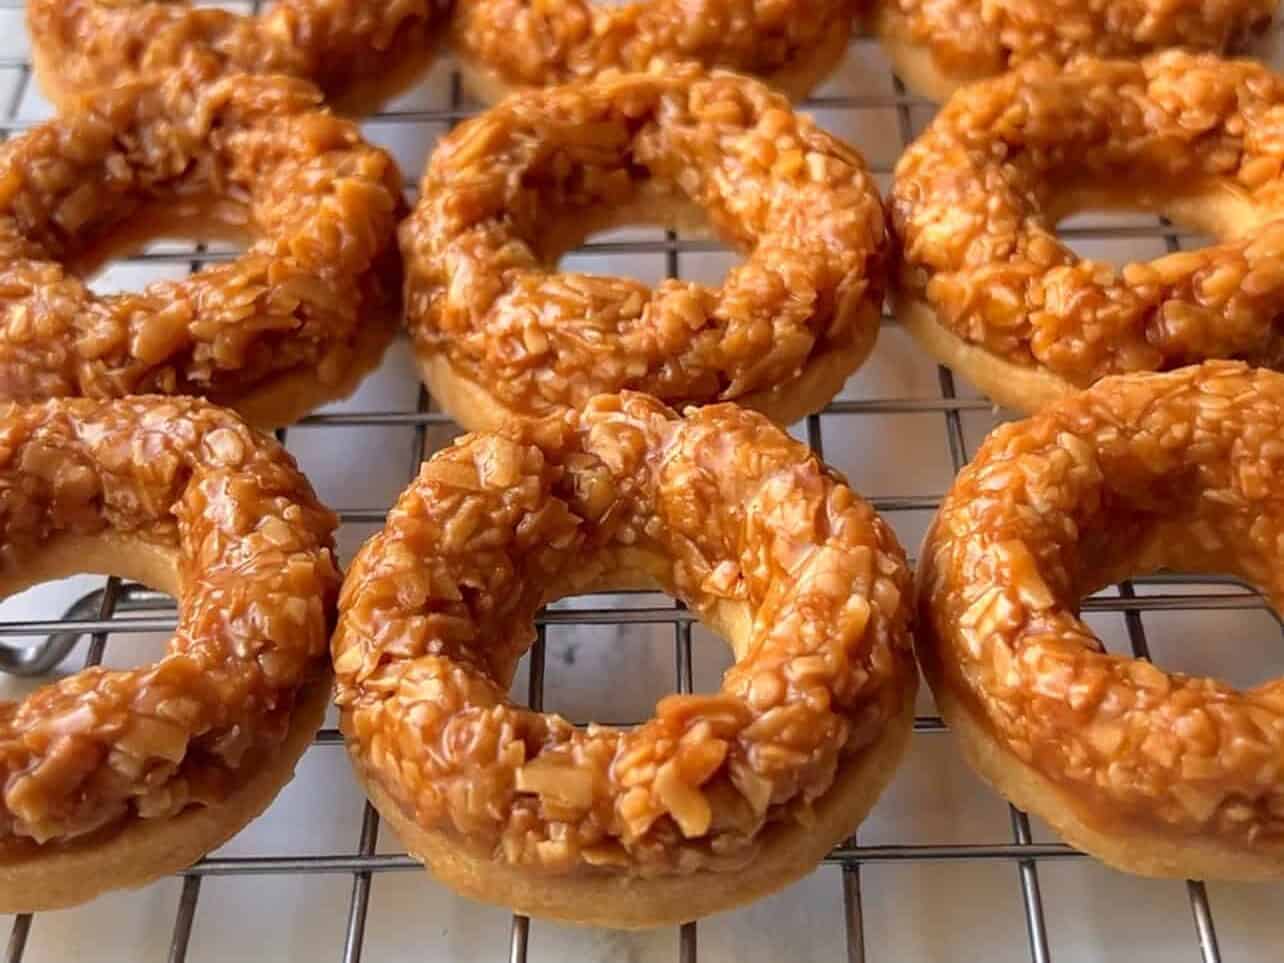
Chill cookies in fridge for 15 mins to allow the caramel to set.

Melt majority of your chocolate in microwave in short increments, add the last remaining chocolate at the end. This is call seeding as it will gradually cool the chocolate to a shiny finish. Optional: If your chocolate still seems too thick, you can stir in coconut or vegetable oil to achieve a thinner consistency. I would avoid using chocolate chips as they are made with less cocoa butter and contain stabilizers to help them maintain their shape. This is why they do not melt down smoothly.
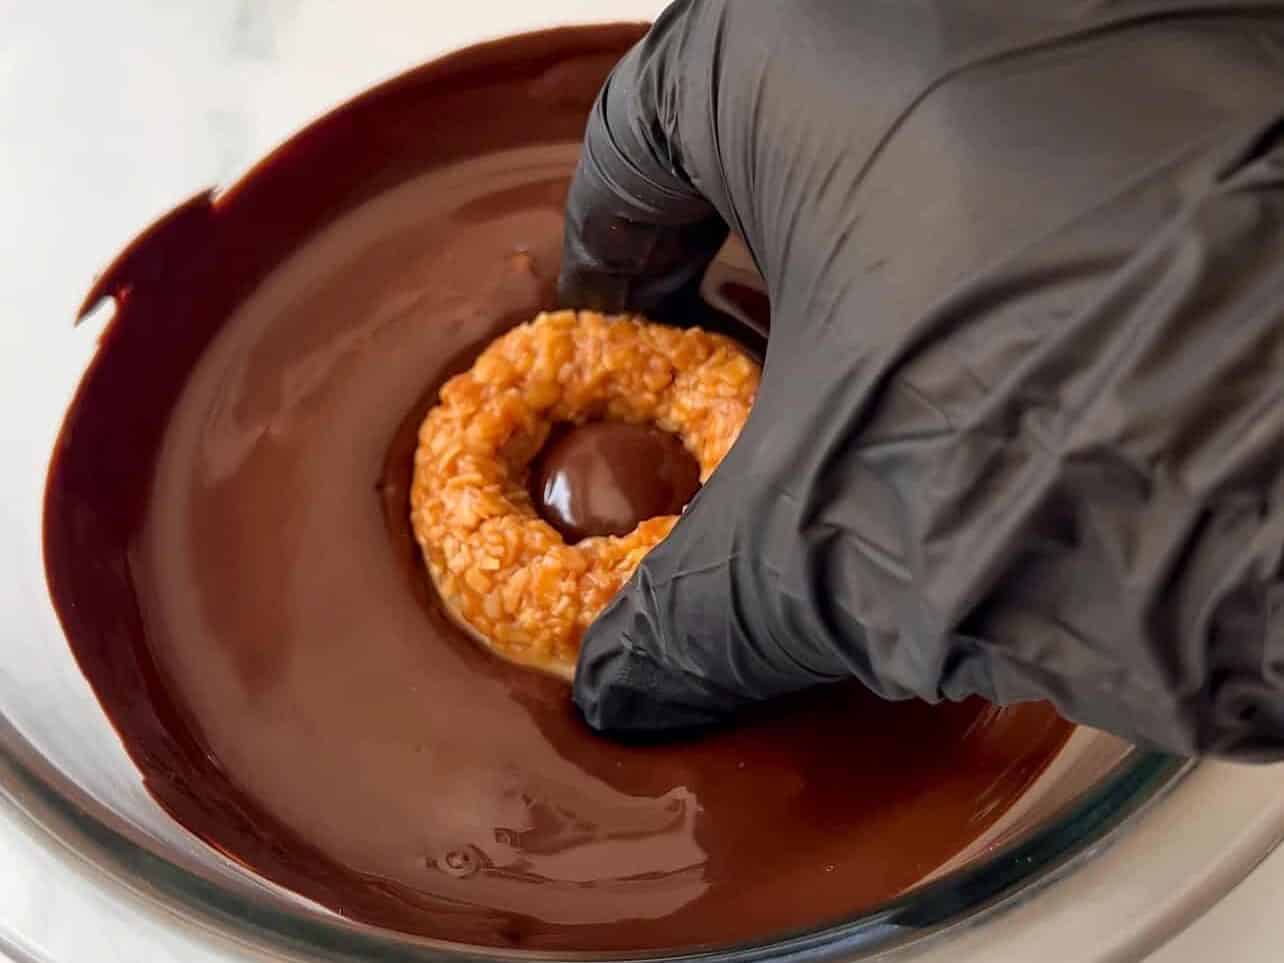
Using clean hands or a fork, dunk the bottom cookie portion into the melted chocolate. Shake cookie and allow excess chocolate to drip off. If using hands, be sure the chocolate has cooled to the touch.

You can also use the edge of the bowl to remove more chocolate - we want to try our best to have one even coating.
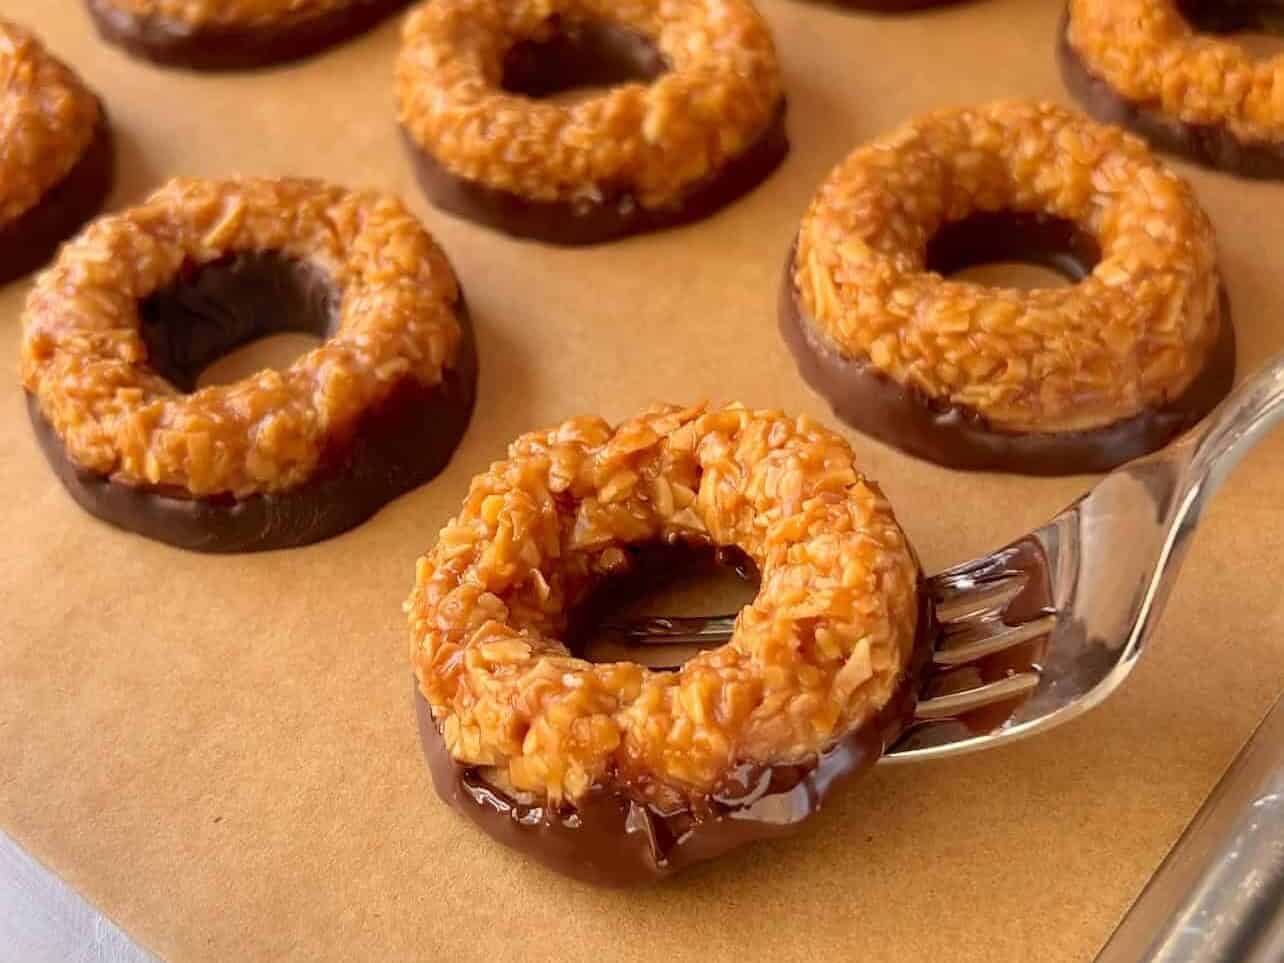
Place dunked cookies on parchment paper.
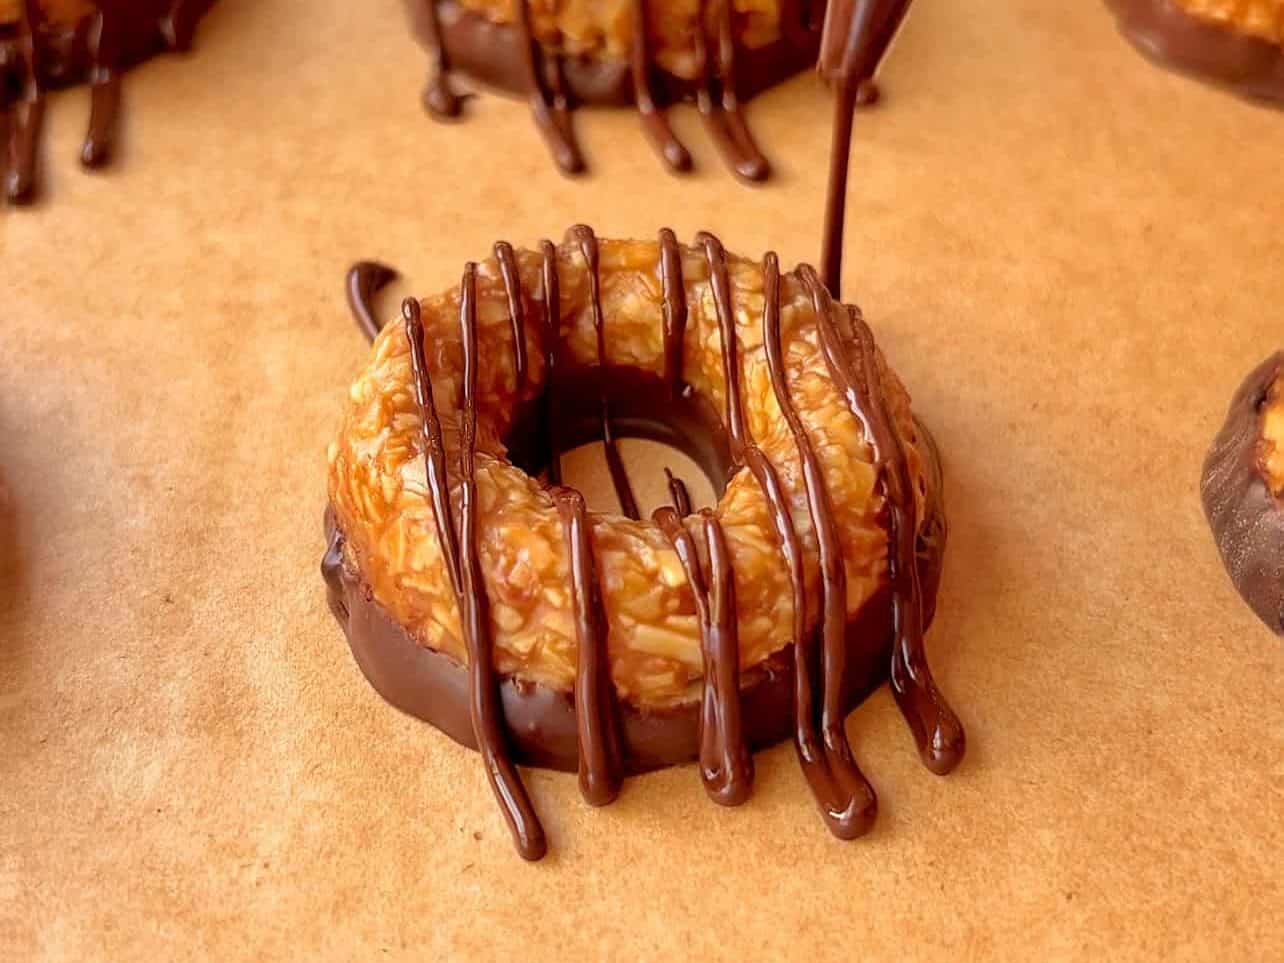
Drizzle remaining chocolate on top all the cookies using a piping bag, ziplock, or a fork. Allow cookies to set in fridge for 15 mins, break off any excess chocolate drizzle, then enjoy. Great job!
Suzy's Tips For Success
- Signs to look for when creaming butter with sugar: Be sure your butter is not too cold or too warm. "Room temperature" butter as many recipes call for can be misleading. 65-68ºF (18-20ºC) is optimal, mixing on medium-speed for approx 3-4 minutes. The butter should turn pale in color and noticeably increase in volume. If the texture still looks gritty and similar to wet sand, it is usually under-creamed - mix for a bit longer. However, if the butter looks oily like an exfoliating body scrub, then it has been over-creamed.
- Avoid kneading the cookie dough: Overworking any cookie dough can lead to a tough texture. Fold in dry ingredients only until it's been fully absorbed. Use the same rule when re-rolling your cookie sheet. Simply gather all the scraps and squeeze together into a dough ball, then roll into a sheet once again to finish your cookie cut-outs.
- Don't skip chilling the cookies before dunking in chocolate: This only takes about 15 minutes in the fridge. The caramel will slightly set and help bind the coconut mixture to the cookie.
Best Way To Store Girl Scouts Copycat Samoas Cookies
At room temperature, you can store them in an airtight container for about 1 week. In the fridge, they will last up to 3 weeks. If storing in the freezer, first place them in a single layer on a flat sheet until they are frozen solid. Then, transfer them to a freezer bag or airtight container and store for up to 3 months.
FAQ
I haven't personally tried it myself, but feel free to try a 1-to-1 gluten-free flour blend swap instead of all-purpose flour. Just be aware as with any flour substitutes, there may be differences in overall cookie texture.
Yes. For both the cookies and homemade caramel, you can swap for vegan butter, coconut milk and cream, and dairy-free chocolate.
Absolutely! Chilling it in the fridge overnight will give it ample time to set and build flavor.
I would use chopped chocolate bars or quality chocolate wafers. Have you noticed chocolate chips do not melt down smoothly? They are usually made with less cocoa butter and contain stabilizers to help them maintain their chip shape.
You Might Also Like...


Equipment
- stand or hand mixer
- parchment paper
- Rubber Spatula
- Cookie cutter(s) 2-inch and 1-inch round or similar
- small offset spatula or butter knife
- piping or ziplock bag optional
Ingredients
Cookie Dough
- 1¼ cup all-purpose flour
- ¼ teaspoon baking powder
- ¼ teaspoon sea salt
- ½ cup unsalted butter softened
- ⅓ cup granulated sugar
- 1 tablespoon milk
- ½ teaspoon vanilla extract
- ¼ teaspoon almond extract optional, but highly recommend
Coconut
- 1½ cup coconut flakes unsweetened
Caramel
- 10-11 oz soft caramel squares I used Werther's Soft Caramels
- 2-3 tablespoon heavy whipping cream
Chocolate
- 8 oz chocolate chopped
- 1 tablespoon coconut oil optional
Instructions
- In a medium bowl, combine and mix dry ingredients together. Set aside.1¼ cup all-purpose flour, ¼ teaspoon baking powder, ¼ teaspoon sea salt
- With a hand mixer or stand mixer with a paddle attachment, cream softened butter and sugar together for 3-4 minutes on medium speed until it's noticeably increased in volume and paled in color. Add in milk, vanilla, and almond extract and mix again - making sure you scrape the bottom of the bowl.½ cup unsalted butter, ⅓ cup granulated sugar, 1 tablespoon milk, ½ teaspoon vanilla extract, ¼ teaspoon almond extract
- Add bowl of dry ingredients and mix only until flour has been fully absorbed - do not over-mix. The dough should be come cleanly off the bowl. Bring together into a ball and transfer it between two sheets of parchment paper. Roll it into a sheet about ¼-inch (6mm) thick. Place it on an upside baking sheet and chill in fridge for 1 hour minimum to overnight.
- Preheat oven for at least 30 mins to 350℉ (175℃).
- Spread coconut flakes onto a baking sheet and toast in oven for 12-15 minutes, stirring every 3-4 minutes. Keep a close eye on it as flakes can burn quickly. Once it's golden brown, remove from oven and transfer all the coconut to a cool baking sheet. It is to prevent the residual heat from toasting the flakes further. Set aside.1½ cup coconut flakes
- When ready to bake, remove chilled cookie dough from the fridge. Peel back the top layer of parchment paper. Cut out donut-shaped cookies using a 2-inch (5cm) cookie cutter, and 1-inch (2.5cm) ones for the middle. Using an offset spatula or butter knife, gently lift each cut-out cookie ring and place them on parchment paper and baking sheet. If the dough or cut-outs become soft in the process, chill dough in fridge for a few minutes - you can always re-roll it.
- Gather all the dough scraps into a ball when finished, and re-roll it between parchment paper. Chill again for 15 minutes. You can bake off the first baking sheet of cut-out cookies, or you can chill them as you wait to cut out more cookies from the re-rolled dough and bake them all at once. In total, you should yield approx 23-25 cookies.
- Bake cookies for 8-10 minutes until the edges turn golden. Cool cookies on the baking sheet for a few minutes, then transfer them to a wire rack.
- For the caramel: unwrap caramel squares and place them in to a microwave-safe bowl. Pour in the heavy cream and heat in short 15-20 seconds increments until it's a creamy melted consistency. When stirred, the caramel should fall in ribbons and leave a trail. Add 1 more tablespoon of heavy cream, if needed.10-11 oz soft caramel squares, 2-3 tablespoon heavy whipping cream
- Transfer coconut flakes into a large mixing bowl. Pour in 1 cup (240g) of the melted caramel and mix until flakes are evenly coated. The coconut mixture should be tacky, but come cleanly off the bowl. You should have about ¼-⅓ cup caramel remaining.
- Using an offset spatula or back of a spoon, add a thin layer of the remaining caramel on top each cookie ring - this will act as the glue. Using clean damp hands or gloves, grab about 1 tablespoon (14g) of the coconut caramel mixture and distribute it evenly around the cookie ring, pressing down gently. Place finished cookie onto parchment paper/baking sheet and repeat. Once finished, chill tray of cookies in fridge for 15 minutes.
- For the chocolate: add chopped chocolate to a medium microwave-safe bowl, reserving a small handful of chocolate on the side. Melt in microwave in short 20-30 second increments until smooth, then add in the reserved chocolate stirring until completely melted and shiny. If consistency is still too thick, you can melt in optional coconut or vegetable oil. I would avoid using chocolate chips here as they do not melt down as smoothly.8 oz chocolate , 1 tablespoon coconut oil
- Using clean hands or a fork, dunk the entire cookie bottom portion into the melted chocolate. Lift and shake cookie to allow excess chocolate to drip off. If using hands, check first to be sure the chocolate has cooled to the touch. You can also use the edge of the bowl to remove more chocolate - we want to try our best to have one even coating. Place dunked cookie on parchment paper and repeat until all cookie bottoms have been coated.
- Drizzle remaining chocolate on top the cookies, using either a piping bag or ziplock bag. You can also simply dunk a fork into the chocolate, and wave it over the cookies. Chill in fridge for a few minutes to allow chocolate to set, snap off any excess chocolate from the center and edges of the cookies, and serve.
Notes
- Nutritional information is only an estimate. The accuracy of the nutritional information for any recipe on this site is not guaranteed.
- For the best consistent results, use a kitchen scale. Measuring ingredients accurately gives you the best chance for success, and a scale will give you the most precise readings.
Nutrition
Looking for other recipes like this?
Bertha Patricia Osuna says
I love love these cookies but they are hard to find. Now I can actually make them , thanks.
Suzy says
Yes, we crave these always when it's not Girl Scout season! Now we can enjoy them all year round.