
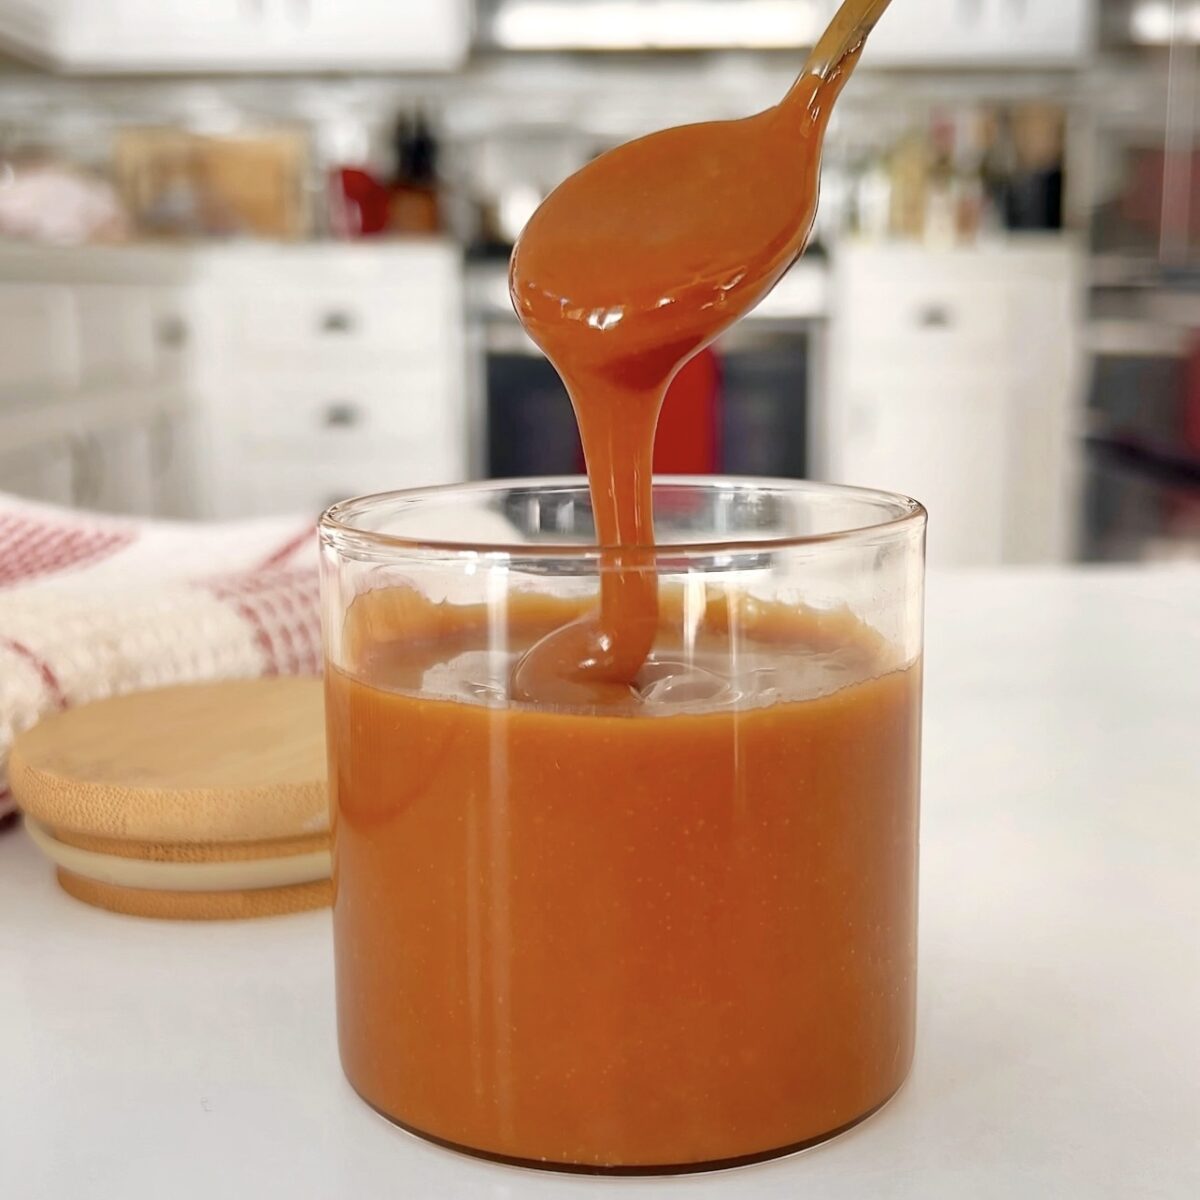
Let's talk about how to make homemade caramel. I get it - if you’ve never made caramel from scratch before, it can seem so intimidating. I remember my first time hovering nervously over the stove, wondering if I was about to have a sticky mess or burn the whole thing. But trust me: once you learn how to make homemade caramel with just five simple ingredients, you’ll feel like a kitchen rockstar.
Homemade caramel doesn’t need any corn syrup to be smooth and glossy, unlike most store-bought versions. And many successful caramel recipes add it to help prevent sugar crystallization. We won't be using it here. This recipe will show you an approachable dry method of making caramel with all the important visual cues to look for so you can nail it - minus the corn syrup. Just real ingredients - real flavor.
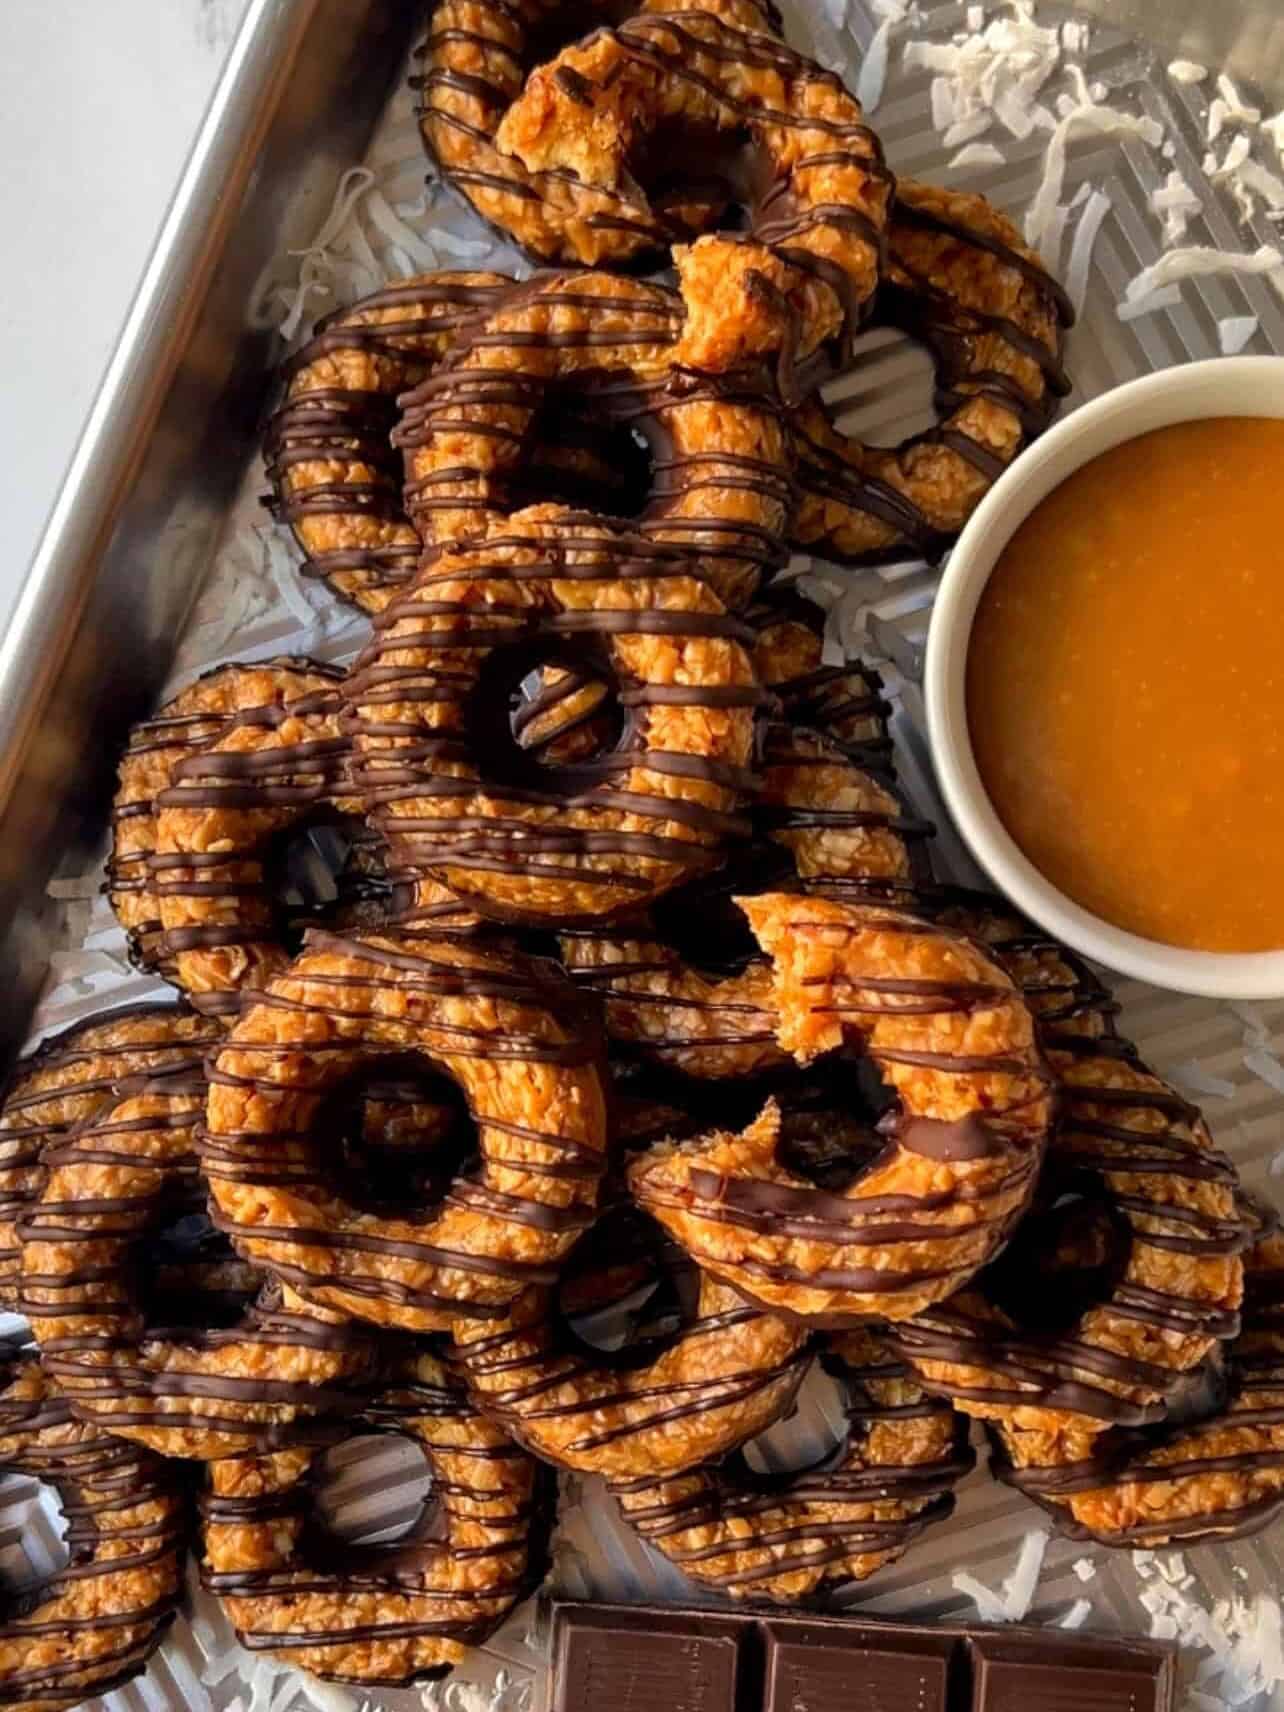
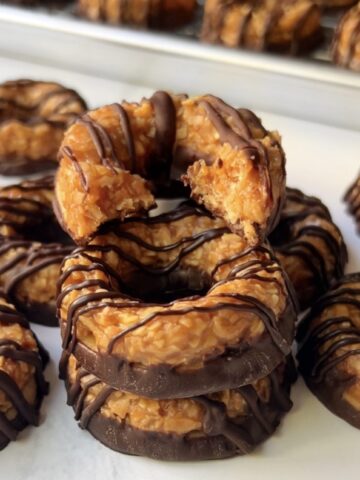
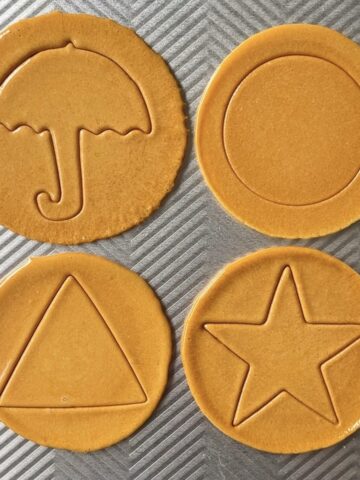
Not only is the flavor a hundred times better than store-bought, but think of all the delicious ways you can use it! After learning how to make homemade caramel - think caramel drizzle for your brownies, swirl for cheesecake, or even for your favorite Girl Scouts Copycat Samoas Cookies:
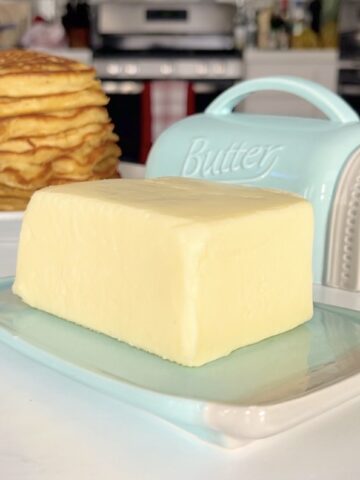
Want to learn other recipes that's better homemade? Be sure to check out how easy it is to make Homemade Butter and Homemade Vanilla!
Jump to:
Dry Method Vs. Wet Method Explained
Two main ways people make homemade caramel: the dry method and the wet method. The dry method involves melting plain sugar directly in the pan without adding any water, while the wet method mixes sugar with a bit of water before heating. While both techniques can get you to that rich, golden caramel you’re looking for, I personally prefer the dry method after trying both. Why? I find it has fewer chances of sugar crystallization - when your sugar seizes up into a grainy mess all along the edge of your saucepan. These clumps of sugar then drop into your perfectly smooth caramel and then you're left with... white clumps. Annoying.
The dry method cooks faster and gives you more control over the color and depth of flavor. Let's take our time and try this reliable, fuss-free dry-method way. Learning how to make homemade caramel at home is truly a great skill to have in your back pocket.
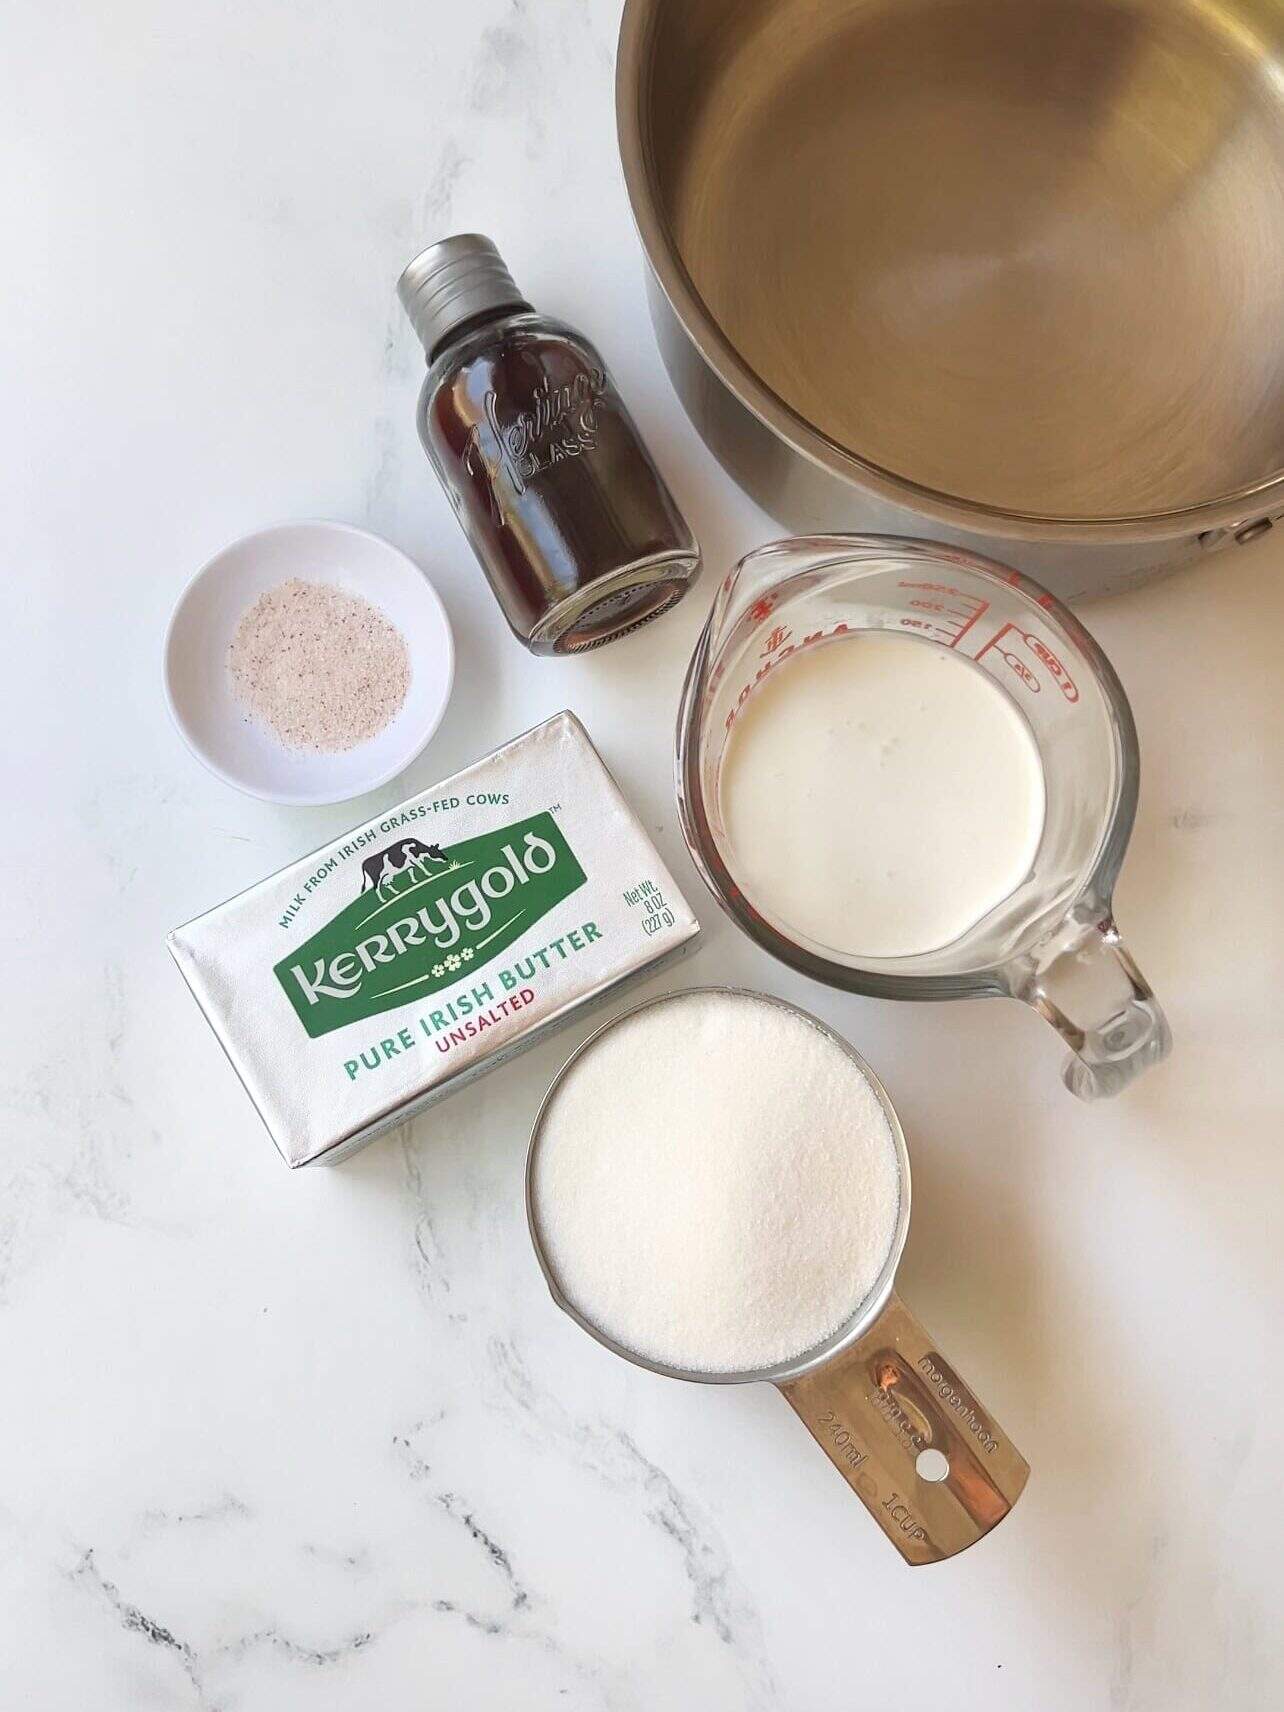
Only 5 Ingredients
- Granulated sugar
- Heavy cream: Heat in the microwave or saucepan until it's warm but not boiling, preferably 122-140ºF (50-60ºC). Cold cream cools the hot caramel quickly, causing it to thicken unevenly and curdle. I use the microwave for about 30-60 seconds.
- Butter: Splurge and use your favorite good quality butter. With so few ingredients, this is one of those recipes where the quality of butter cannot hide.
- Vanilla: Completely optional, but adds wonderful aroma and flavor.
- Salt: Every dessert needs salt to balance the sweetness and enhance all the other ingredients' flavor.
How To Make Homemade Caramel
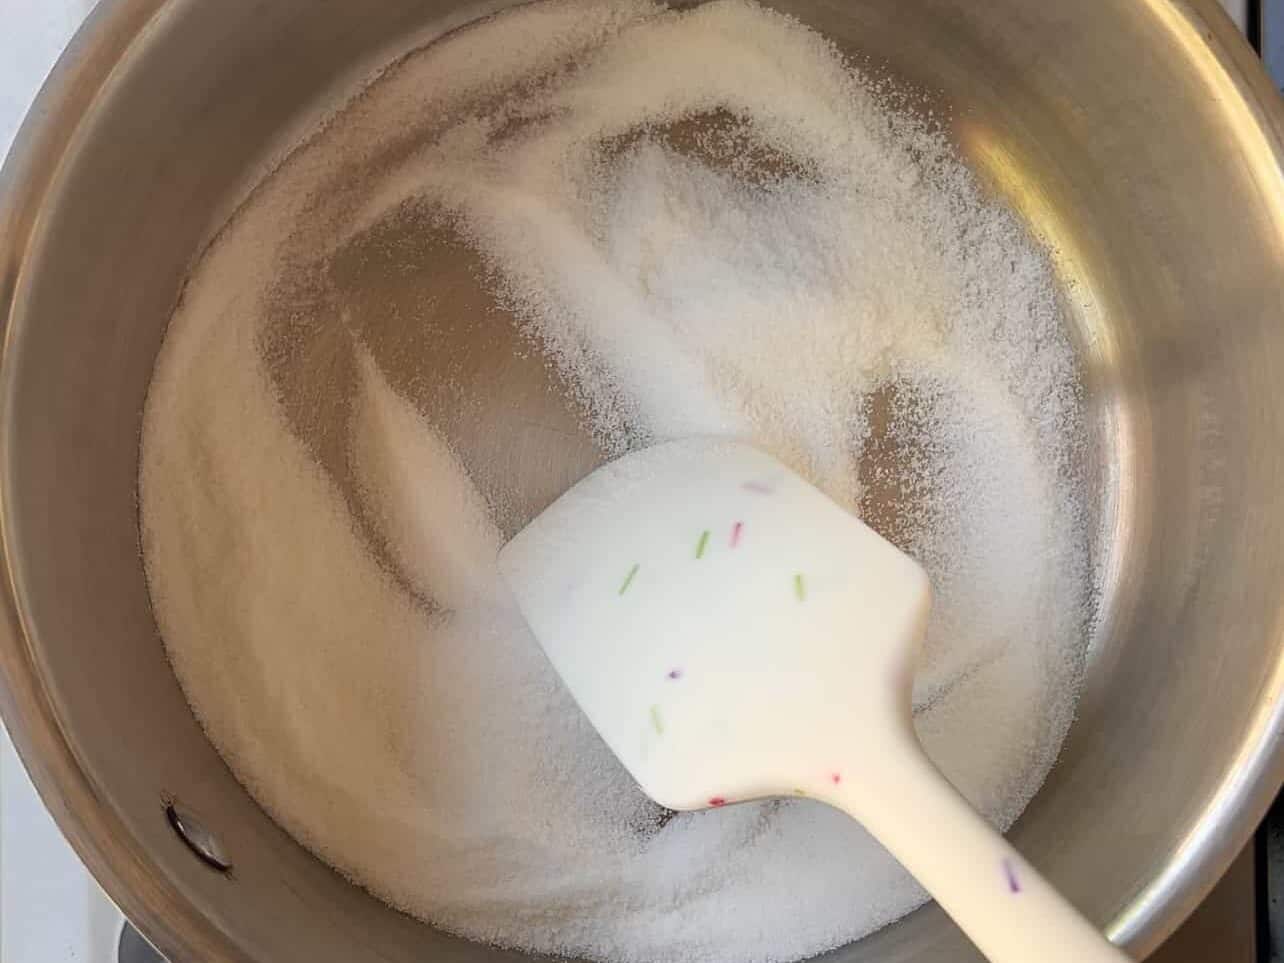
Add about ⅓ cup of sugar to a heavy-bottom saucepan. One of the most helpful tips I learned was melting the sugar in stages. Keep stove on medium-low heat. Sugar burns in an instant, so be sure not to walk away from the stove. And yes - you are allowed to stir, but constant stirring is not necessary at this stage.
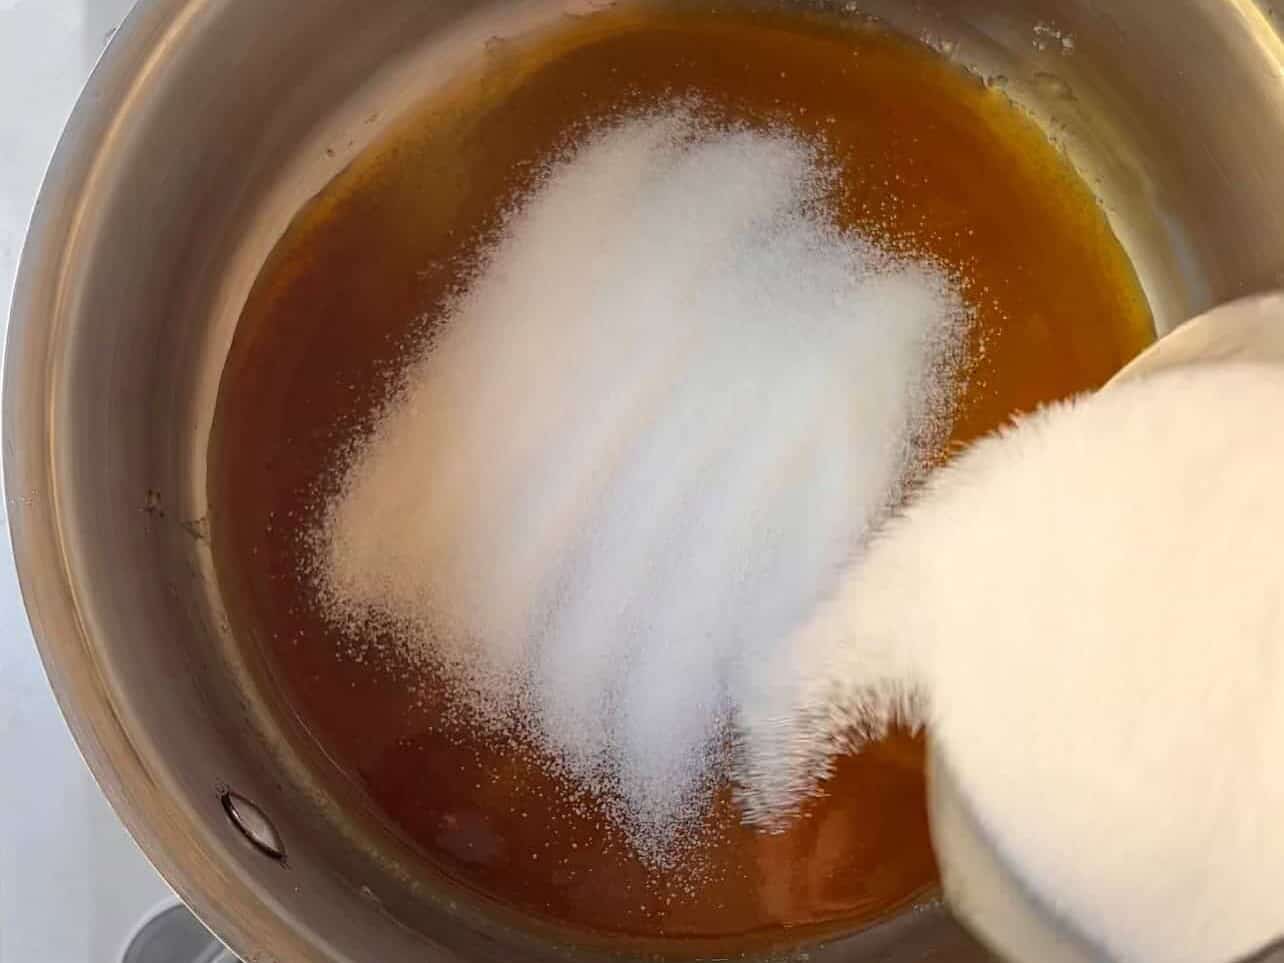
Once the first batch of sugar has melted into an amber liquid, add another ⅓ cup of sugar in the center. No need to stir vigorously - just allow the lower already-melted sugar to melt the top layer.
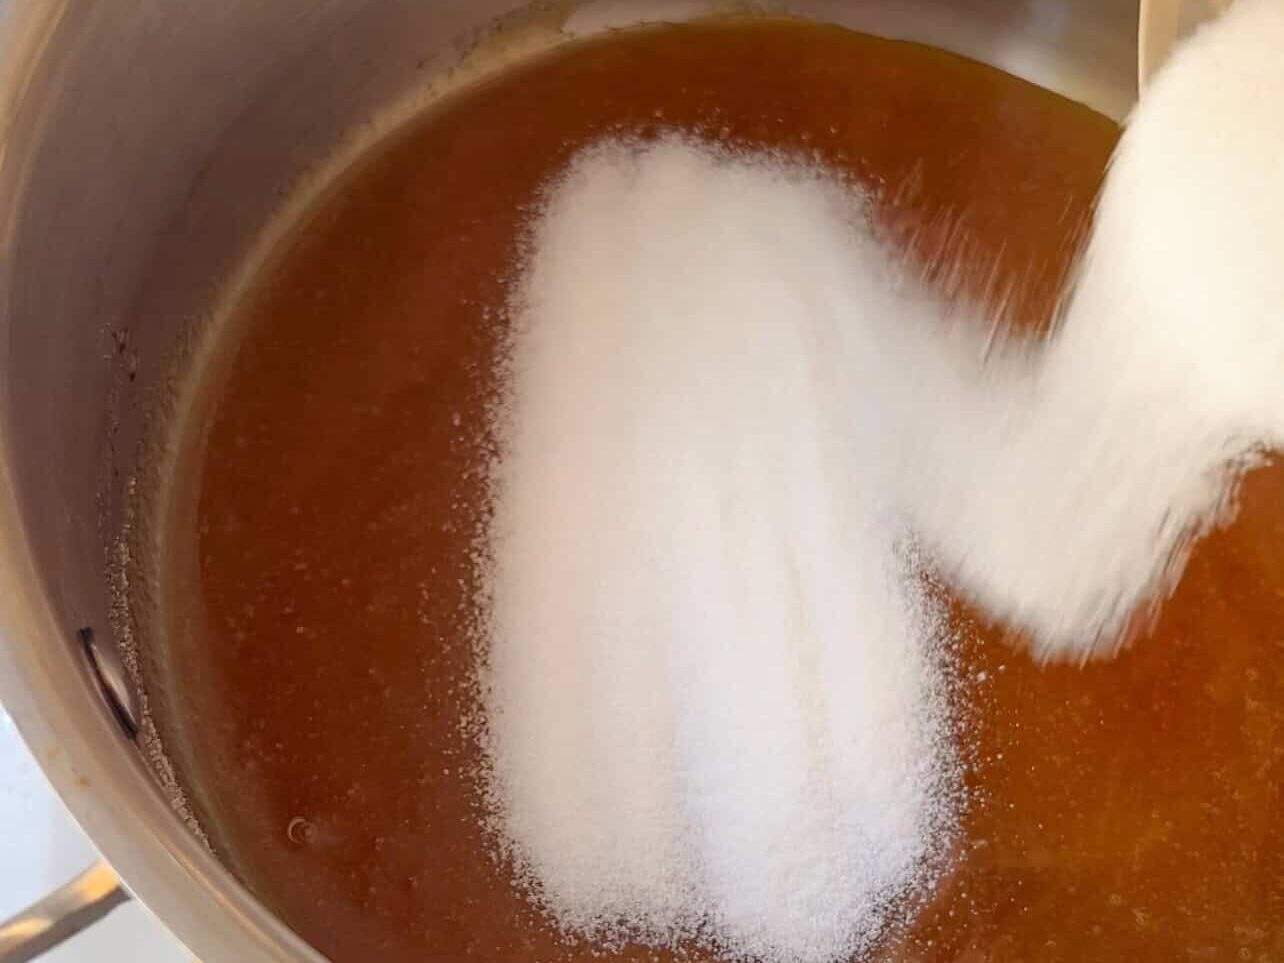
Melt in that final remaining sugar.
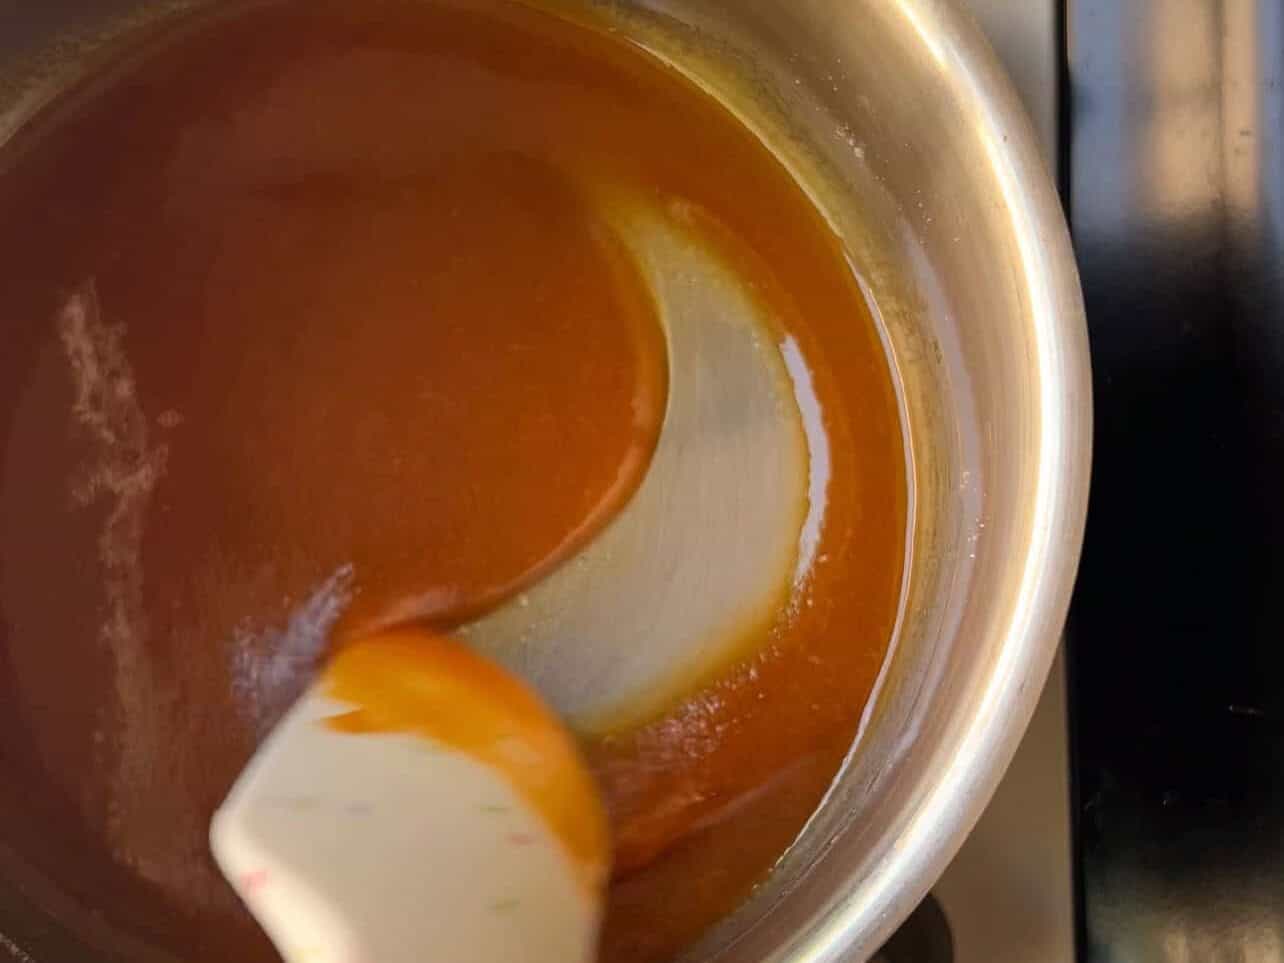
Once the granules have dissolved, keep stirring maintaining medium-low heat. You will notice the mixture starting to feel thinner and less grainy. It will feel more like a liquid and become and more translucent.

Pour in your warmed heavy cream as you stir - the mixture will start to bubble aggressively. It will be alarming at first, but do not worry. Just keep stirring making sure you reach all sides of the saucepan! You may feel some lumps forming - once the bubbles subside, they will start to smooth out.
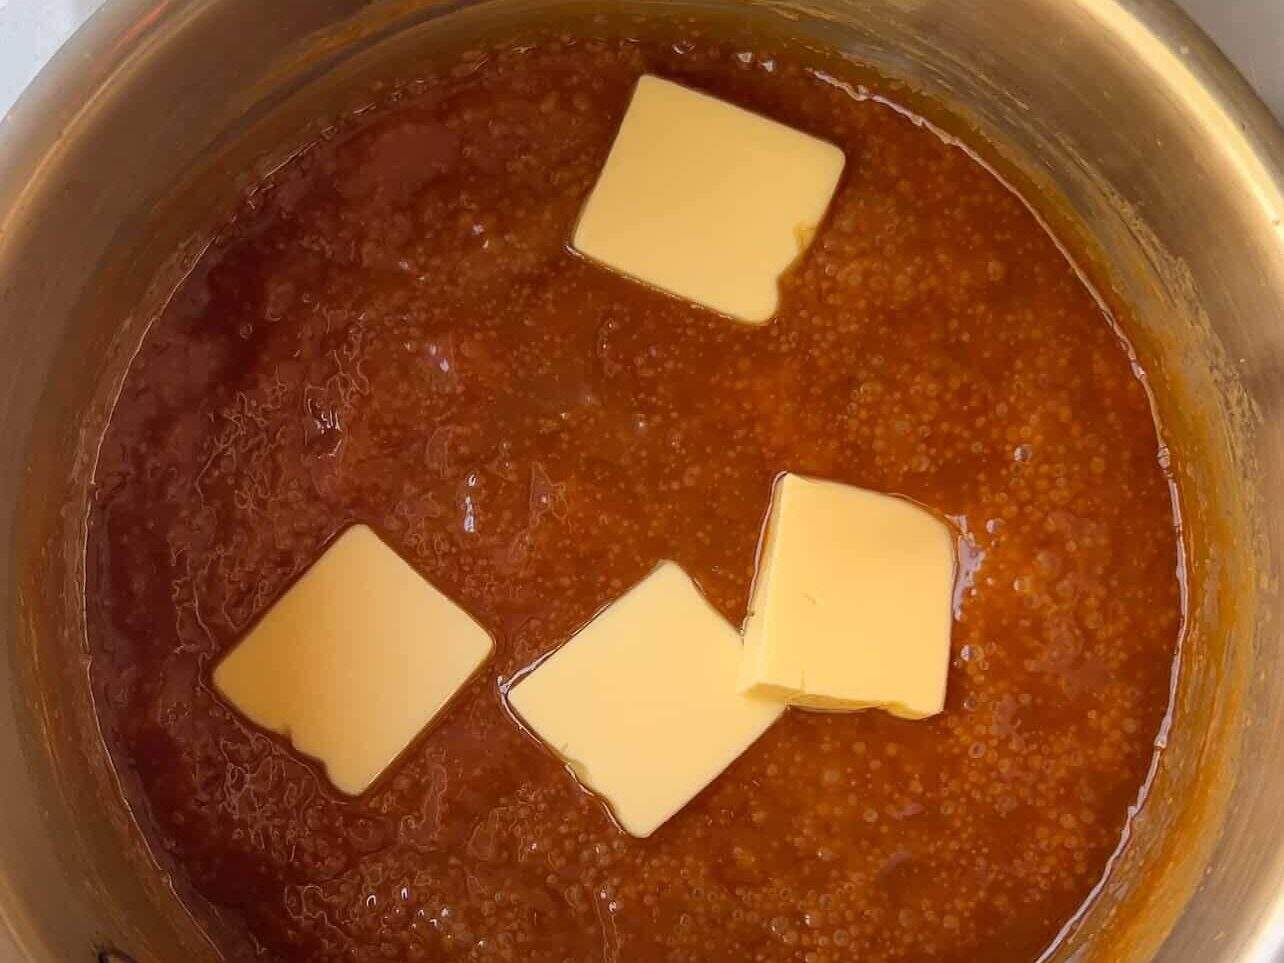
Turn off the heat and stir in your butter.
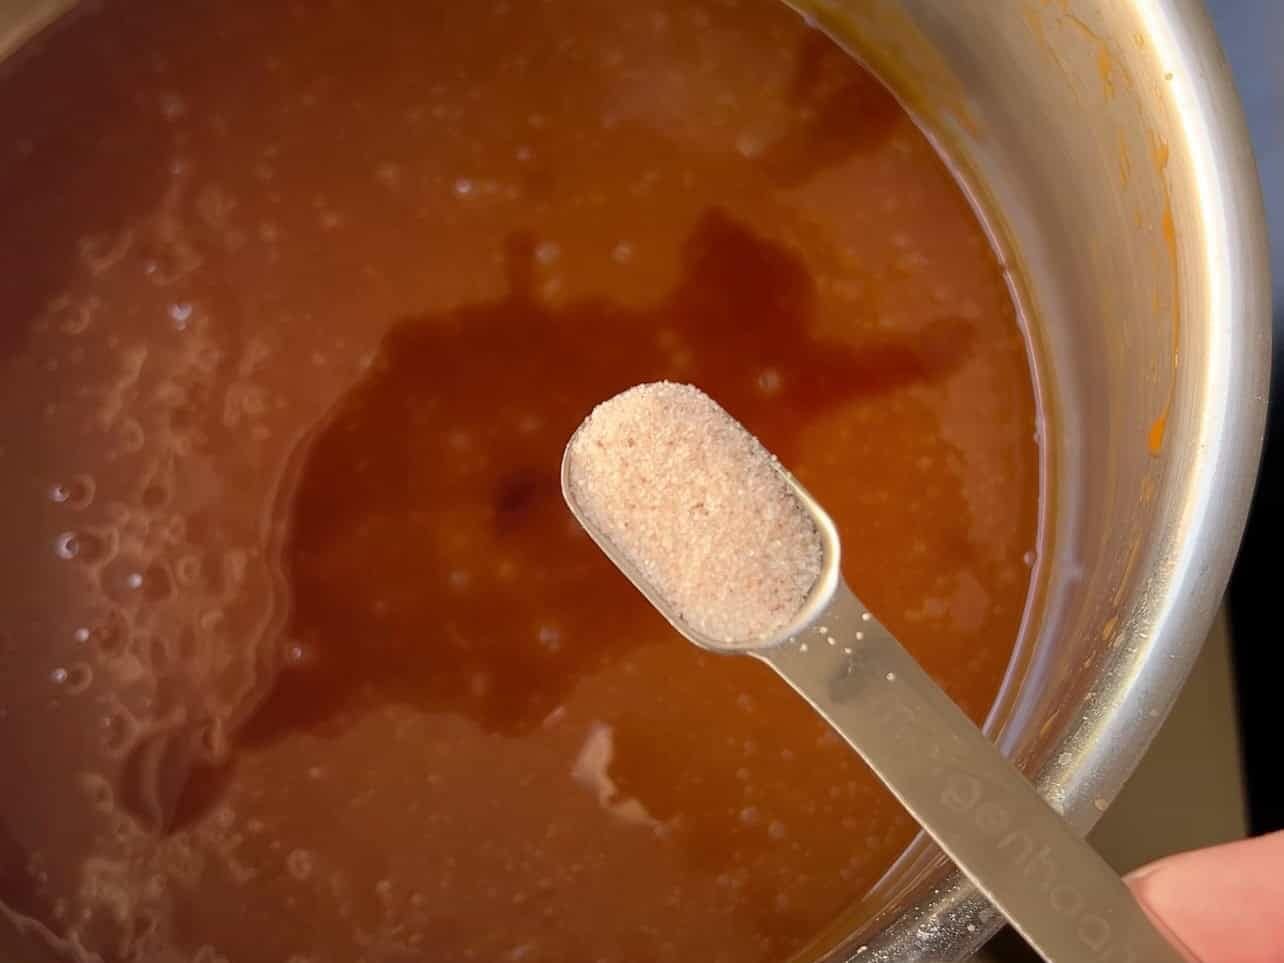
Mix in your vanilla and salt.
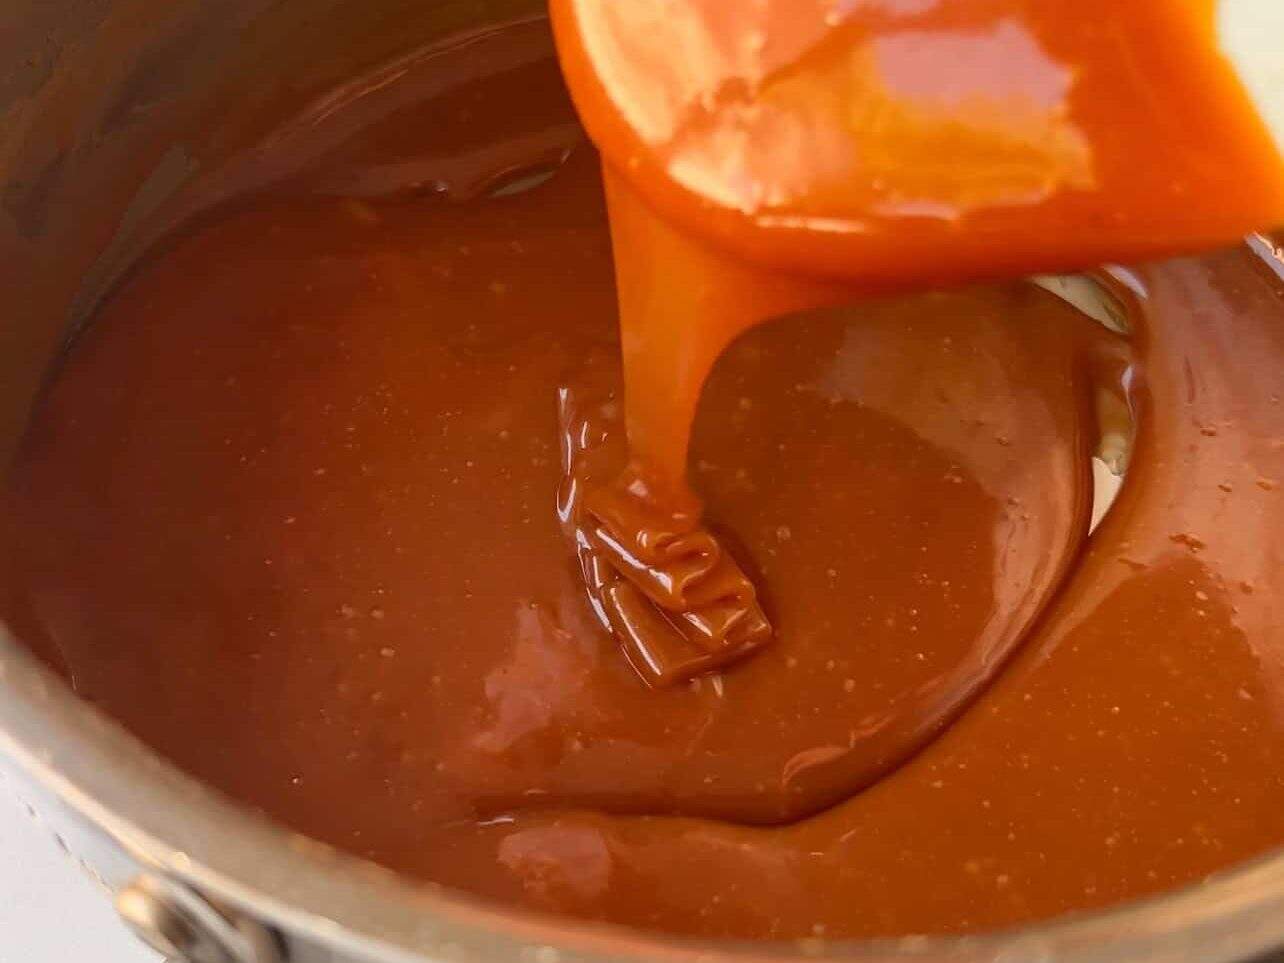
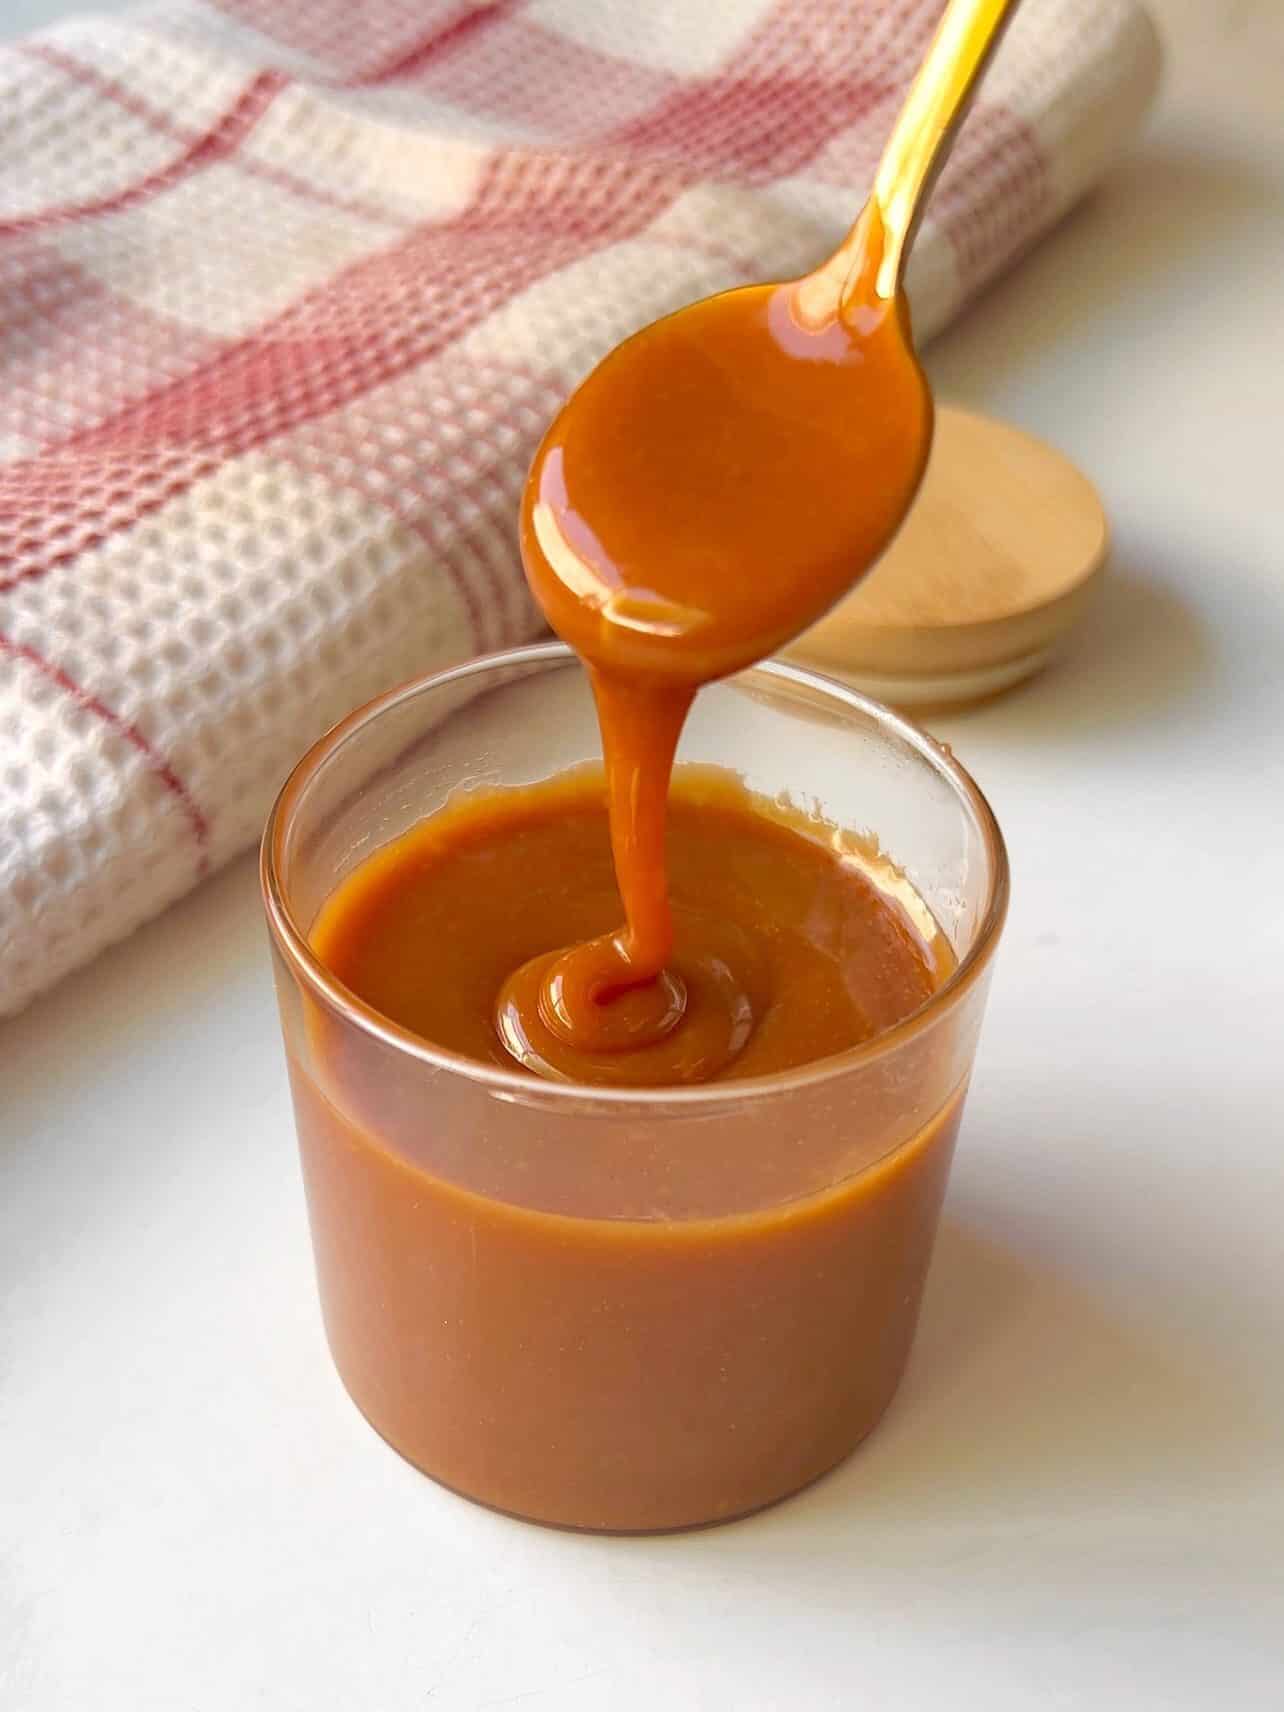
Allow it to cool and thicken. And look at that - you have officially made homemade caramel!
Suzy's Tips For Success
- Use a heavy bottomed saucepan: Thin saucepans typically have hot spots leading to uneven melting. A heavy bottomed saucepan will distribute heat more evenly, preventing sugar from scorching and ensuring consistent caramelization.
- Do not walk away from the stove: Sugar can and will burn in a hot minute if left unattended. So don't do it. You need to hold its hand the whole time.
- Take your time: Rushing this process will only leave you with burnt sugar at the bottom of your pan. Don't be tempted to turn up the heat, if anything turn it down to low.
- The goal is to nail it the first time, but do not be discouraged if you have to try again: Learning how to make homemade caramel isn't easy, ask anyone who has made it at home. Re-read the recipe and have your ingredients ready. I feel we make majority of our mistakes when we rush. Breathe and go slowly. You. Got. THIS.
Best Way To Store Homemade Caramel
Store homemade caramel sauce in an airtight mason jar in the fridge for up to 1 month, or freeze up to 3 months.
FAQ
If your caramel is on the thinner side, you can thicken it but simply heating it a bit longer. Try to avoid using too high of heat. Caramel will also thicken naturally as it cools. If your caramel is too thick, you can stir in a bit more heavy cream. Just be sure to taste it carefully it's cooled. If you taste burnt sugar, this usually means it was melted in the first stage for too long or too high heat. I would suggest you then start over.
Absolutely! Start with 1 teaspoon of salt, allow it to cool slightly, and taste. Add more if desired.
If you want a fluid caramel sauce (perfect for drizzling on top ice cream), shoot for 220ºF (104ºC). Take the temperature AFTER you added the warmed heavy cream and bubbles have subsided.
For a thicker caramel that's still gooey and soft enough to bite through (think of a caramel layer on top of brownies), reach 230ºF (110ºC).
For a firmer caramel that's chewy (what you usually see on candied apples), let temperature reach 245ºF (118ºC).
Once you reach desired temperature, turn off the heat, then stir in your butter, vanilla, and salt.
You Might Also Like...


Equipment
- metal whisk or spatula
Ingredients
- 1 cup granulated sugar
- ½ cup heavy cream or heaving whipping cream
- 6 tablespoon unsalted butter
- 1 teaspoon vanilla extract optional
- ½-1 tsp sea salt
Instructions
- Heat your heavy cream in the microwave or small saucepan, and have all your ingredients ready.
- Pour about ⅓ cup sugar in a heavy bottomed saucepan on medium-low heat. Stir as the sugar will start to clump as it melts slowly. Do not be tempted to turn up the flame - be patient and keep an eye on it. Plan according so you do not need to walk away from the stove.1 cup granulated sugar
- Add another ⅓ cup of sugar in the center of the pan. Stir only enough at this stage to help the top layer of sugar - the already-melted sugar will do the rest. Once all the granules have melted, add in the final ⅓ cup of sugar and repeat.
- The mixture will be a golden amber color. As you continue to stir, you will feel it slowly become thinner, less grainy, and more translucent.
- Slowly pour in your warmed heavy cream as you start to stir constantly. The mixture will bubble aggressively - that's normal! You may feel some lumps forming - once the bubbles subside, they will start to smooth out.½ cup heavy cream
- Turn off the heat and stir in your butter until it melts, then add in vanilla and salt. Taste carefully - add more salt if desired. Pour into a cup or bowl and allow to cool completely.6 tablespoon unsalted butter, 1 teaspoon vanilla extract, ½-1 teaspoon sea salt
Notes
- Nutritional information is only an estimate. The accuracy of the nutritional information for any recipe on this site is not guaranteed.
- For the best consistent results, use a kitchen scale. Measuring ingredients accurately gives you the best chance for success, and a scale will give you the most precise readings.
Nutrition
Looking for other recipes like this?

Did you make this recipe? Let me know!