
If you haven't tried Starbucks Copycat Strawberry And Cream Cake Pops this summer or already grabbed one paying $3-4 each just to find out how delicious they are (gosh, damn it!), here's a recipe that will easily make you a big batch of 30+ cake pops at home. The best part - they're better than the original and no drive-thru line required.

You know I actively avoid Starbucks. Nowadays, I visit small business coffee shops for an occasional Americano as an occasional treat. However, curiosity will always get the best of me when I see them release new cake pops for summer. And I hate to admit it, but that first bite got me. It was really, really good.
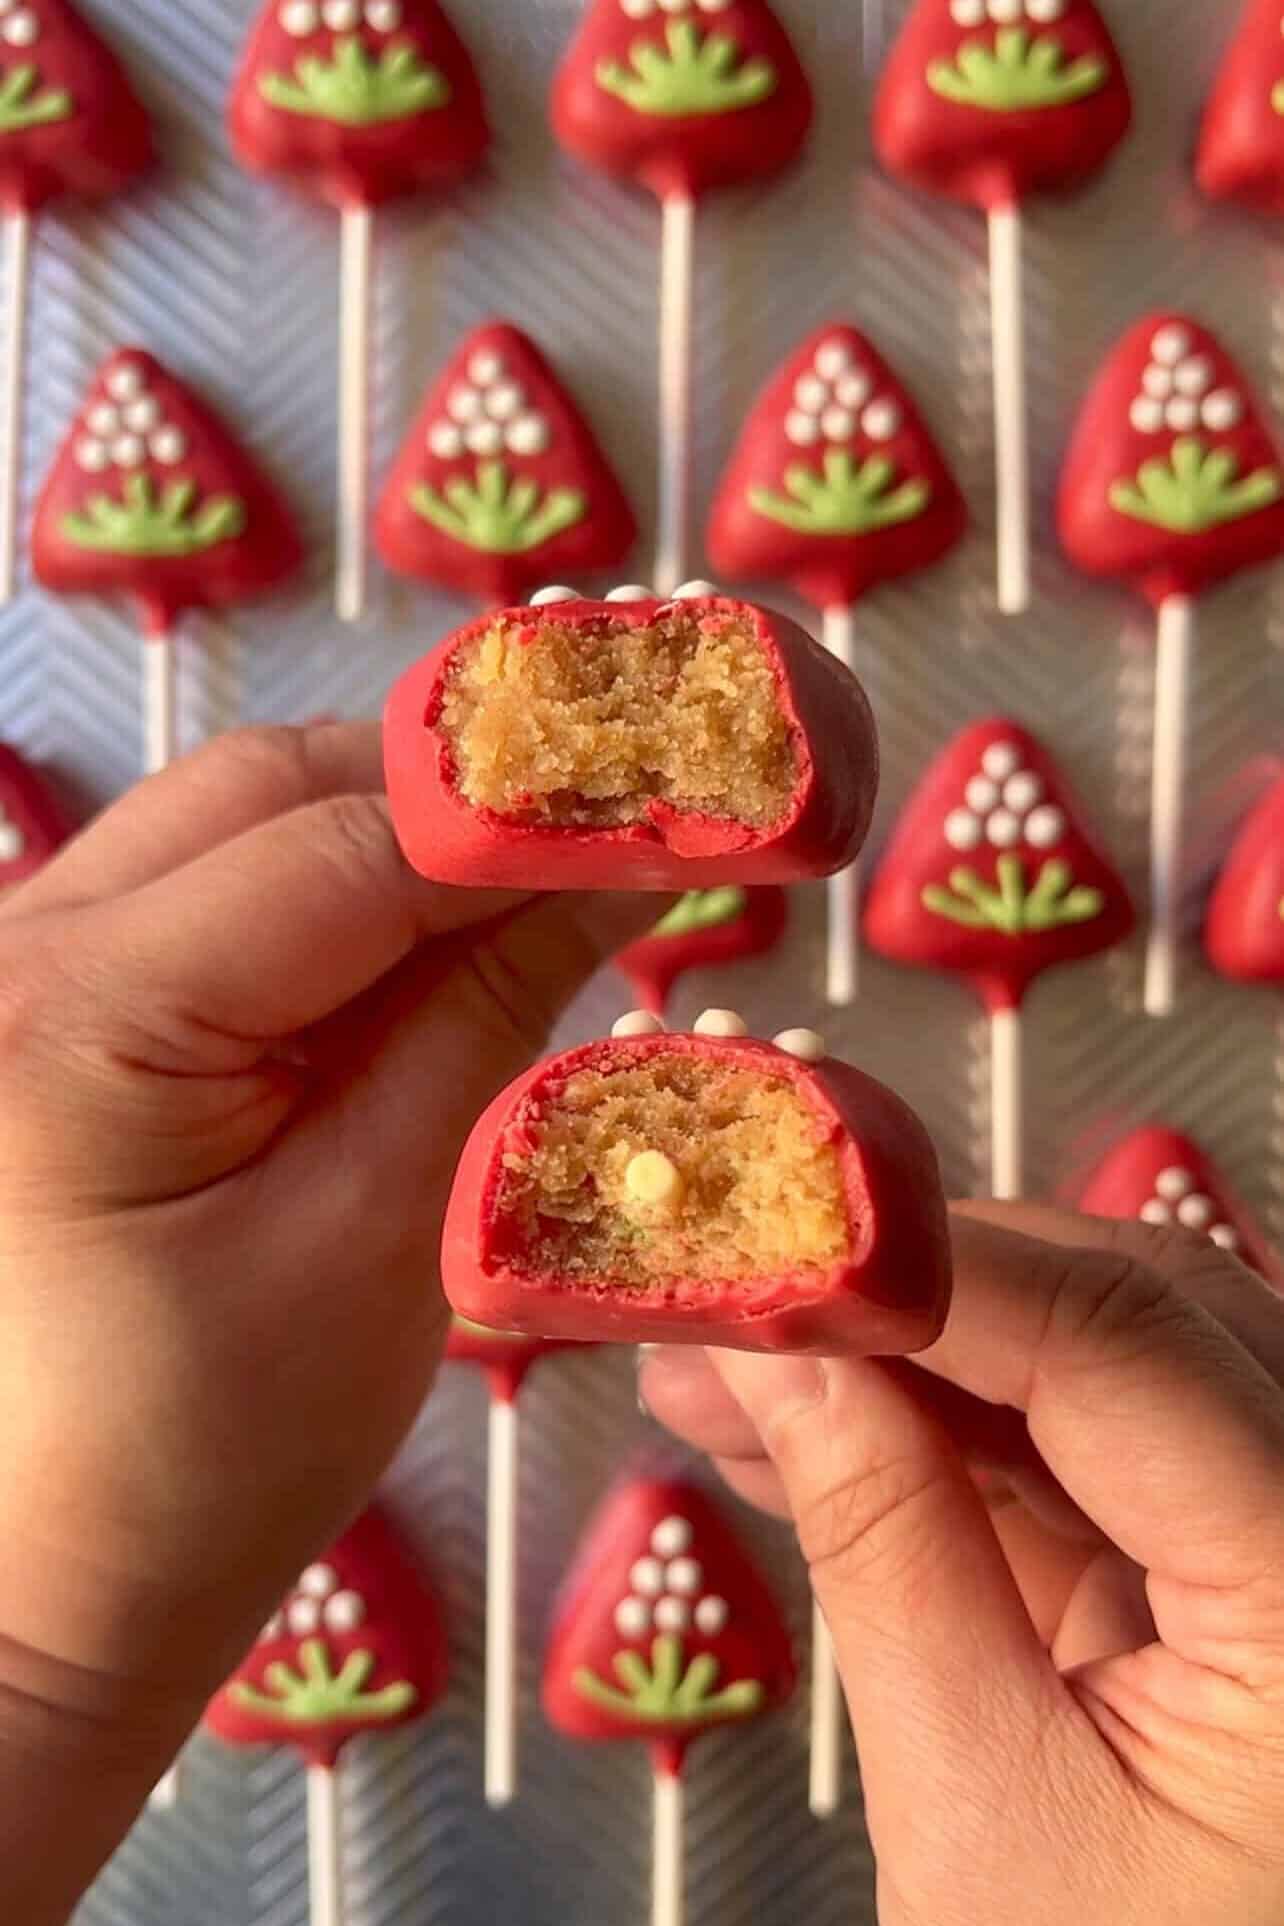
They didn't skimp on the flavor. It was bursting with sweet-and-tart strawberry paired with that nostalgic velvety cream all throughout the cake and coating. That cake pop vanished in seconds. Damn you, Starbucks.

So naturally, I decided then and there I needed to recreate them. After studying their ingredient list and attempting numerous test batches, I can confidently say my Starbucks Copycat Strawberry And Cream Cake Pops recipe shows you how to mimic their bold berry flavor and offer all the step-by-step tips to create the best cake and coating consistency to roll these like a pro. You ready?
Don't forget to check out my other cake pop recipes:
Jump to:
- Optional Step, But Highly Recommended
- Why You Should Add Buttercream
- Key Ingredients You'll Need
- Baking The Cake
- Cake Pop Assembly
- Basic Cake Tips
- Most Common Cake Pop Troubleshooting
- Best Way To Store Starbucks Copycat Strawberry And Cream Cake Pops
- FAQ
- You Might Also Like...
- Starbucks Copycat Strawberry And Cream Cake Pops
Optional Step, But Highly Recommended
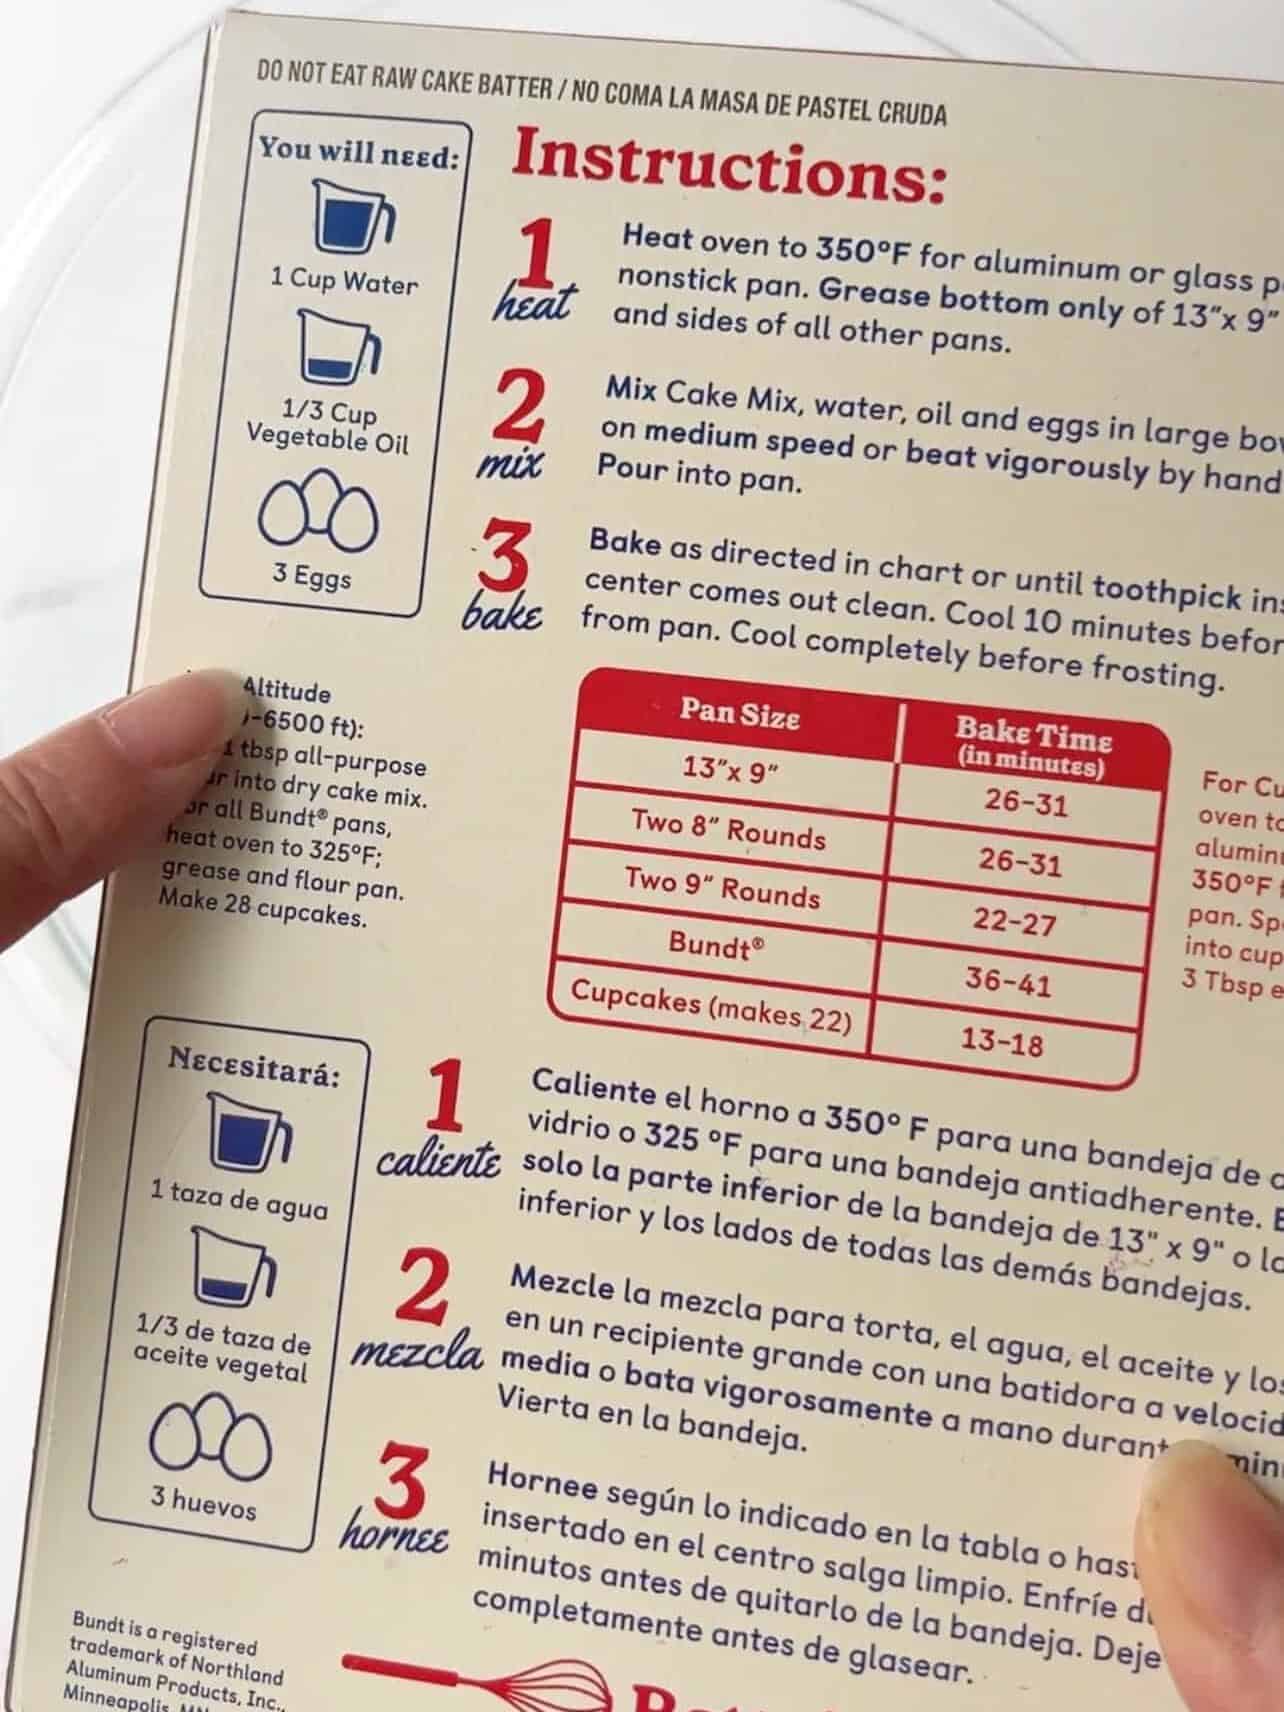
Many of you ask me what's the secret to making consistent cake pops, and I'll be honest - it starts from the beginning. I always elevate the recipe on the cake box - adding an extra egg and swapping milk instead of water. Why? The extra egg adds richness and binding power and the milk creates better flavor. This hack is nothing new - so many of you have told me you do this, too! Remember - flavor and most importantly, MOISTURE. The steps you'll read here may not be crucial when baking a sheet cake, but they come in clutch when you want to roll smooth cake pops. If you successfully made cake pops without using this hack, AMAZING. I find this works great for me.
Why You Should Add Buttercream
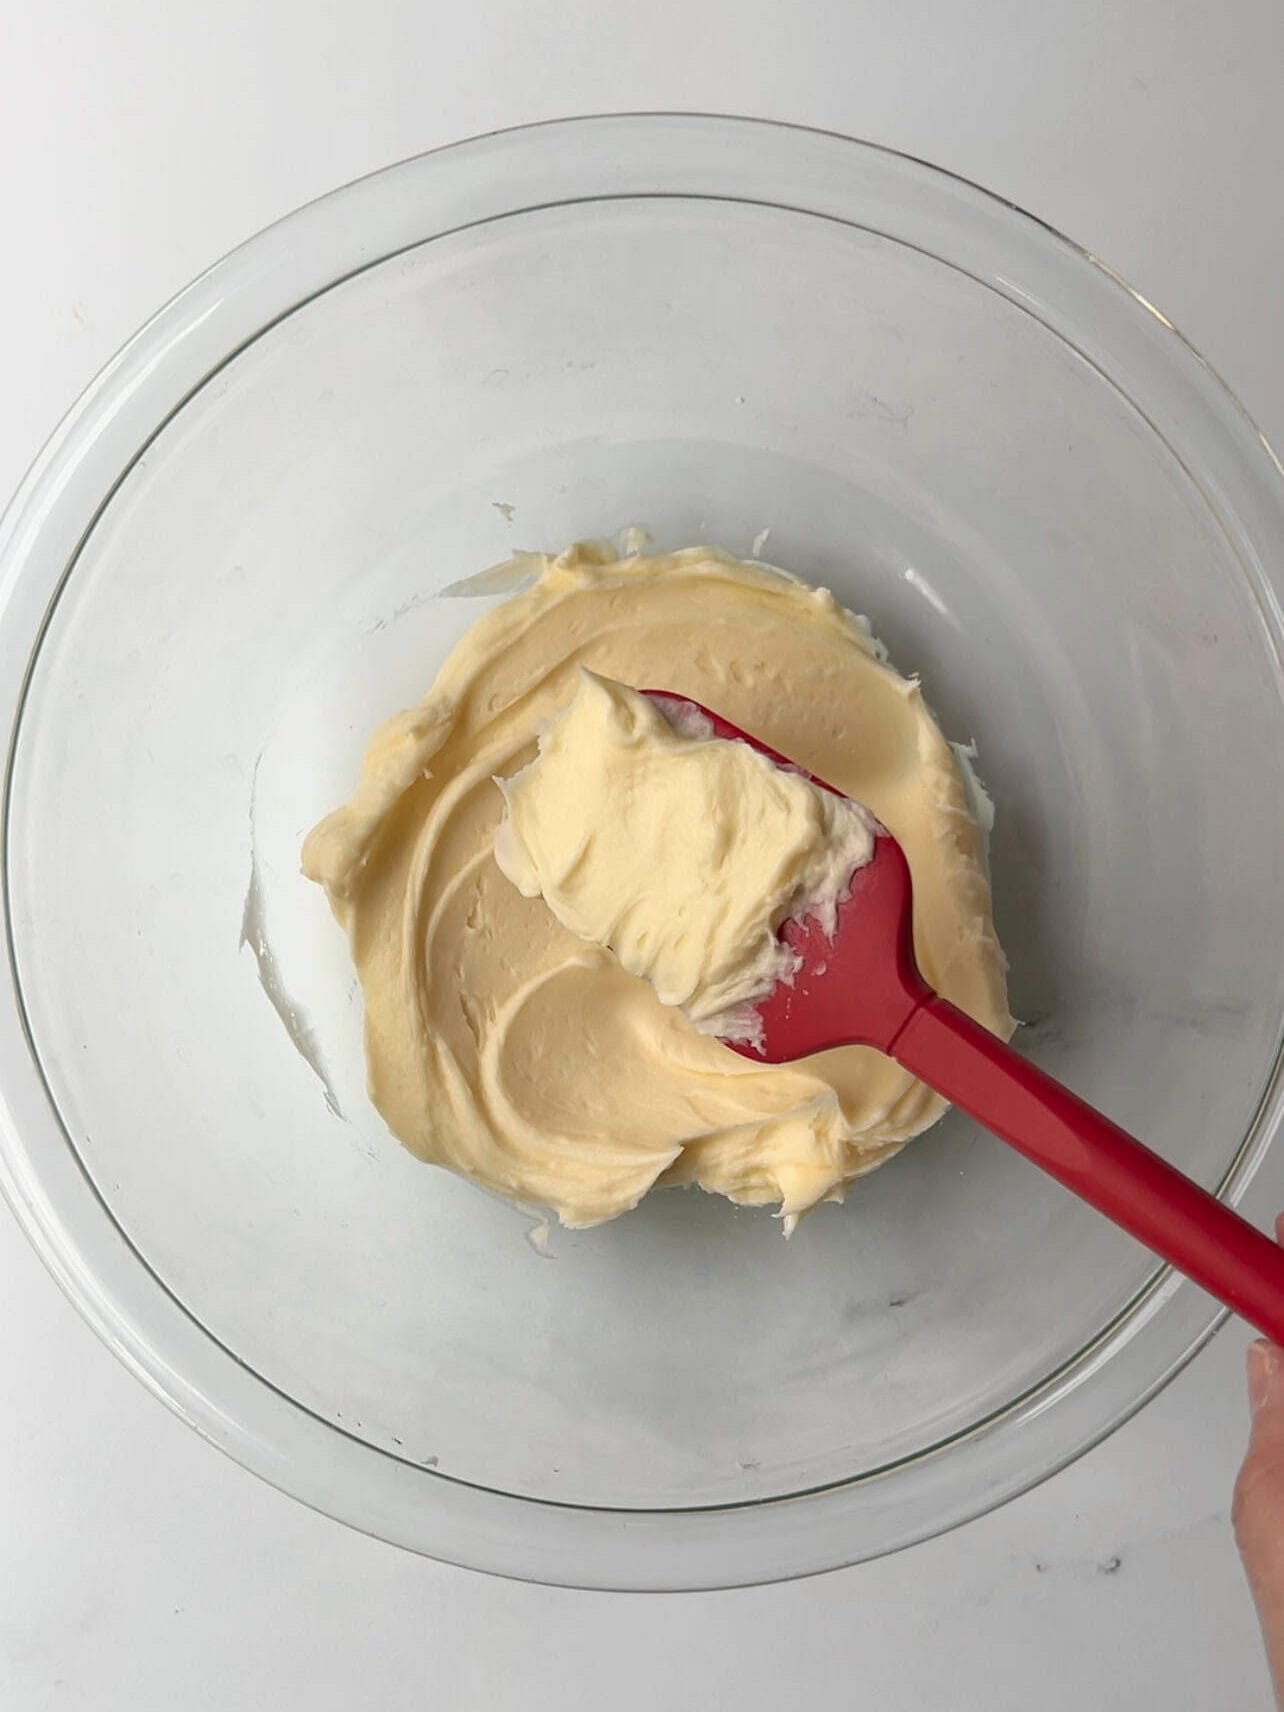
Another step I wouldn't skip is adding a quick and simple buttercream to your baked and crumbled cake, and you can whip this up in one bowl in no time. All of Starbucks' cake pops add buttercream. You can roll these cake pops by just binding warm crumbled cake alone. Some of you opt for using store-bought can frosting. Do what works for you! By simply combining softened butter, powdered sugar, salt, and milk, you can make the perfect small ratio of buttercream that taste cream and delicious, and help bind these cake pops into perfect shape.
Key Ingredients You'll Need
- Use any 13.25 oz store-bought vanilla cake mix: Betty Crocker, Duncan Hines, Pillsbury, Kroger - any brand works. Just don't grab the box for white cake - they use only egg whites. And I apologize if any of these brands are on your boycott list. If you have a scratch cake recipe handy, feel free to use it.
- Oil or butter?: A few people have told me they will substitute butter instead of the oil. Butter is always more flavorful, but I find oil does a better job keeping the cake moist which is especially essential for cake pops. So ultimately, I recommend using oil for cake pops, and butter for classic sheet cake. You can also keep the oil handy just in case you want to add it to thin out your cake pop coating later.
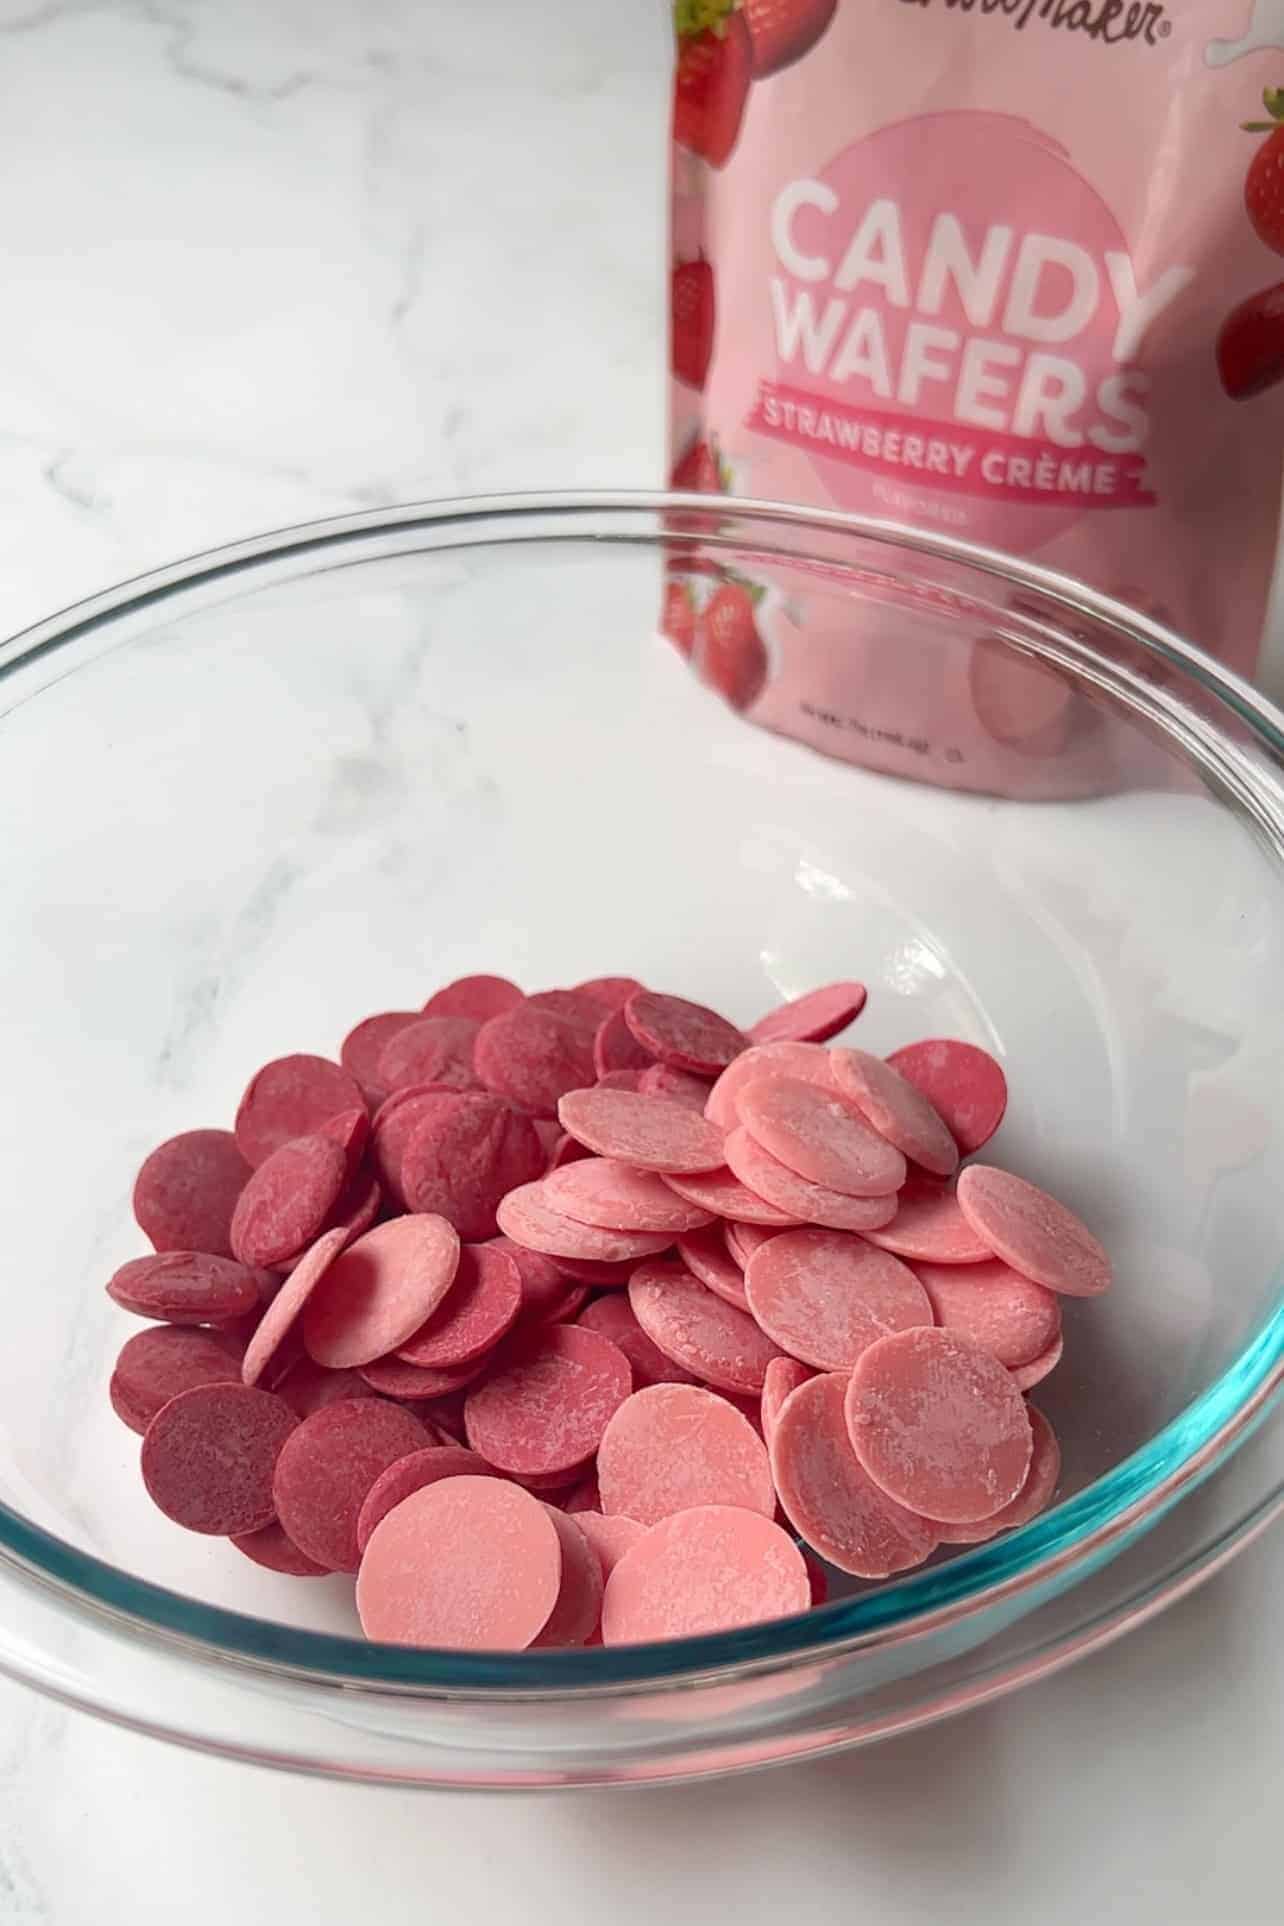
- Candy melts: For the coating and decorations, I mainly use candy melts - they conveniently come in so many colors, easy to melt in the microwave to a thin coat-able consistency. Since most of these are vanilla-based by default, we're adding these ChocoMaker Strawberry Crème Candy Wafers and both crushed and sifted freeze-dried strawberries (1.2oz package) to amp up the strawberry and cream flavor.
- Nonfat dry milk powder: Adding this to the coating enhances and deepens that "crème" flavor finish.
Baking The Cake
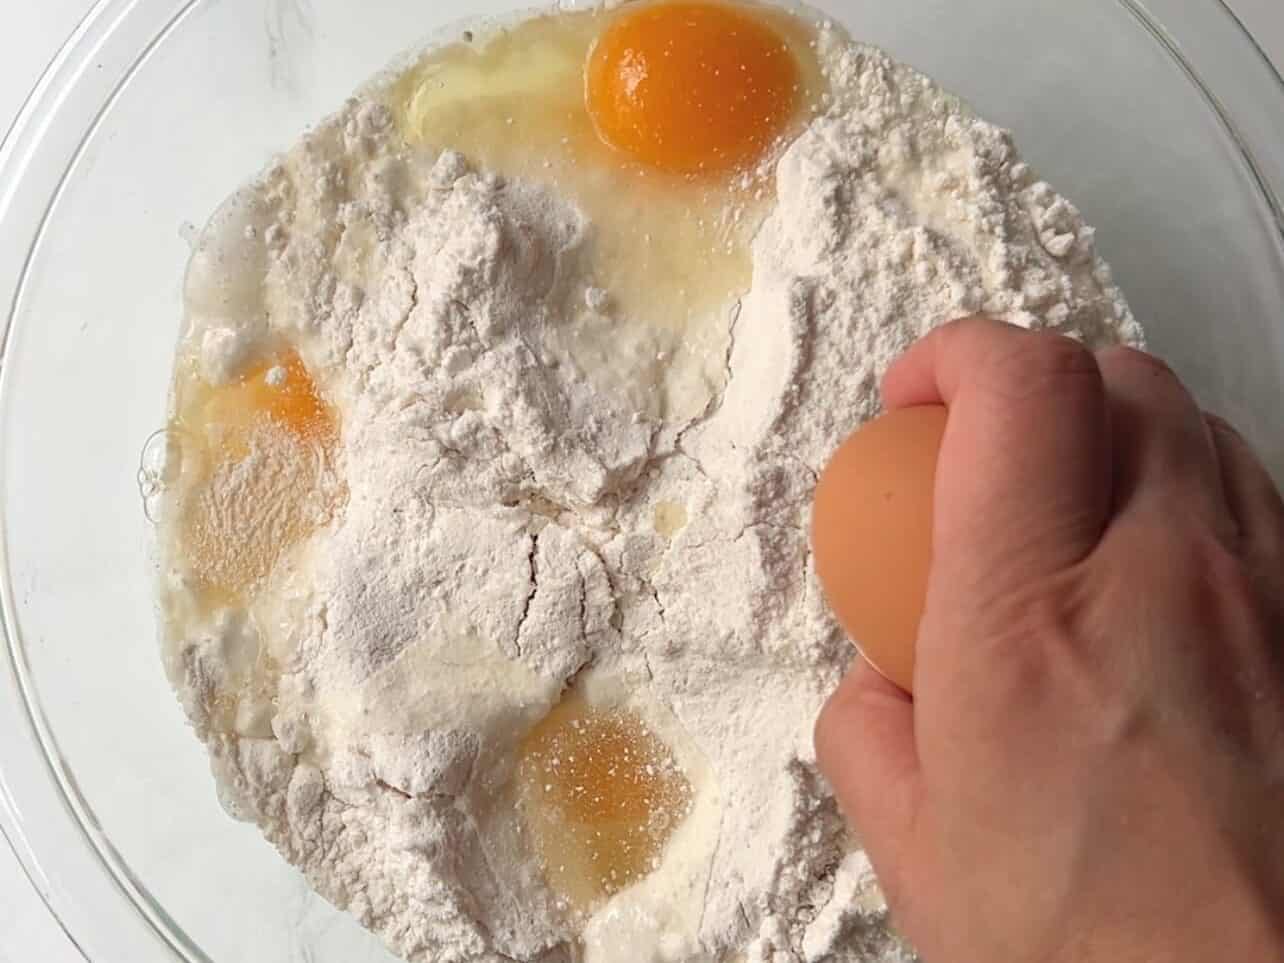
Adding an extra egg and swapping milk instead of water will add more flavor and moisture to your finished cake. You can simply follow the cake box recipe as written, but I highly recommend this hack.
Feel free to bake in any size pan(s) listed on the box - greased and/or lined. I like to use two round pans, but use your 9x13-inch if you wish. Just be sure not to over-bake. Check your cake 5-7 mins prior to finished bake time.
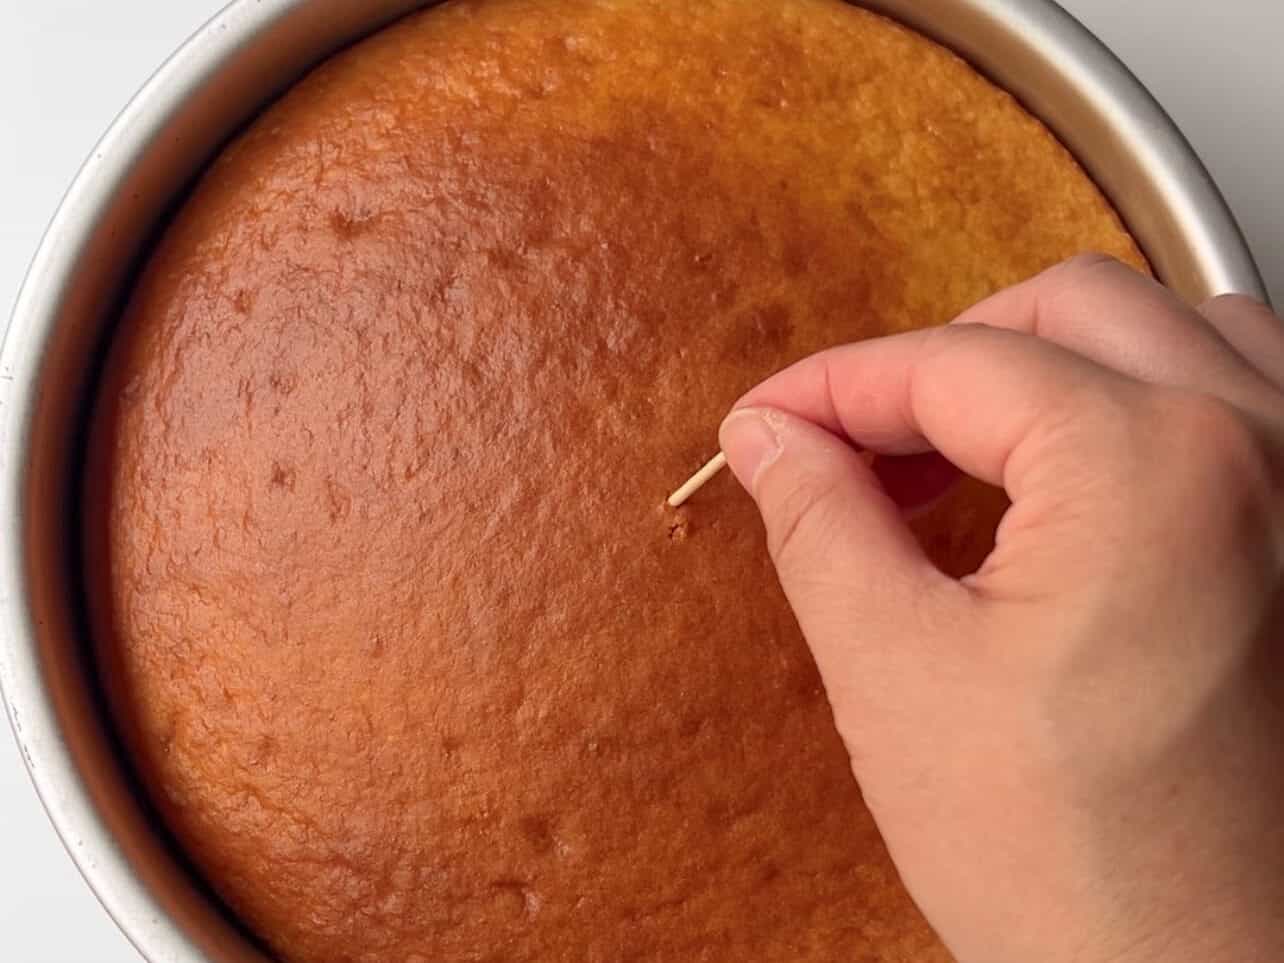
Be sure not to over-bake the cake. Poke a toothpick in the center 5-7 mins prior to finished bake time and see if it comes out clean.
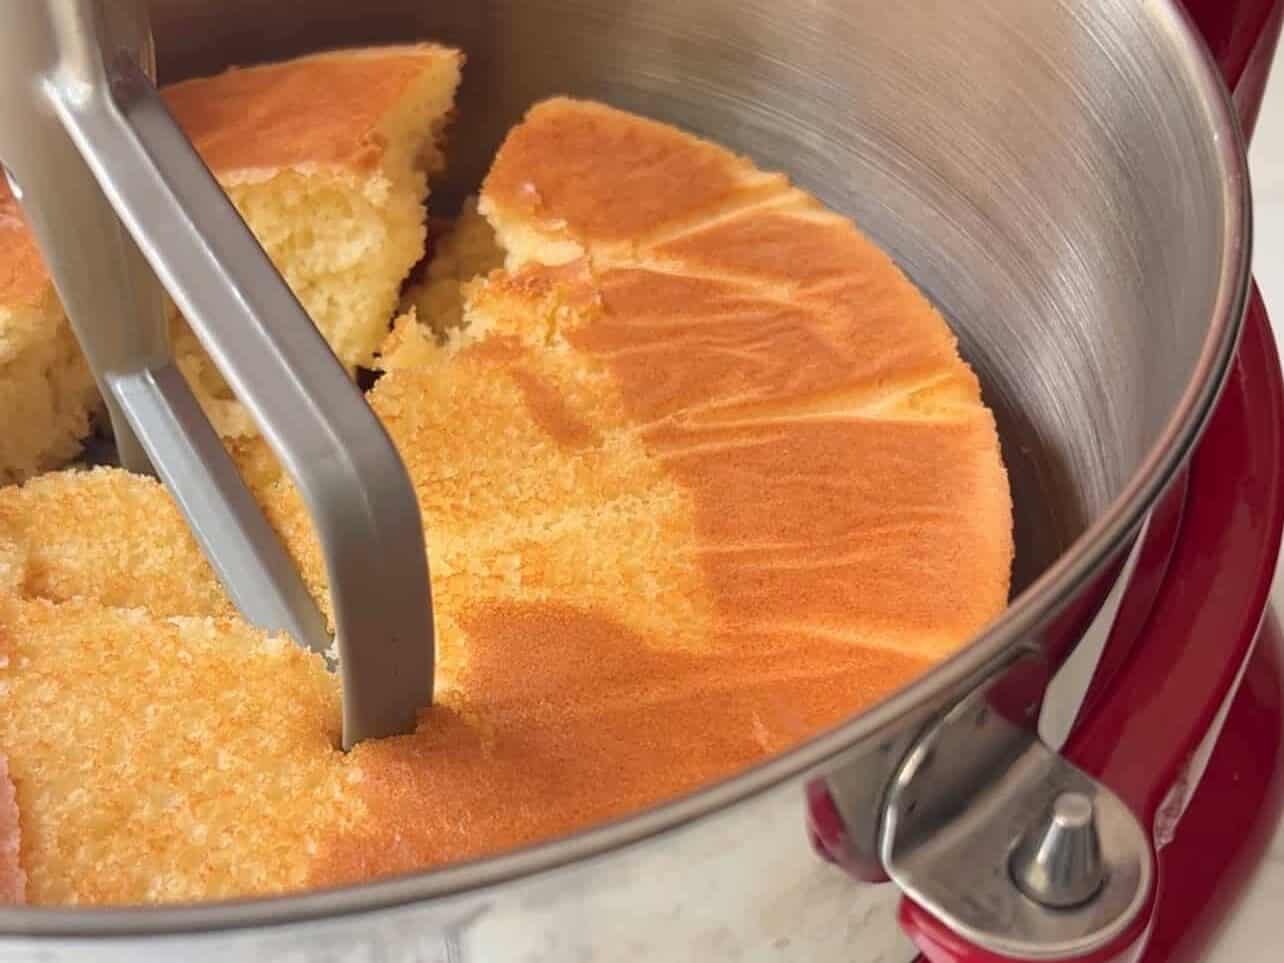
Transfer the HOT baked cake to mixer bowl and crumble immediately using paddle attachment. You can also use handheld mixer or crumble by hand once cake is cool enough to touch.
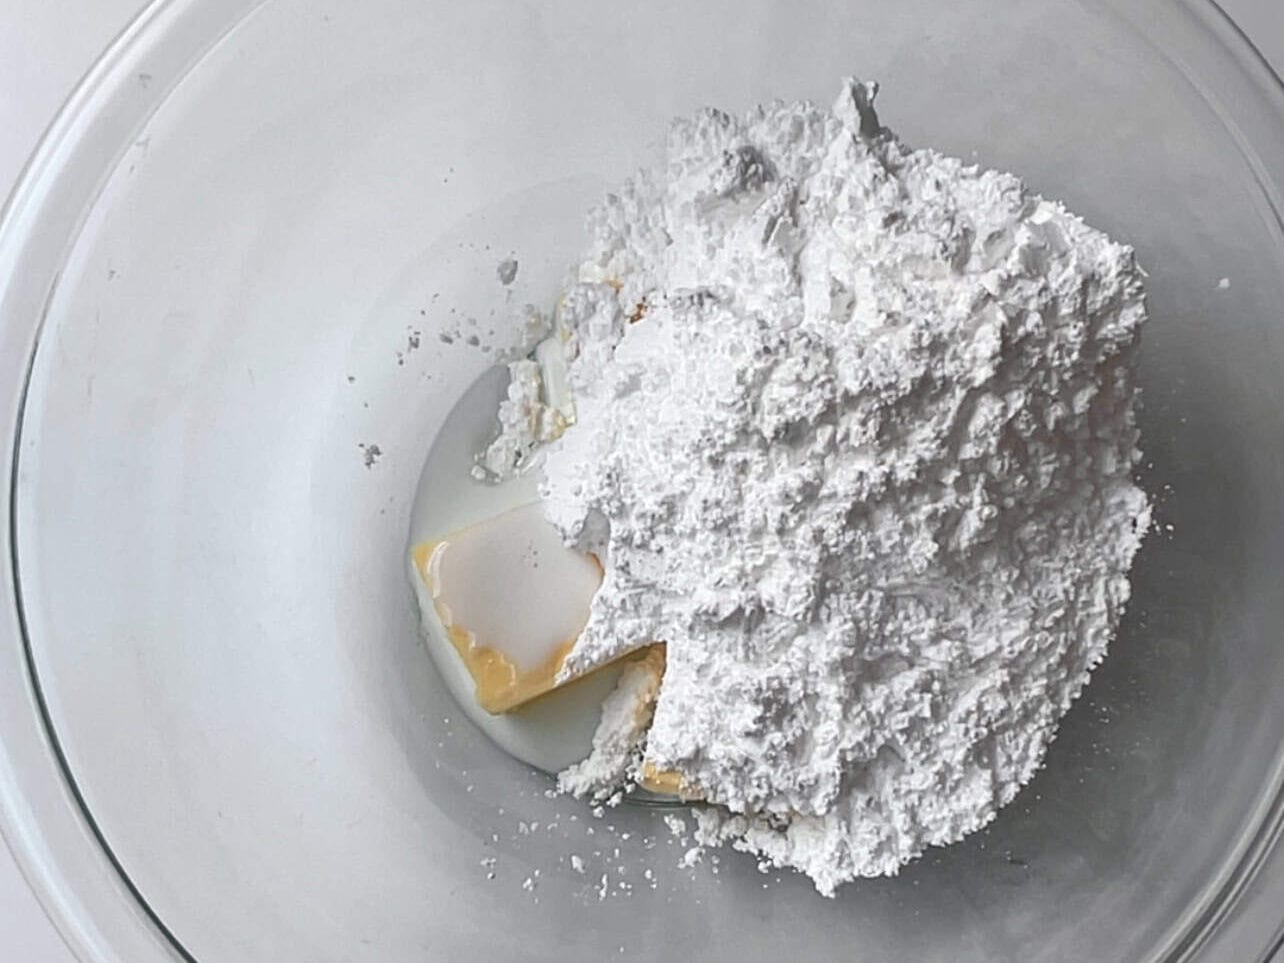
You can make a quick and easy homemade buttercream - it adds flavor and helps cake bind together to roll lump-free. You can also use store-bought can frosting if you prefer.
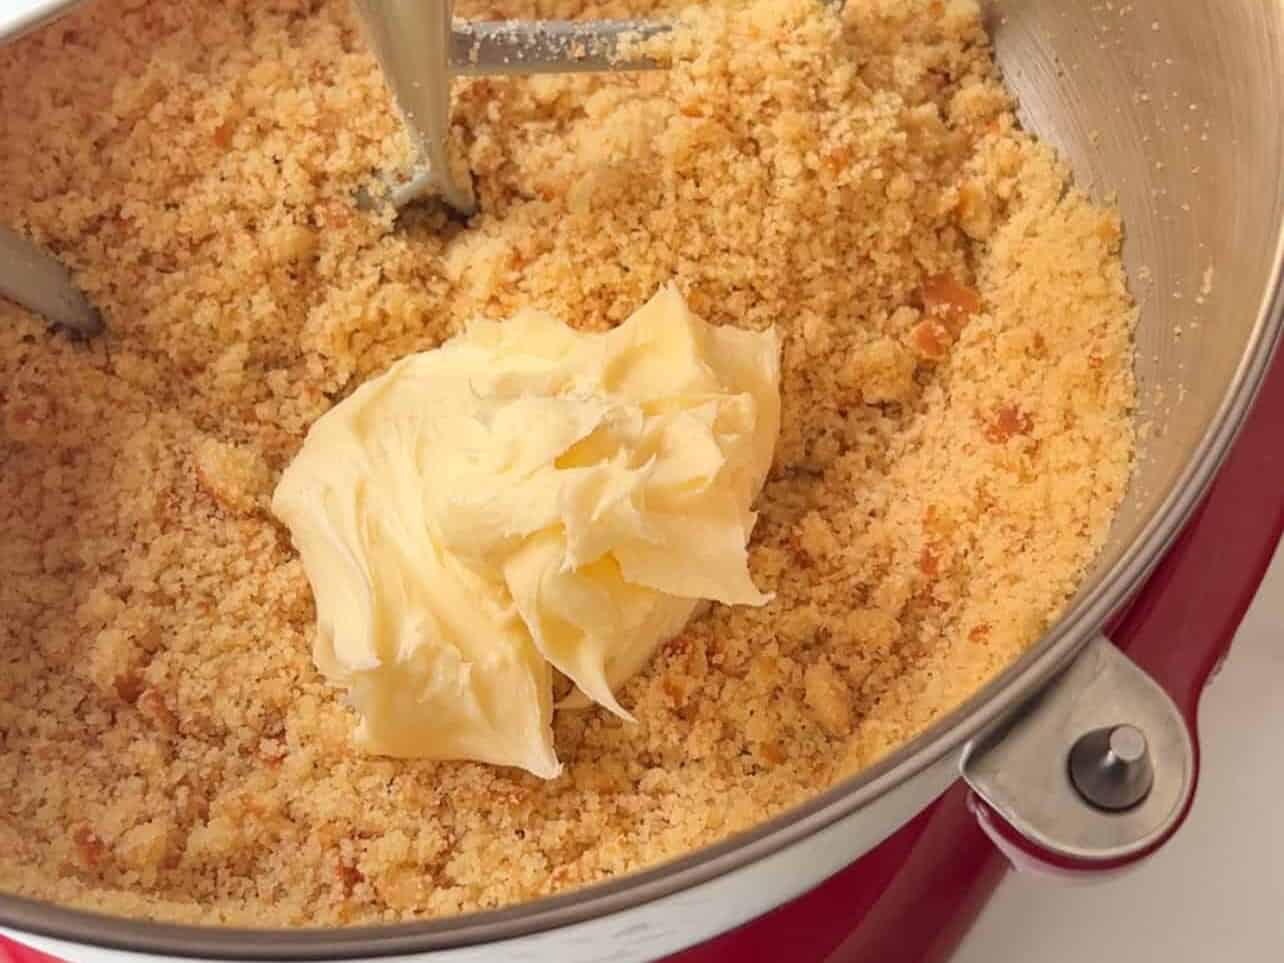
Add buttercream to crumbled cake and mix until evenly combined.
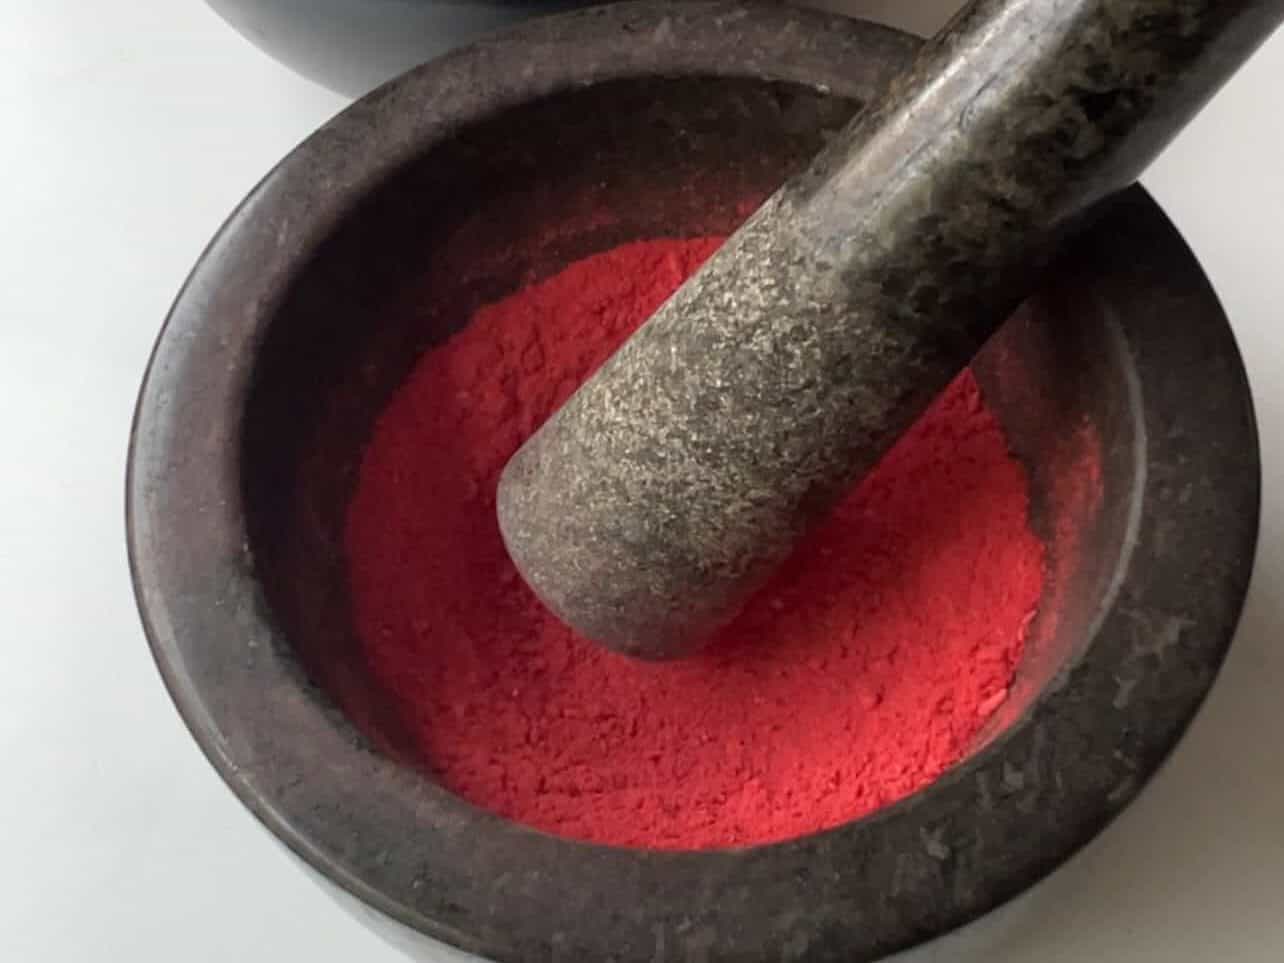
Crush freeze-dried strawberries with a mortar and pestle, or you can use your food processor.
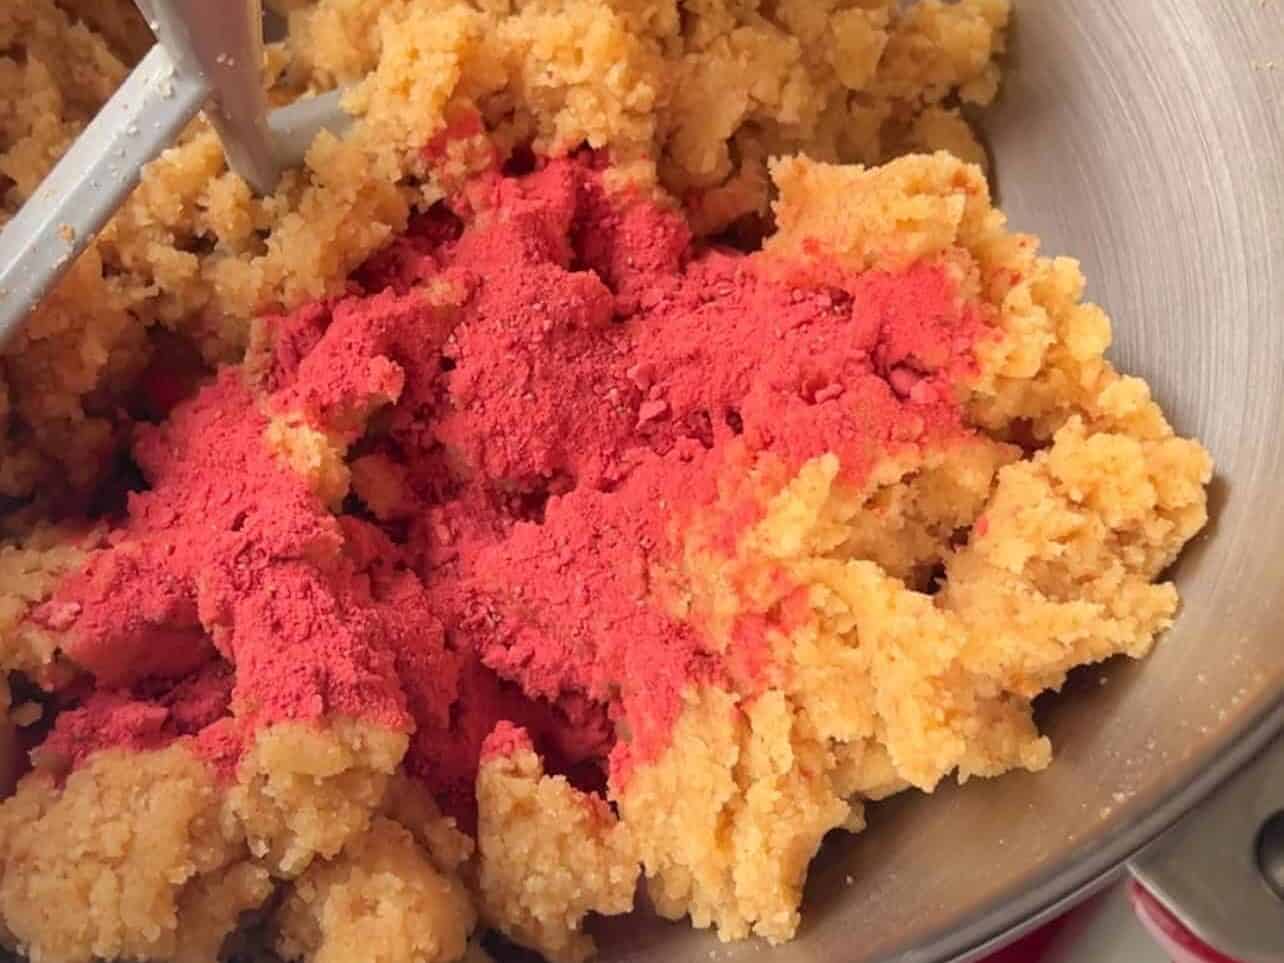
Mix in crushed freeze-dried strawberries to the cake.
Cake Pop Assembly
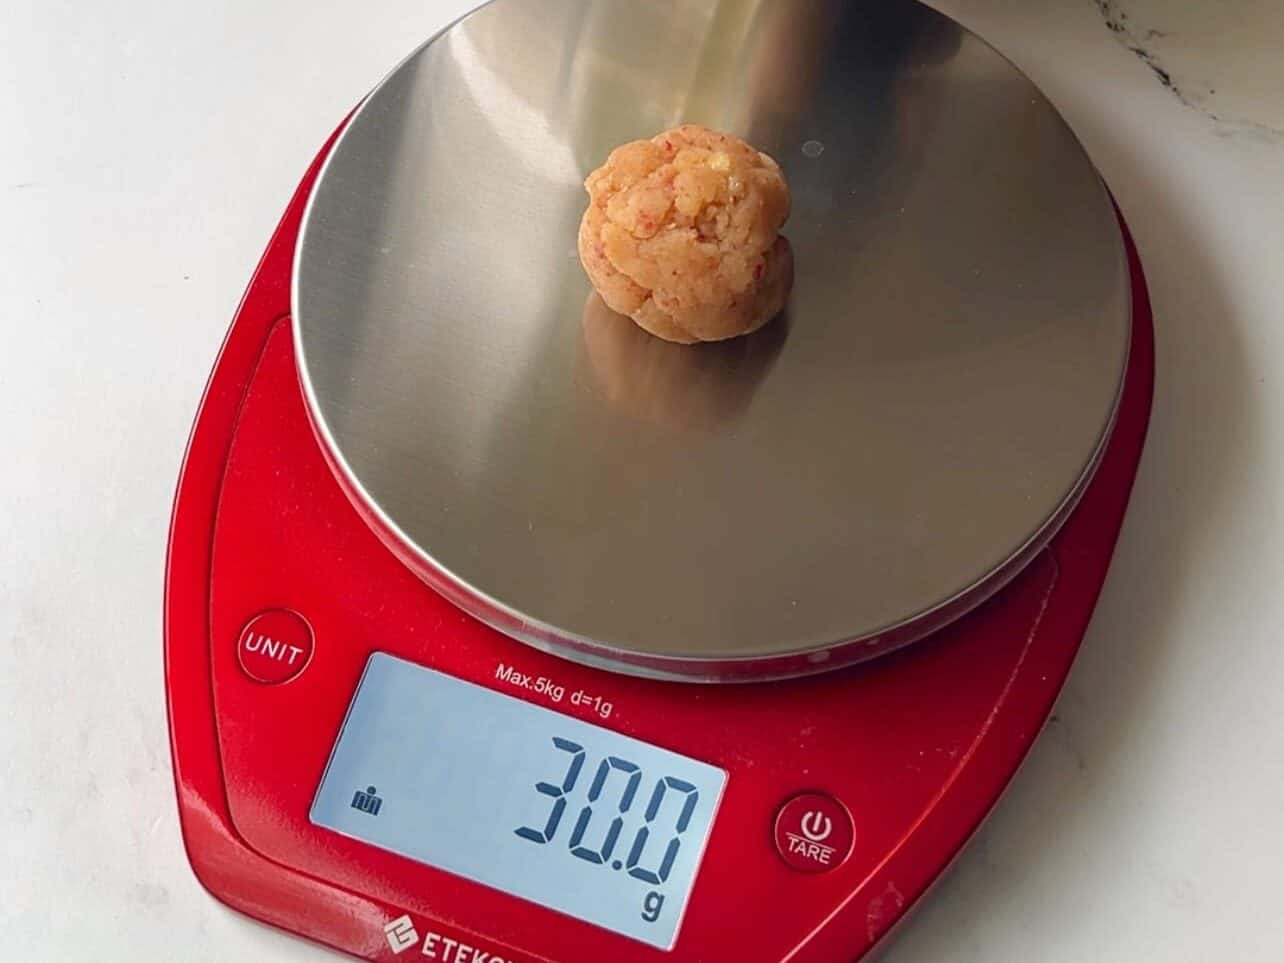
Weigh each cake pop and keep it close to 30 grams (1¼ inch/3cm in diameter). This will eliminate issues later on. The biggest culprit of cake pops falling off their sticks is due to the cake weight being too heavy.
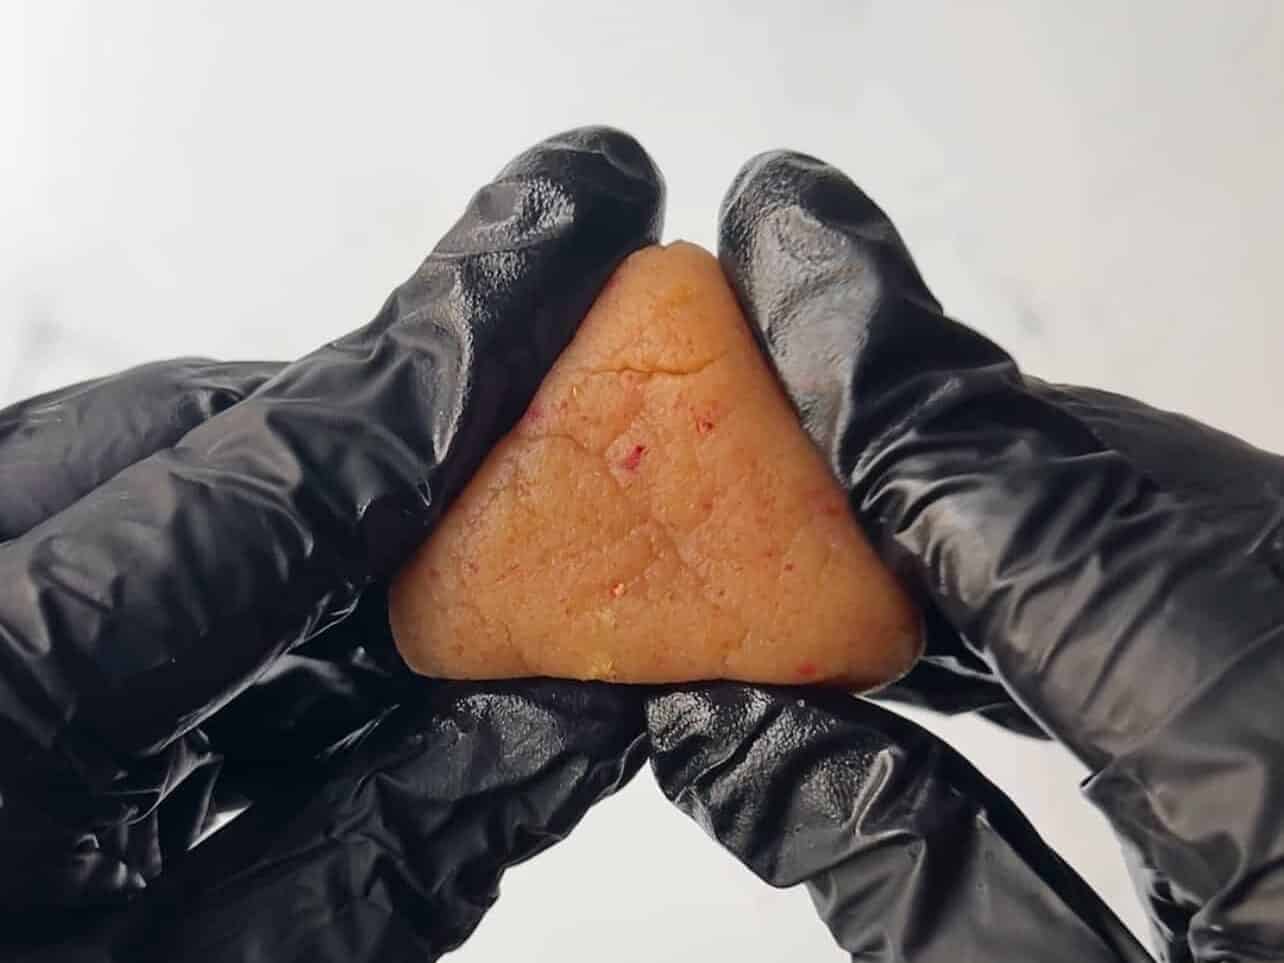
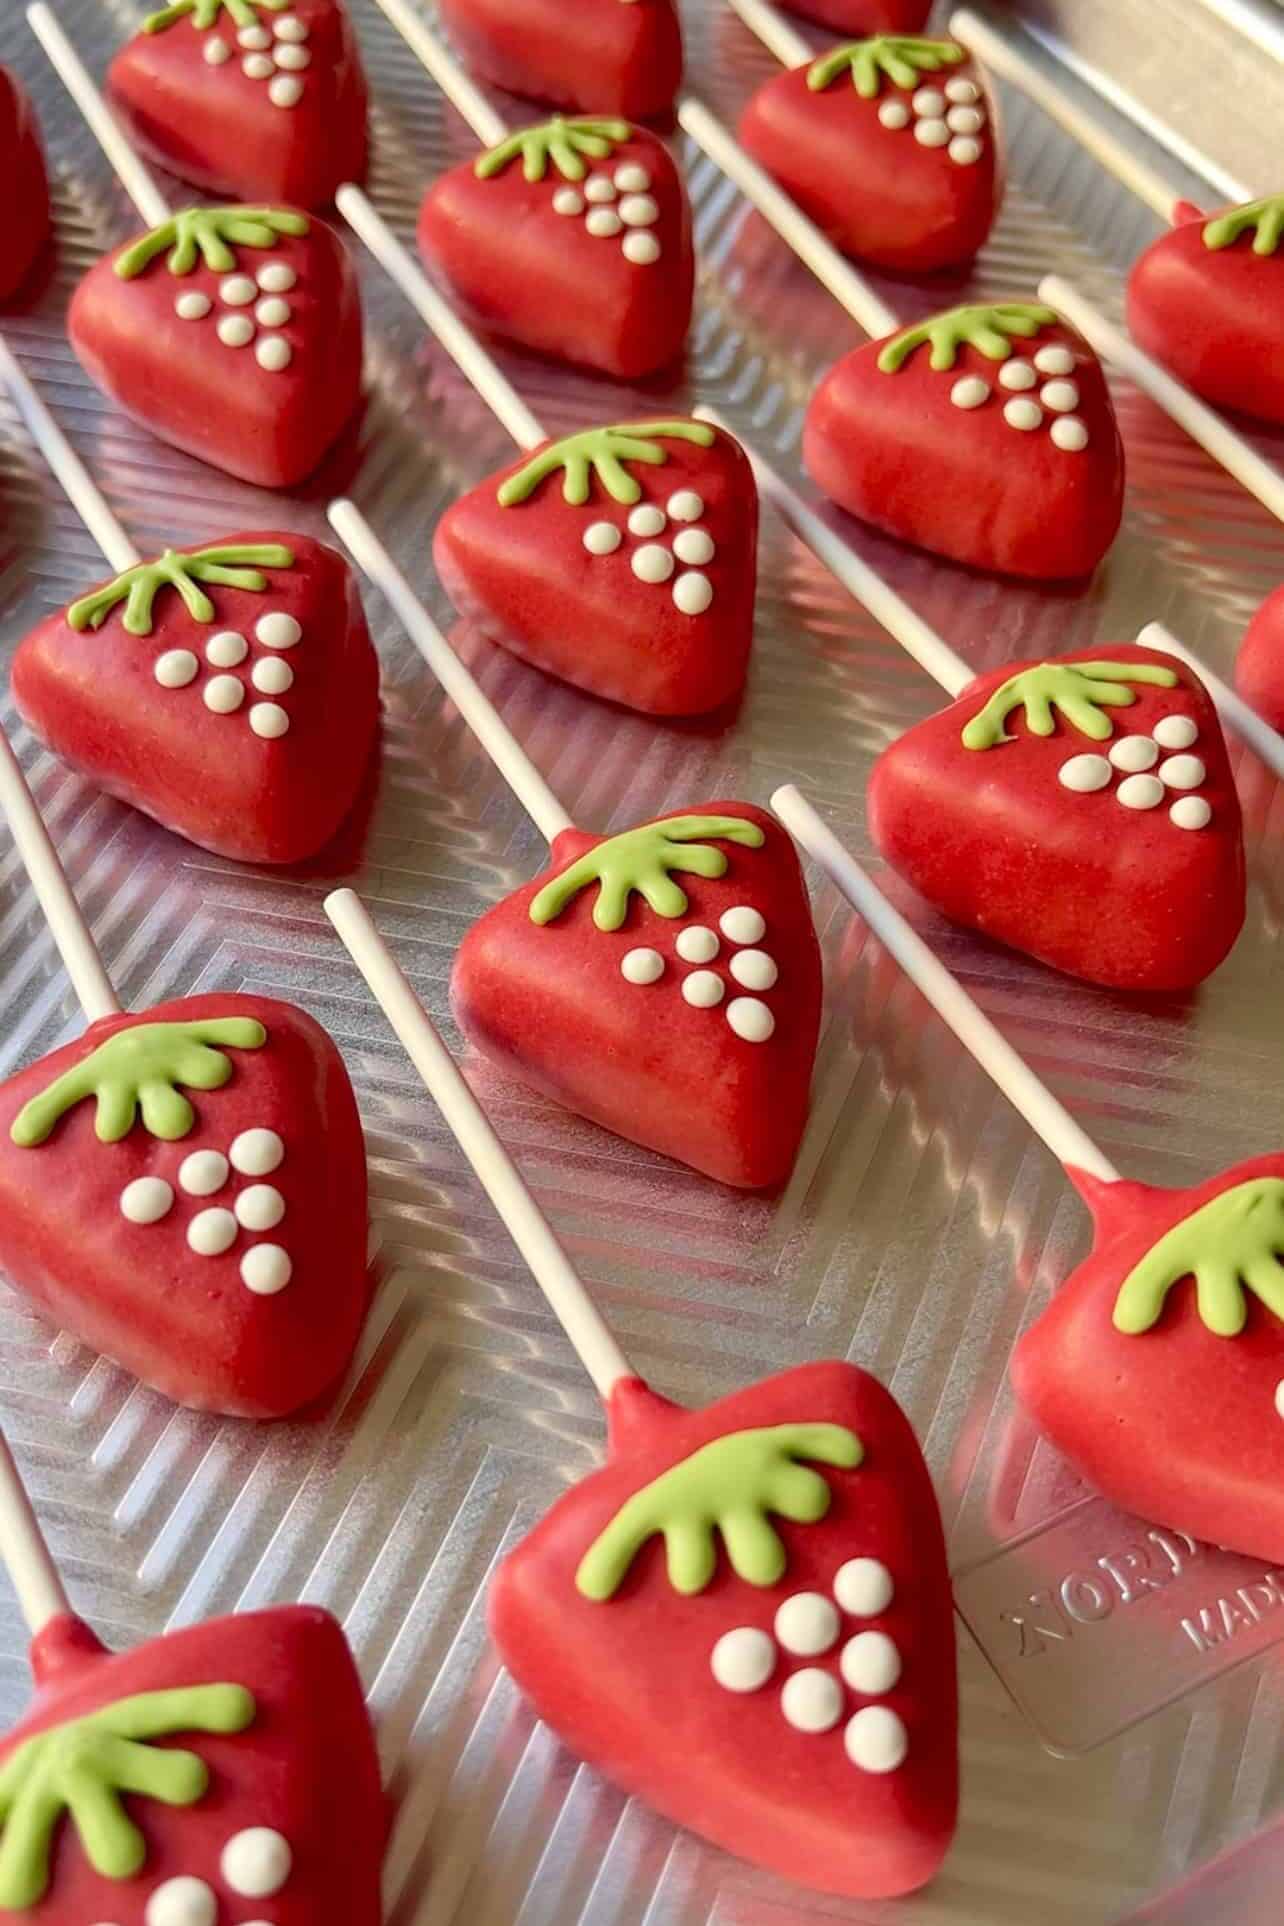
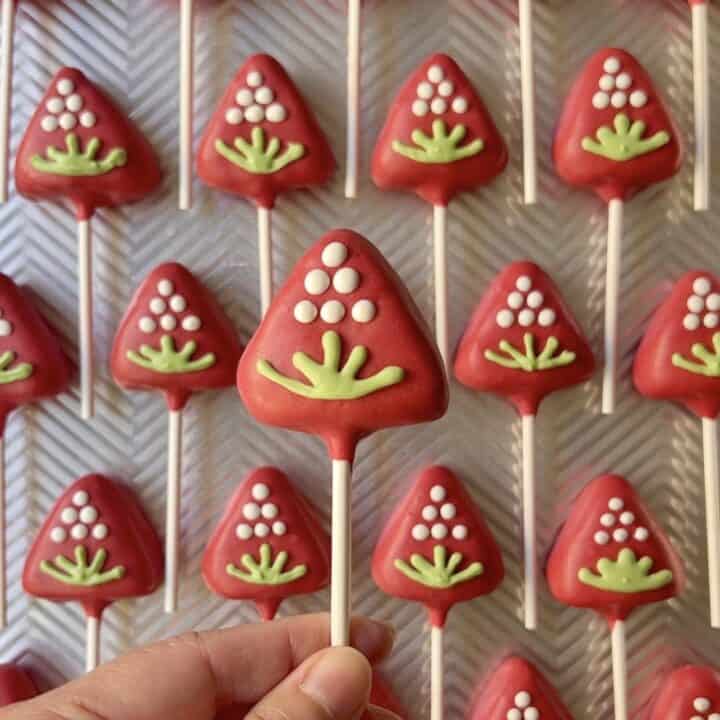
Shape each cake pop into a triangular/strawberry shape as best as you can. Both the base and height came out to around 1½ inch (3-4cm) and 1 inch (2cm) thick.
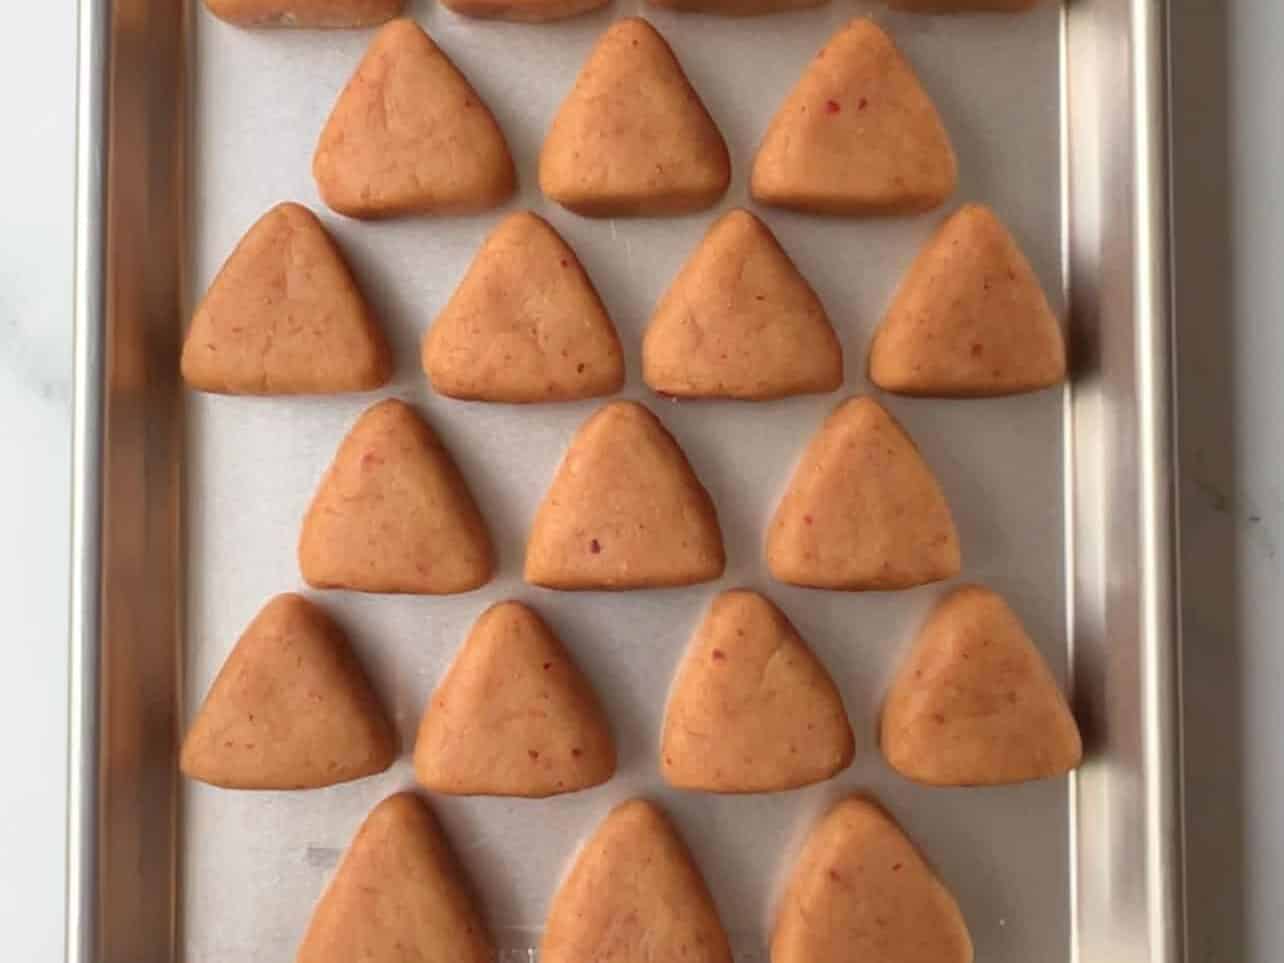
Chill cake balls in freezer for 15 mins at every stage - DO NOT SKIP.
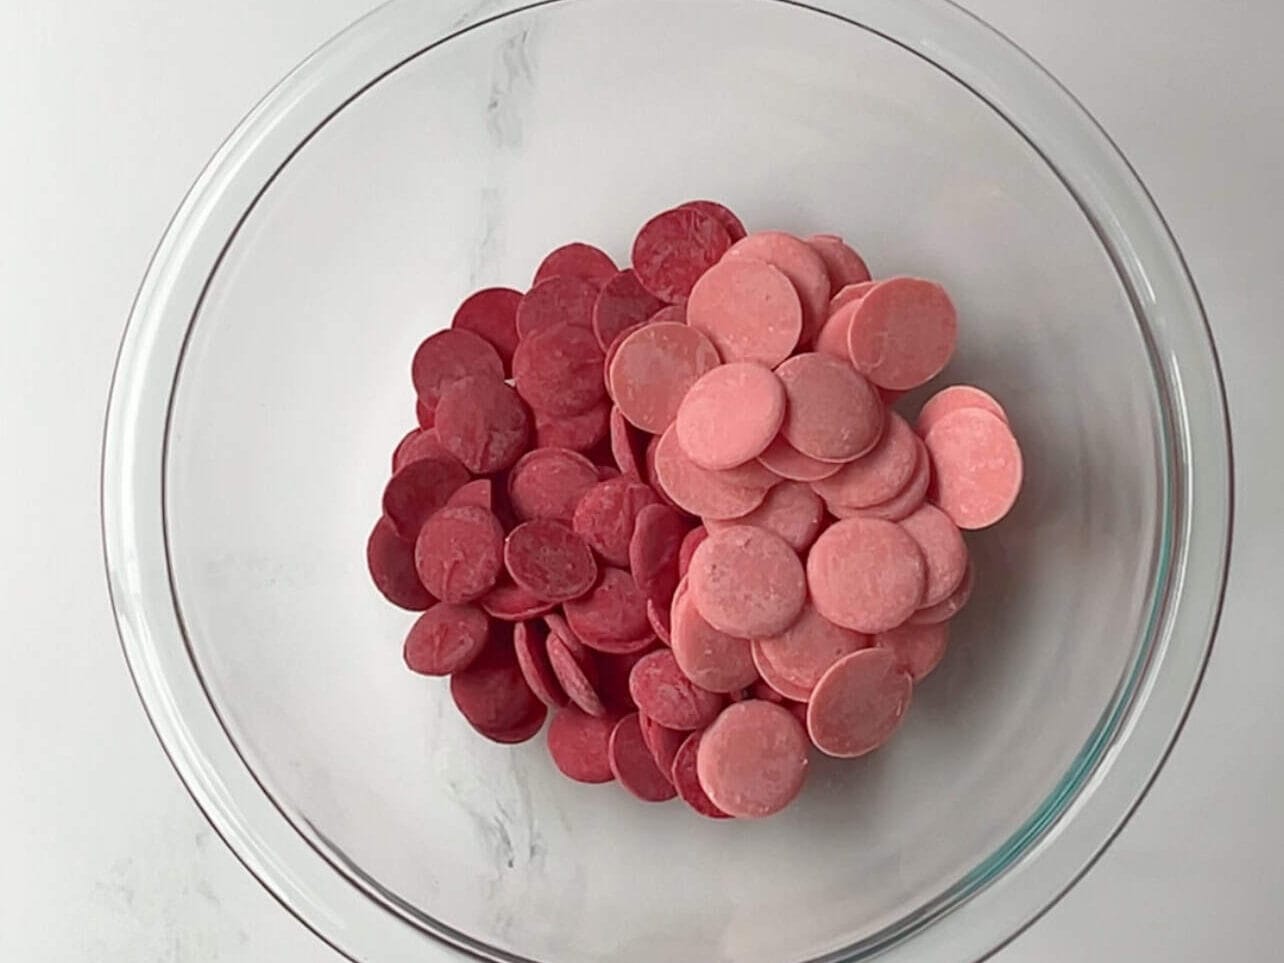
Melt red and strawberry/creme candy melts in microwave in short intervals until smooth.
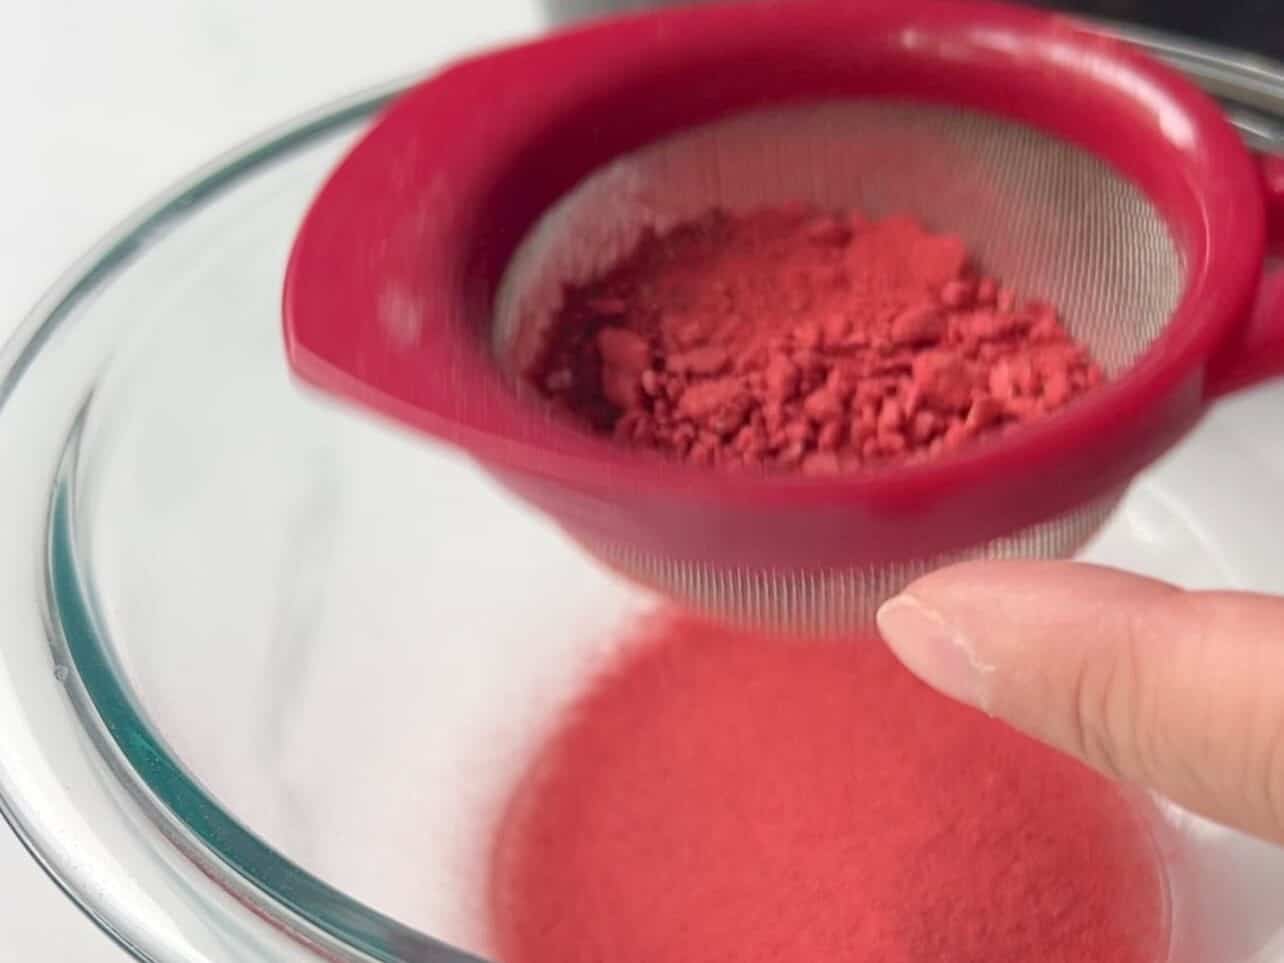
Sift remaining crushed freeze-dried strawberries AND dry milk powder to remove any lumps.

Combine and stir in both sifted dry milk powder and freeze-dried strawberries into melted candy melts.
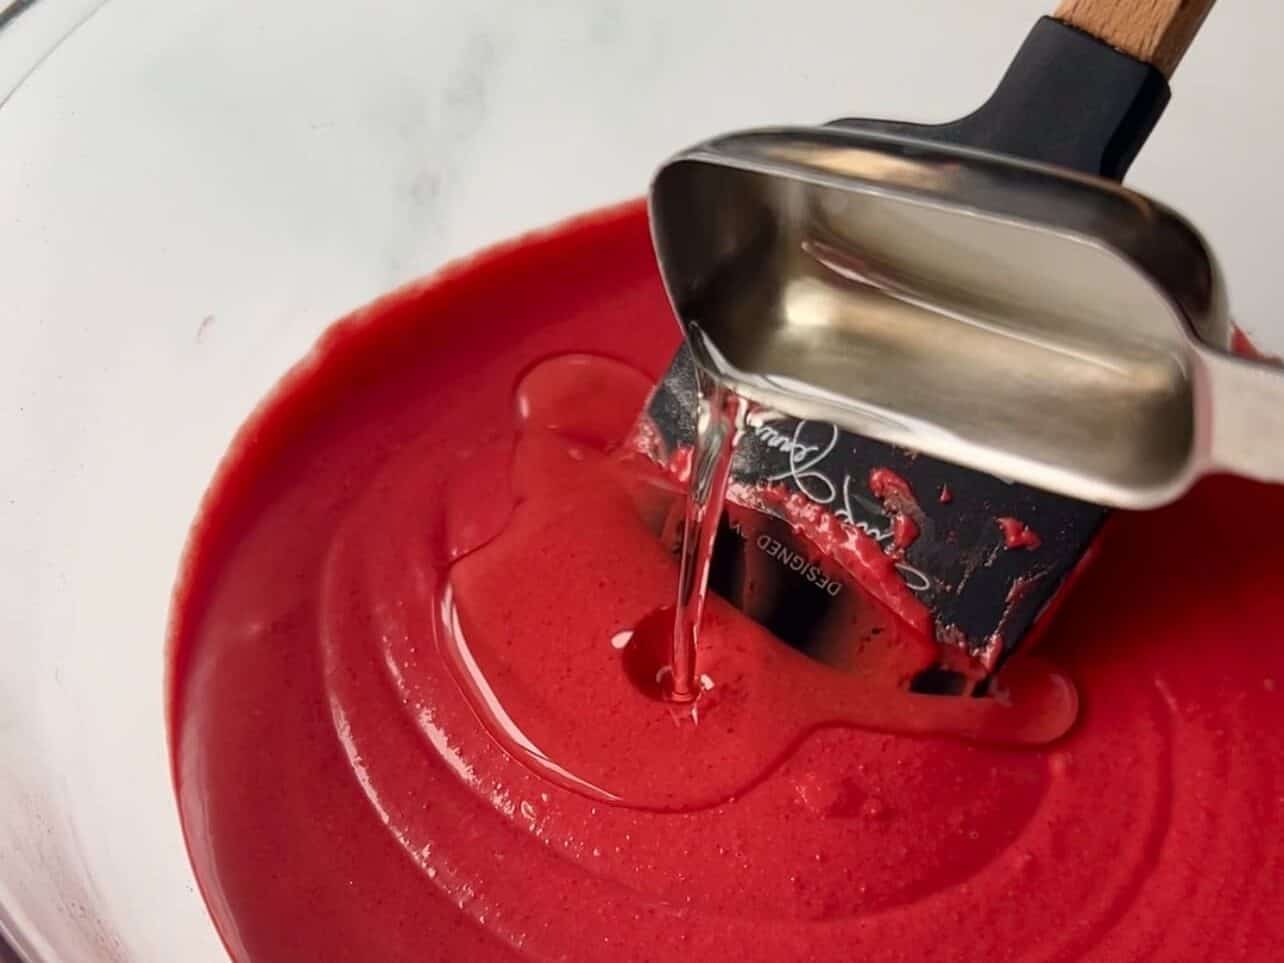
If coating feels too thick, add a small amount of neutral oil just until you achieve a thin coat-able consistency.
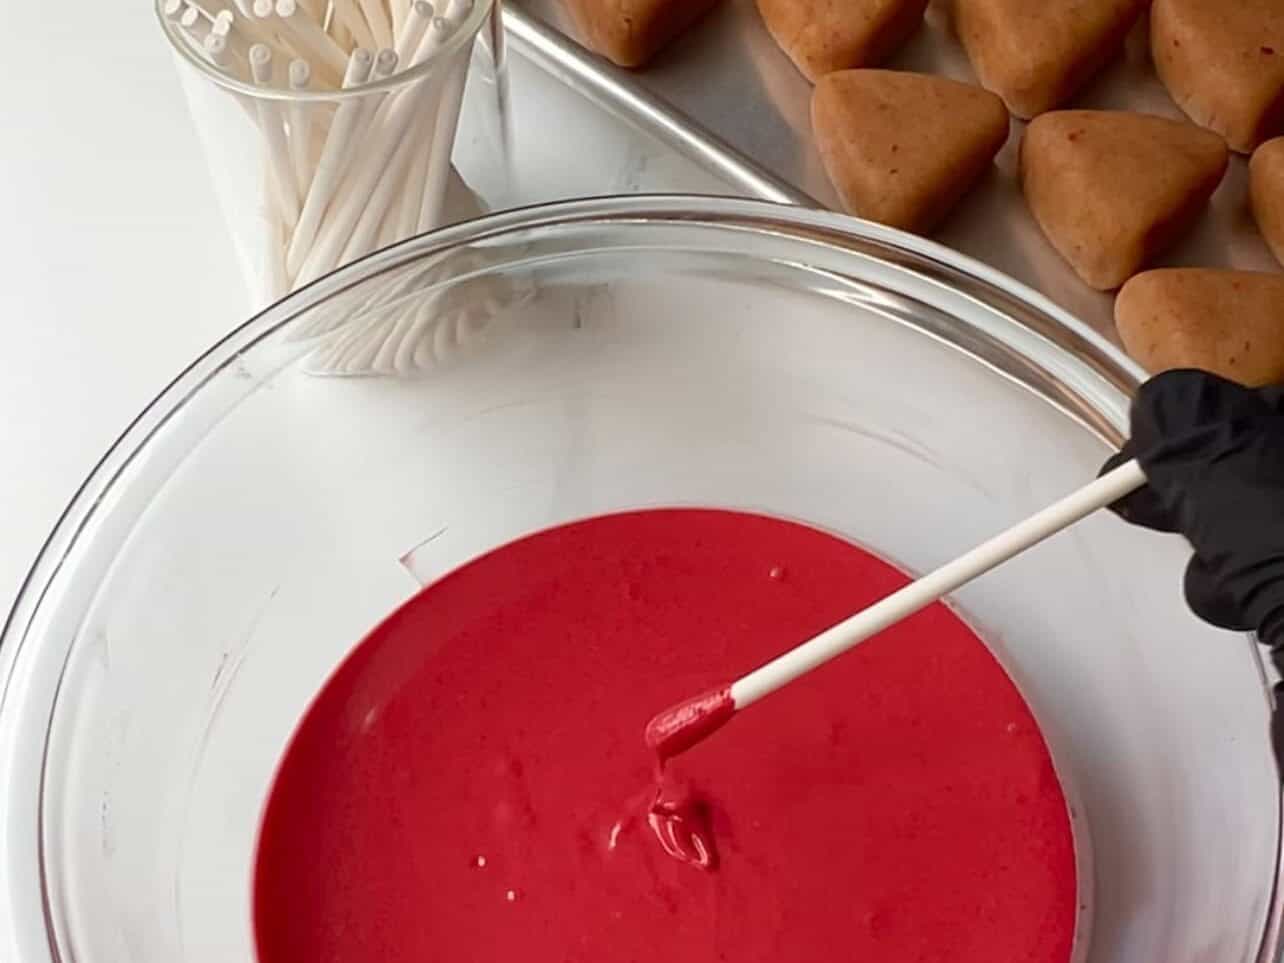
Dip the tip of cake pop stick into the candy melt.
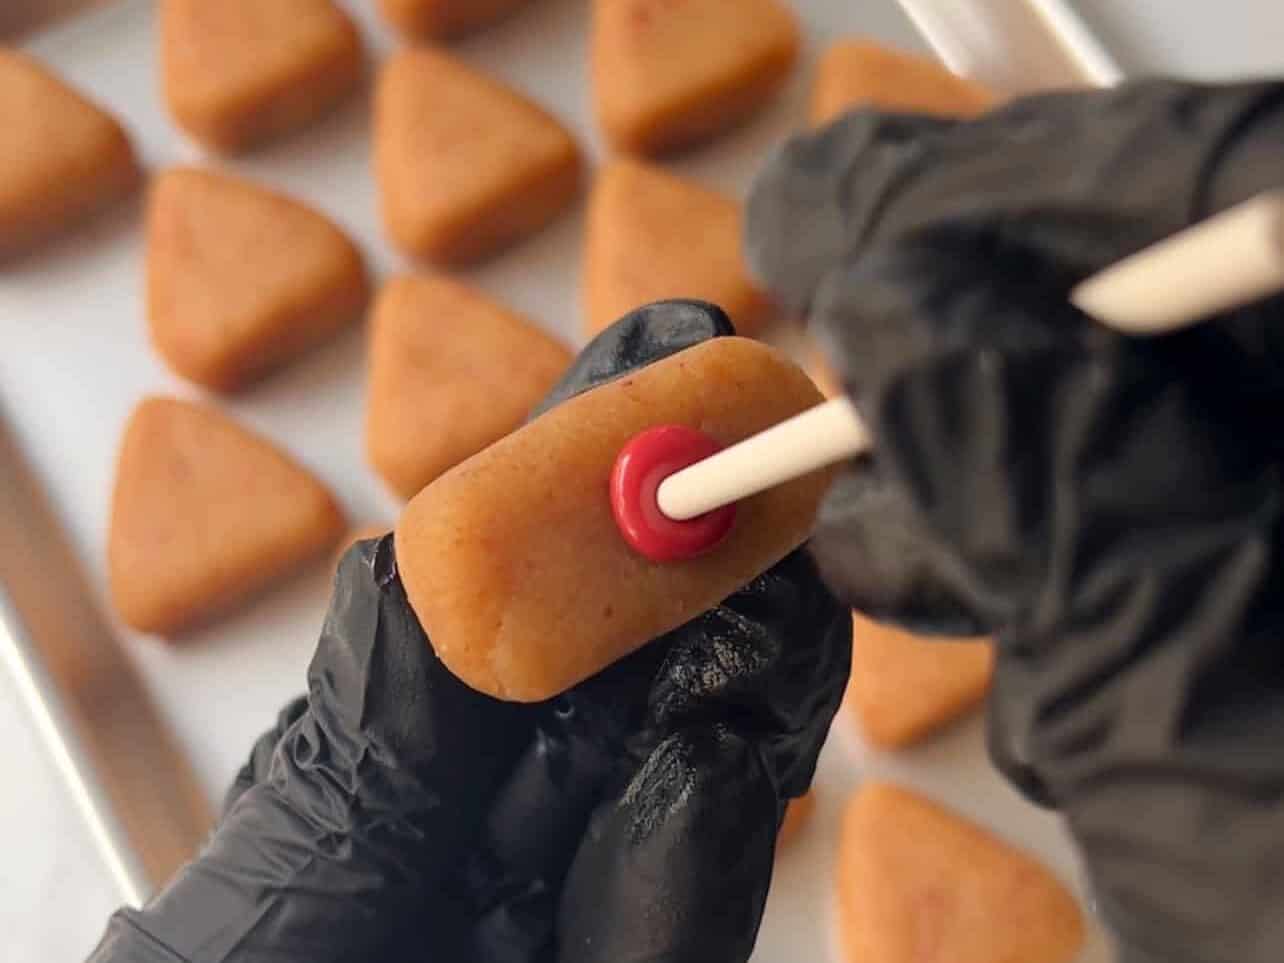
Insert dipped lollipop stick about ⅓ way through the cake pop. Place back on tray and CHILL in freezer for 15 more minutes.
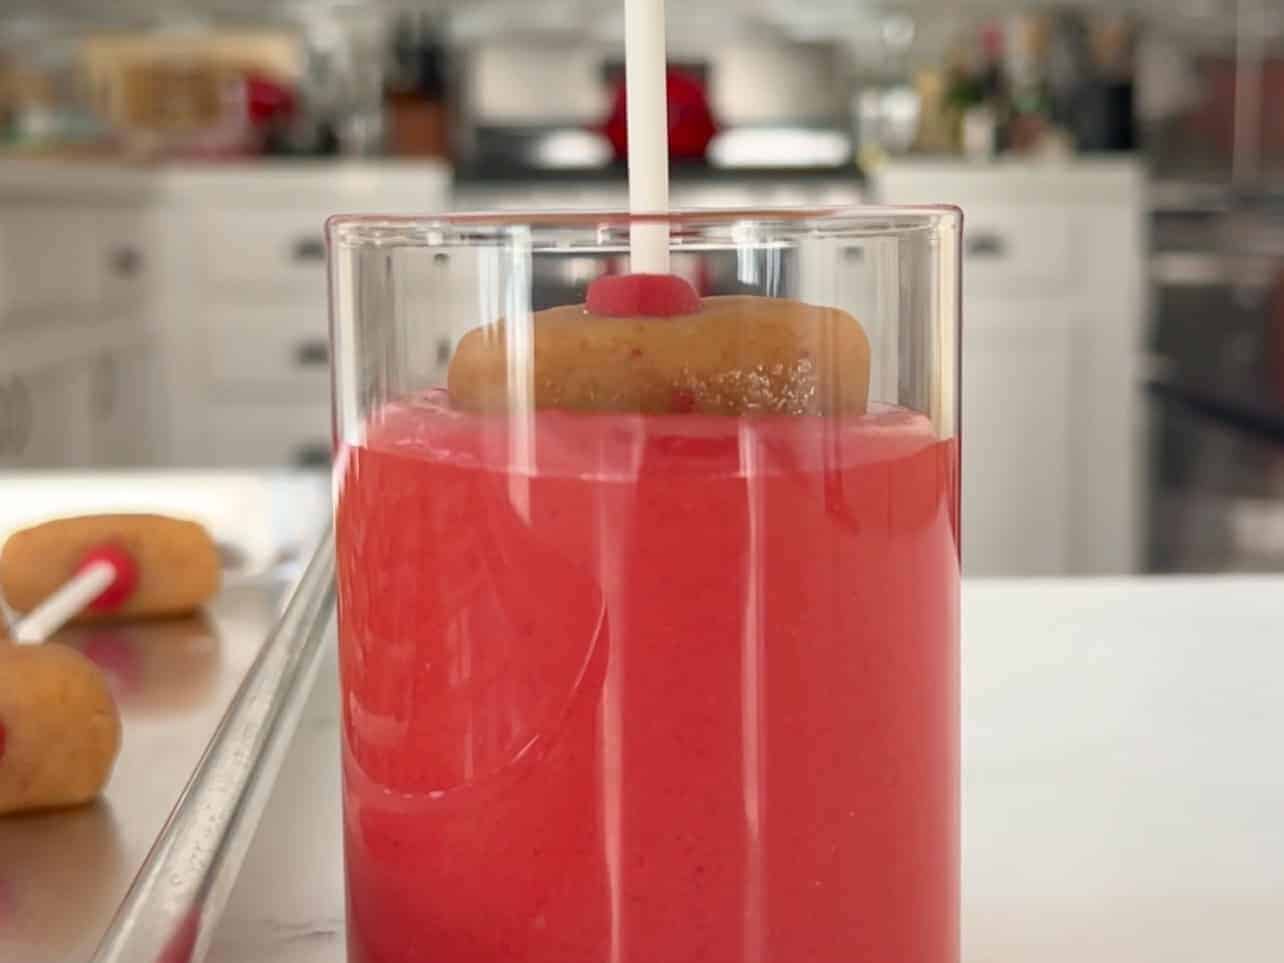
Submerge entire cake pop until it meets candy melt & stick. Dunk only once, do not re-dip.
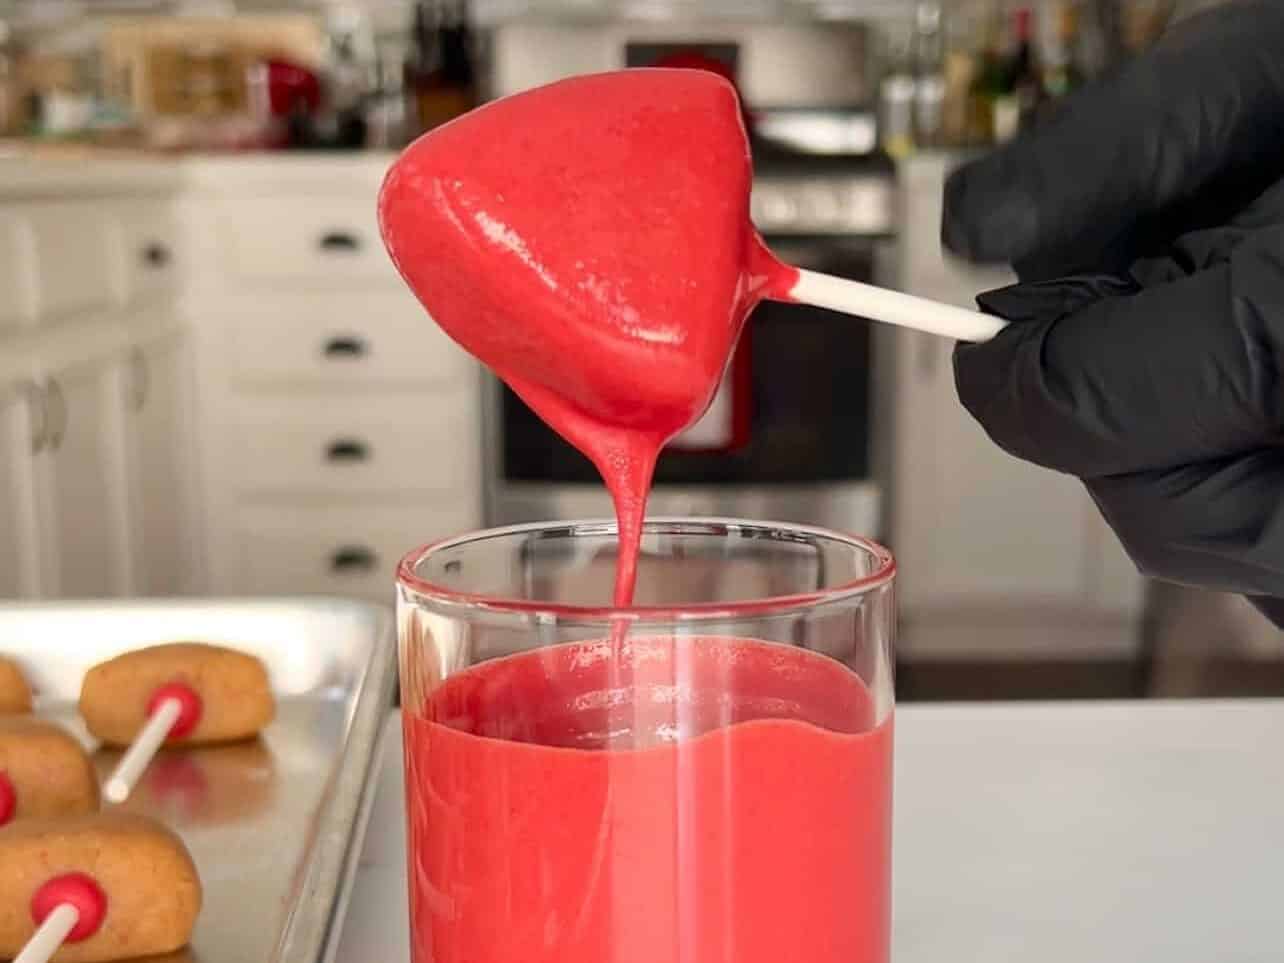
Gently tap the stick until all excess candy melt has dripped off.
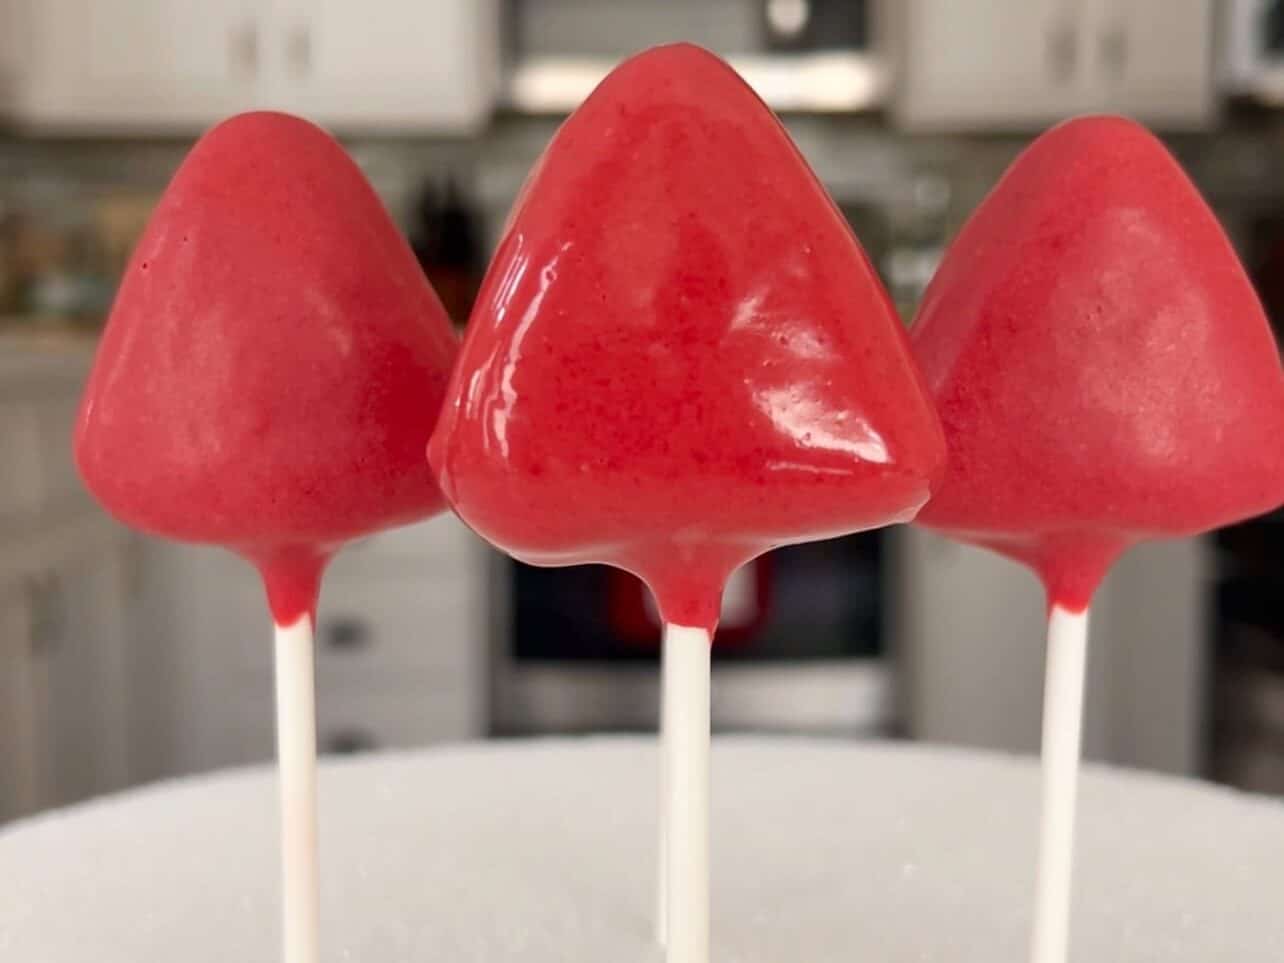
A styrofoam block works great to keep cake pops vertical while they dry. Alternately, you can use a deep loaf pan filled with beans or rice.
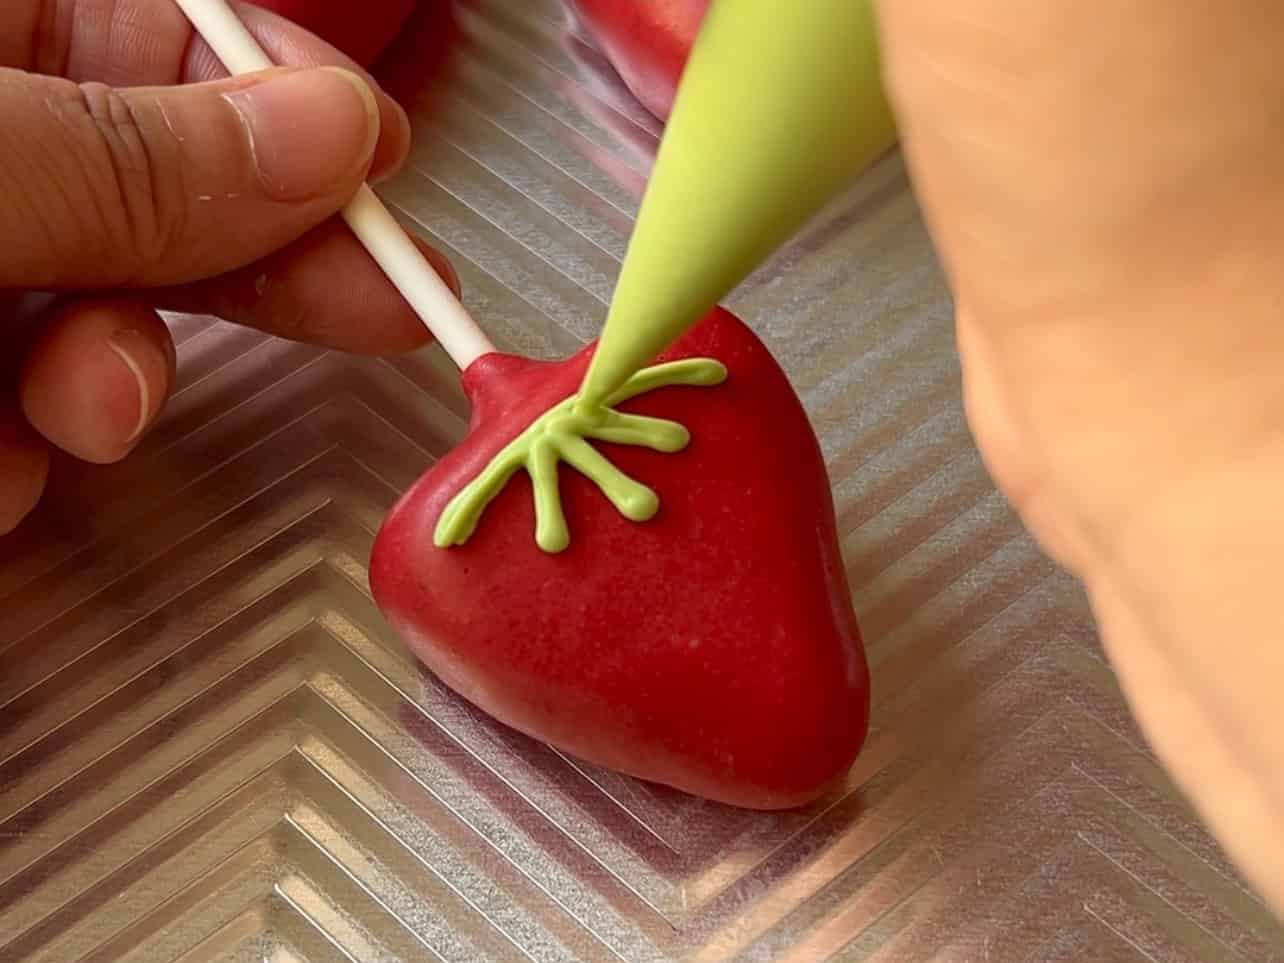
Melt any green candy melts and transfer into a small piping bag. I like to practice drawing the decorations on parchment paper first.
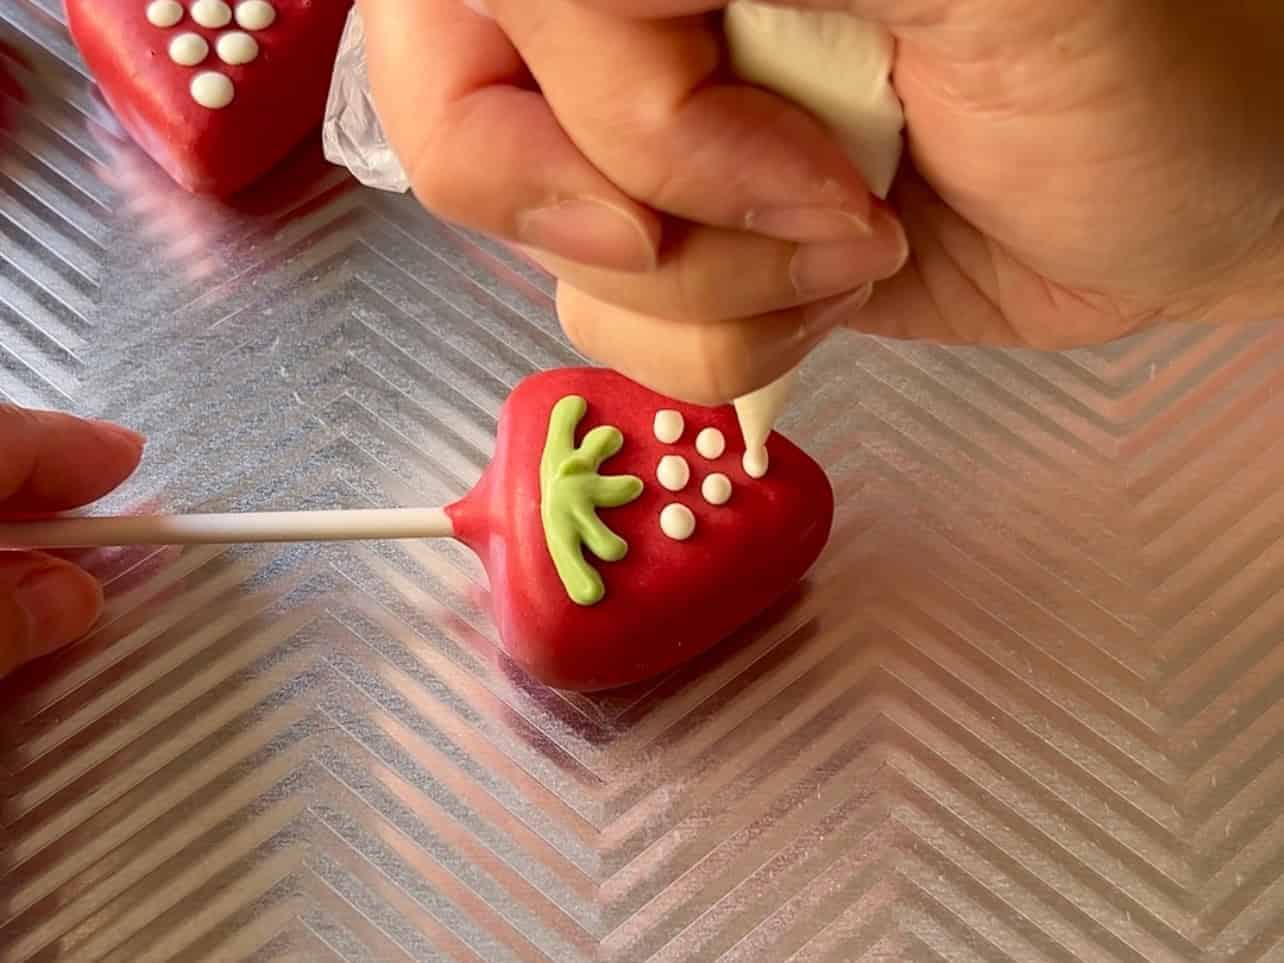
Pipe melted white candy melts for the strawberry "seeds" and allow to dry. Look at that - you did it!!!
Basic Cake Tips
- Make a habit of checking your cake BEFORE bake time is up: You can always bake longer, but you can't go back if you over-bake. It's always a good practice to check ANY bakes a few minutes prior. It is especially important here since over-baking leads to dry cake. Dry cake is more difficult to roll into balls, and you end up with crumbly lumpy cake pops.
- Add HOT cake to mixer immediately after baking: The steam from the baked cake helps keep crumbled cake soft and moist. If you don't have a stand mixer, don't worry! You can also use a handheld mixer or crumble cake by hand once it's cool enough to touch
Most Common Cake Pop Troubleshooting
- Avoid rolling BIG cake pops: One of the biggest problems people face later on during assembly is their cake pop balls not staying attached to the cake pop sticks. I highly suggest using a kitchen scale to weigh them and stay under 30 grams.
- CHILL CAKE POPS AT EVERY STAGE: This is the step I highly recommend you DO NOT SKIP. Chill cake pops in freezer after shaping. This allows the cake to bind together. Chill them again after attaching dipped cake pop sticks. The candy melt on the tip of the stick will set and act as an adhesive to keep them together.
- To avoid coating from cracking: Once you've chilled the cake pops, transfer them to the counter for 10 minutes BEFORE dipping in candy melt. Cracks usually happen when different temperatures play a tug of war. So when cake pops are too cold and/or the melted candy melt is too warm, cracks may appear. To prevent this, bring the cake pops closer to room temperature and melt the candy melts in short increments according to package instructions.
- Dunk cake pop only ONCE and allow excess candy melt to drip off: Submerge the entire cake pop ball ONCE until it meets the set candy melt and lollipop stick. Our goal is to apply only one coating of candy melt as best as you can. Dunking your cake pop more than once will create a heavier candy coating, which may result in cake pop falling off the stick due to its weight. Be sure to tap the lollipop stick for a few minutes after dipping to allow all the excess candy melt to drip off.
Best Way To Store Starbucks Copycat Strawberry And Cream Cake Pops
You can keep cake pops at room temperature in a cool dry place for 2 days. If not consumed, store in fridge individually wrapped or in an airtight container for 2 weeks or up to 3 months in the freezer.
FAQ
I find them at Walmart, Target, many arts & craft stores, and Amazon.
It's most likely the cake was over-baked. Be sure to set a timer and check your cake 5-7 minutes before your bake time is done.
Cracks usually happen when different temperatures play a tug of war. So when cake pops are too cold and/or the melted candy melt is too warm, cracks may appear. To prevent this, bring the cake pops to room temperature after chilling. Melt the candy melts in short increments according to package instructions and stir consistently. You want to make sure not to dip your cake pops in extremely hot candy melt.
Make sure you do not roll your cake pops too large. CHILL your cake pops at every stage. Chill after rolling ball and once again after inserting your dipped stick. If you skip these steps, the candy melt does not have time to set and act as an adhesive. And finally, do not dip your cake pop into your candy melt more than once. This will create a heavy coating and adds weight to your cake pop. Dip once and shake off the excess candy melt gently.
You can fill a deep loaf pan with beans and rice - they will hold the sticks upright. Also, you can poke small holes into an empty cardboard box.
You Might Also Like...


Equipment
- stand mixer or handheld mixer optional
- large/small mixing bowls
- cake bake pan(s)
- small piping bags or ziplock bags
Ingredients
Cake
- 1- 13.25oz any store-bought box vanilla cake mix
- ⅓ cup any neutral oil avocado, vegetable, canola, etc.
- 1 cup milk or water
- 4 large eggs
- 3 tablespoon freeze-dried strawberries crushed
Buttercream
- ¼ cup unsalted butter
- 1 cup powdered sugar
- pinch salt
- 1 teaspoon milk add more if needed
Coating
- 6-8 oz strawberry crème candy wafers melted
- 6-8 oz red candy melts melted
- 6 tablespoon freeze-dried strawberries crushed and sifted
- 2-3 teaspoon nonfat dry milk powder sifted
- 1 tablespoon any neutral oil add ½ tablespoon increments as needed
Instructions
- Preheat oven to 325-350℉ (162-175℃). Refer to recipe on cake box for exact temperature depending on your baking pan size.
- Combine all cake ingredients in a large bowl except the strawberries. Pour batter into greased/lined pan and transfer into oven. Stick a toothpick in the center of cake to see if it comes out clean 5-7 mins PRIOR to the end of bake time. DO NOT OVER BAKE.1- 13.25oz any store-bought box vanilla cake mix, ⅓ cup any neutral oil, 1 cup milk or water, 4 large eggs
- Transfer baked cake into a large stand mixing bowl immediately while it's still hot. Crumble cake on low speed using a paddle attachment until no large pieces remain. You can also use a handheld mixer or crumble slightly cooled cake by hand.
- In a small mixing bowl, combine all buttercream ingredients. Stir well until fairly smooth, small lumps is common. Add all the buttercream to the crumbled cake and mix until fully incorporated.¼ cup unsalted butter, 1 cup powdered sugar, pinch salt, 1 teaspoon milk
- Using a mortar and pestle or food processor, crush 1.2 oz (34g) bag of freeze-dried strawberries. Measure out about 3 tablespoon (9g) of the crushed strawberries and mix it directly into your crumbled cake.3 tablespoon freeze-dried strawberries
- Roll cake pops about 30g each or 1¼-inch (3cm) in diameter. Chill cake pops in freezer for 15 mins, then bring them back to room temperature for 10 mins as you melt your candy melts.
- Combine strawberry crème and red candy melts in a medium bowl using the microwave in short 15-30 second increments until melted. Sift both the dry milk powder and the remaining crushed freeze-dried strawberries to remove any large flakes or seeds. Add all the dry milk powder, about 6 tablespoon (18g) of the sifted freeze-dried strawberries (it should be close to what is left), and oil into the melted candy and stir until smooth. It should be a thin coat-able consistency.6-8 oz strawberry crème candy wafers, 6-8 oz red candy melts, 6 tablespoon freeze-dried strawberries, 2-3 teaspoon nonfat dry milk powder, 1 tablespoon any neutral oil
- Take cake pops out of the freezer and bring them back to room temperature for 10 mins. Dip cake pop into melted candy melt, making sure it's submerged all the way to the stick. This will help adhere the cake pop and prevent it from falling off the stick.
- Holding the stick with one hand, use your other hand to gently tap cake pop until all excess candy melt has dripped off. You want to achieve one even coating. Do not dunk again, as this extra weight may cause your cake pop to detach from the stick. Place into styrofoam block to keep upright until fully dried. Repeat until all cake pops have been dipped. If candy melt starts to thicken, microwave again in short bursts.
- Melt green and white candy melts and transfer into small piping/ziplock bags. Draw strawberry designs and shake gently to allow candy melt to dry smoothly.
Notes
- Nutritional information is only an estimate. The accuracy of the nutritional information for any recipe on this site is not guaranteed.
- For the best consistent results, use a kitchen scale. Measuring ingredients accurately gives you the best chance for success, and a scale will give you the most precise readings.
Nutrition
Looking for other recipes like this?

Did you make this recipe? Let me know!