
If you've ever wished your cheesecake came with more buttery crust in every bite, this Thick And Creamy Upside-Down Cheesecake recipe is what you've been dreaming of. Crust lovers - step forward. This is the moment you've been waiting for! This no-bake beauty flips tradition right on its head - literally - so the golden crumbs we love so much get the spotlight it deserves. It's fun, playful, a little rebellious, and honestly - kind of brilliant.

I'll be honest, I was never a big fan of no-bake cheesecakes before this. I love the richness and dense mouthfeel of New York-style baked cheesecakes! But when I saw people making these, I knew this would be THICC and satisfy that craving without using the oven.
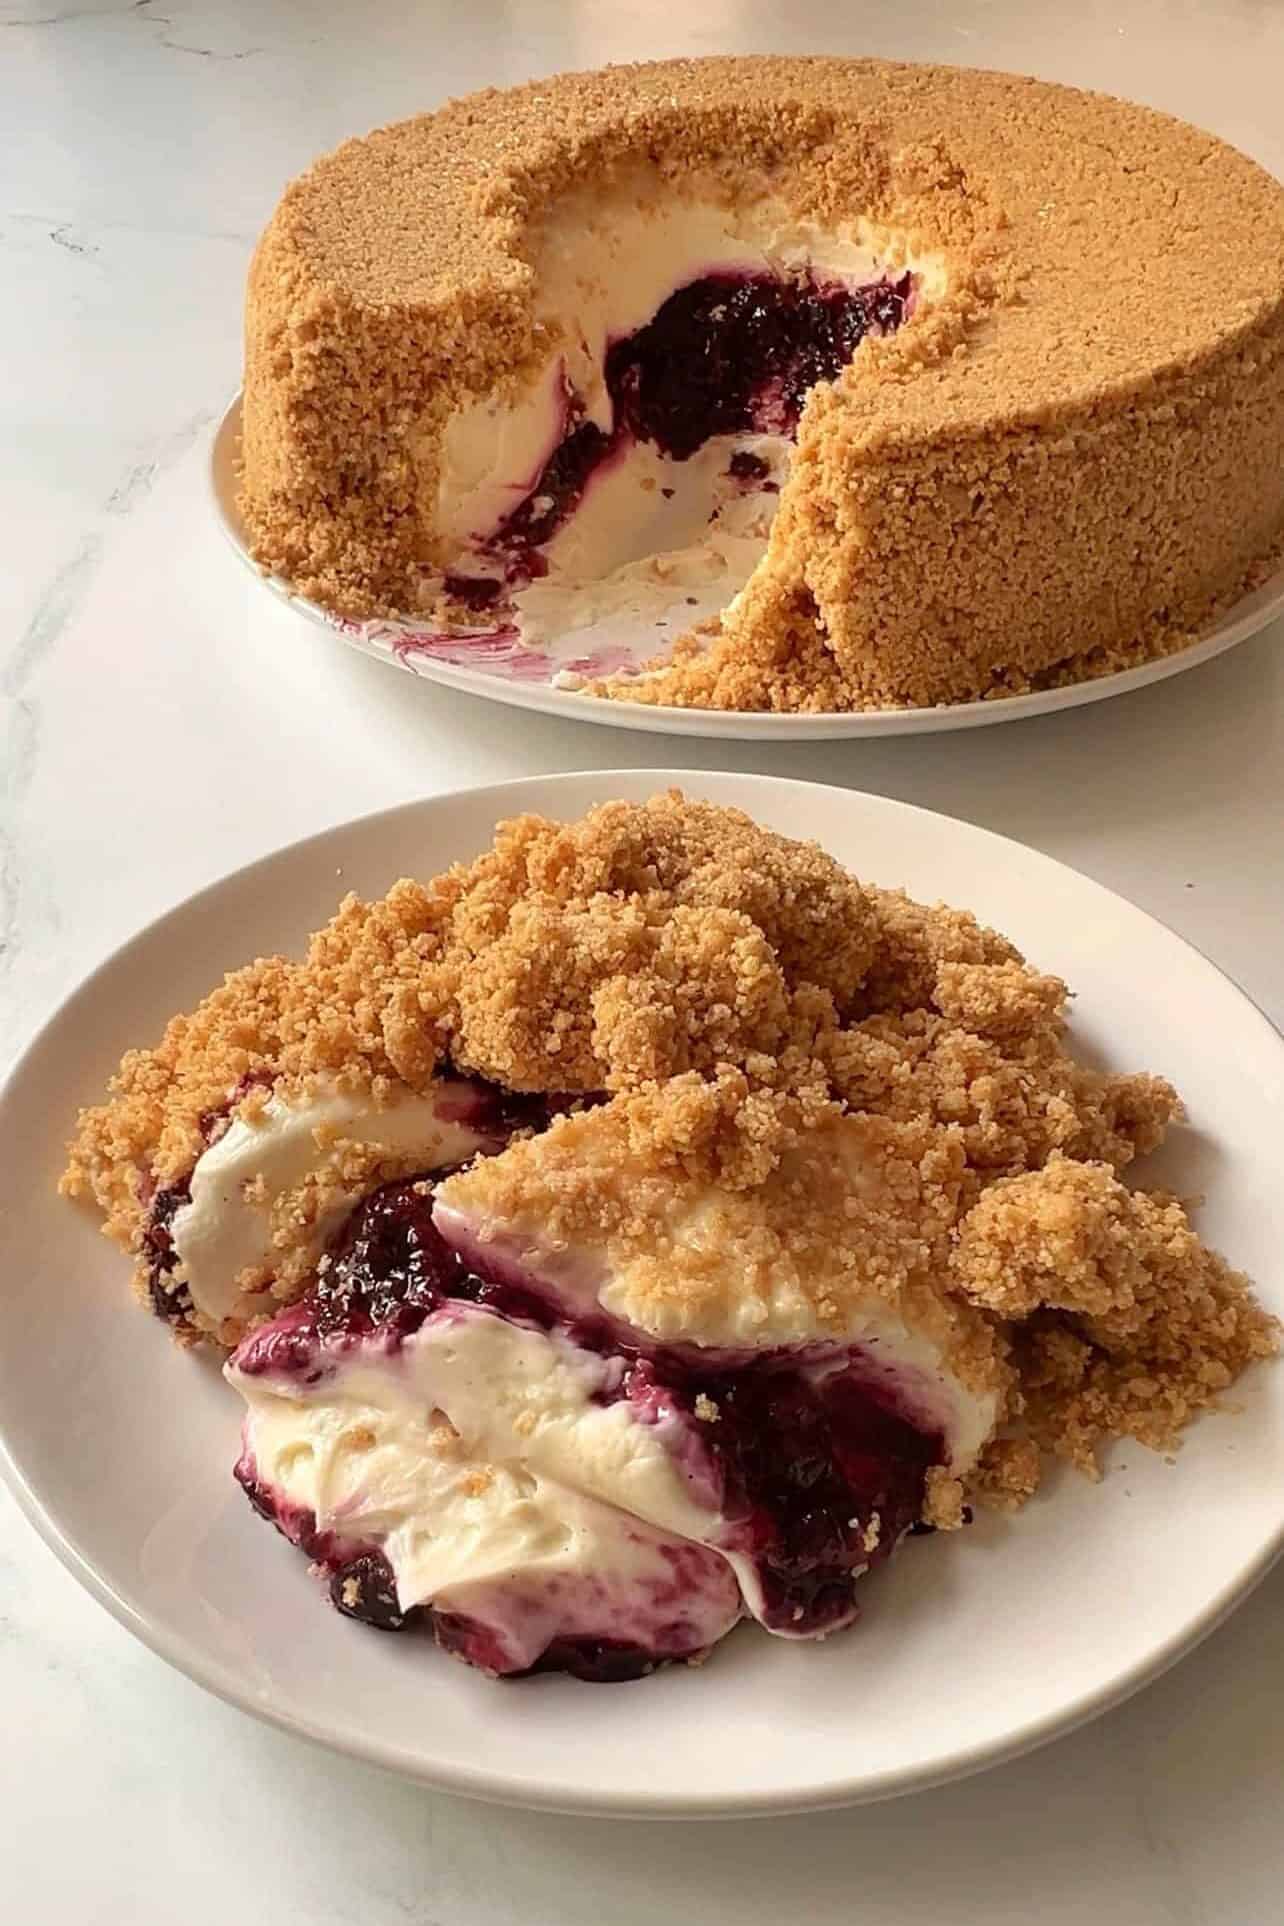
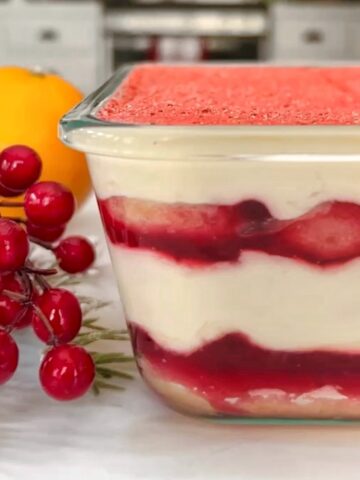
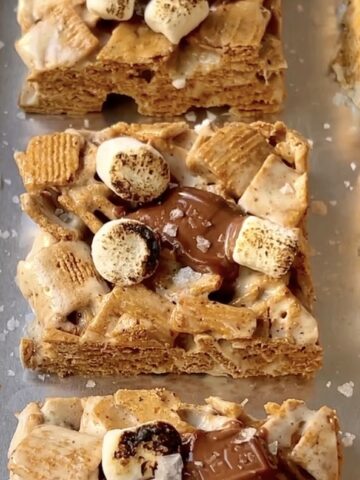
So I tested this recipe until I got it just right - a thick luscious creamy filling with specks and specks of vanilla bean sturdy enough hold its dramatic upside-down reveal, a bright berry compote tucked away in the center, and all that glorious crust running the show just ready to dominate every bite.
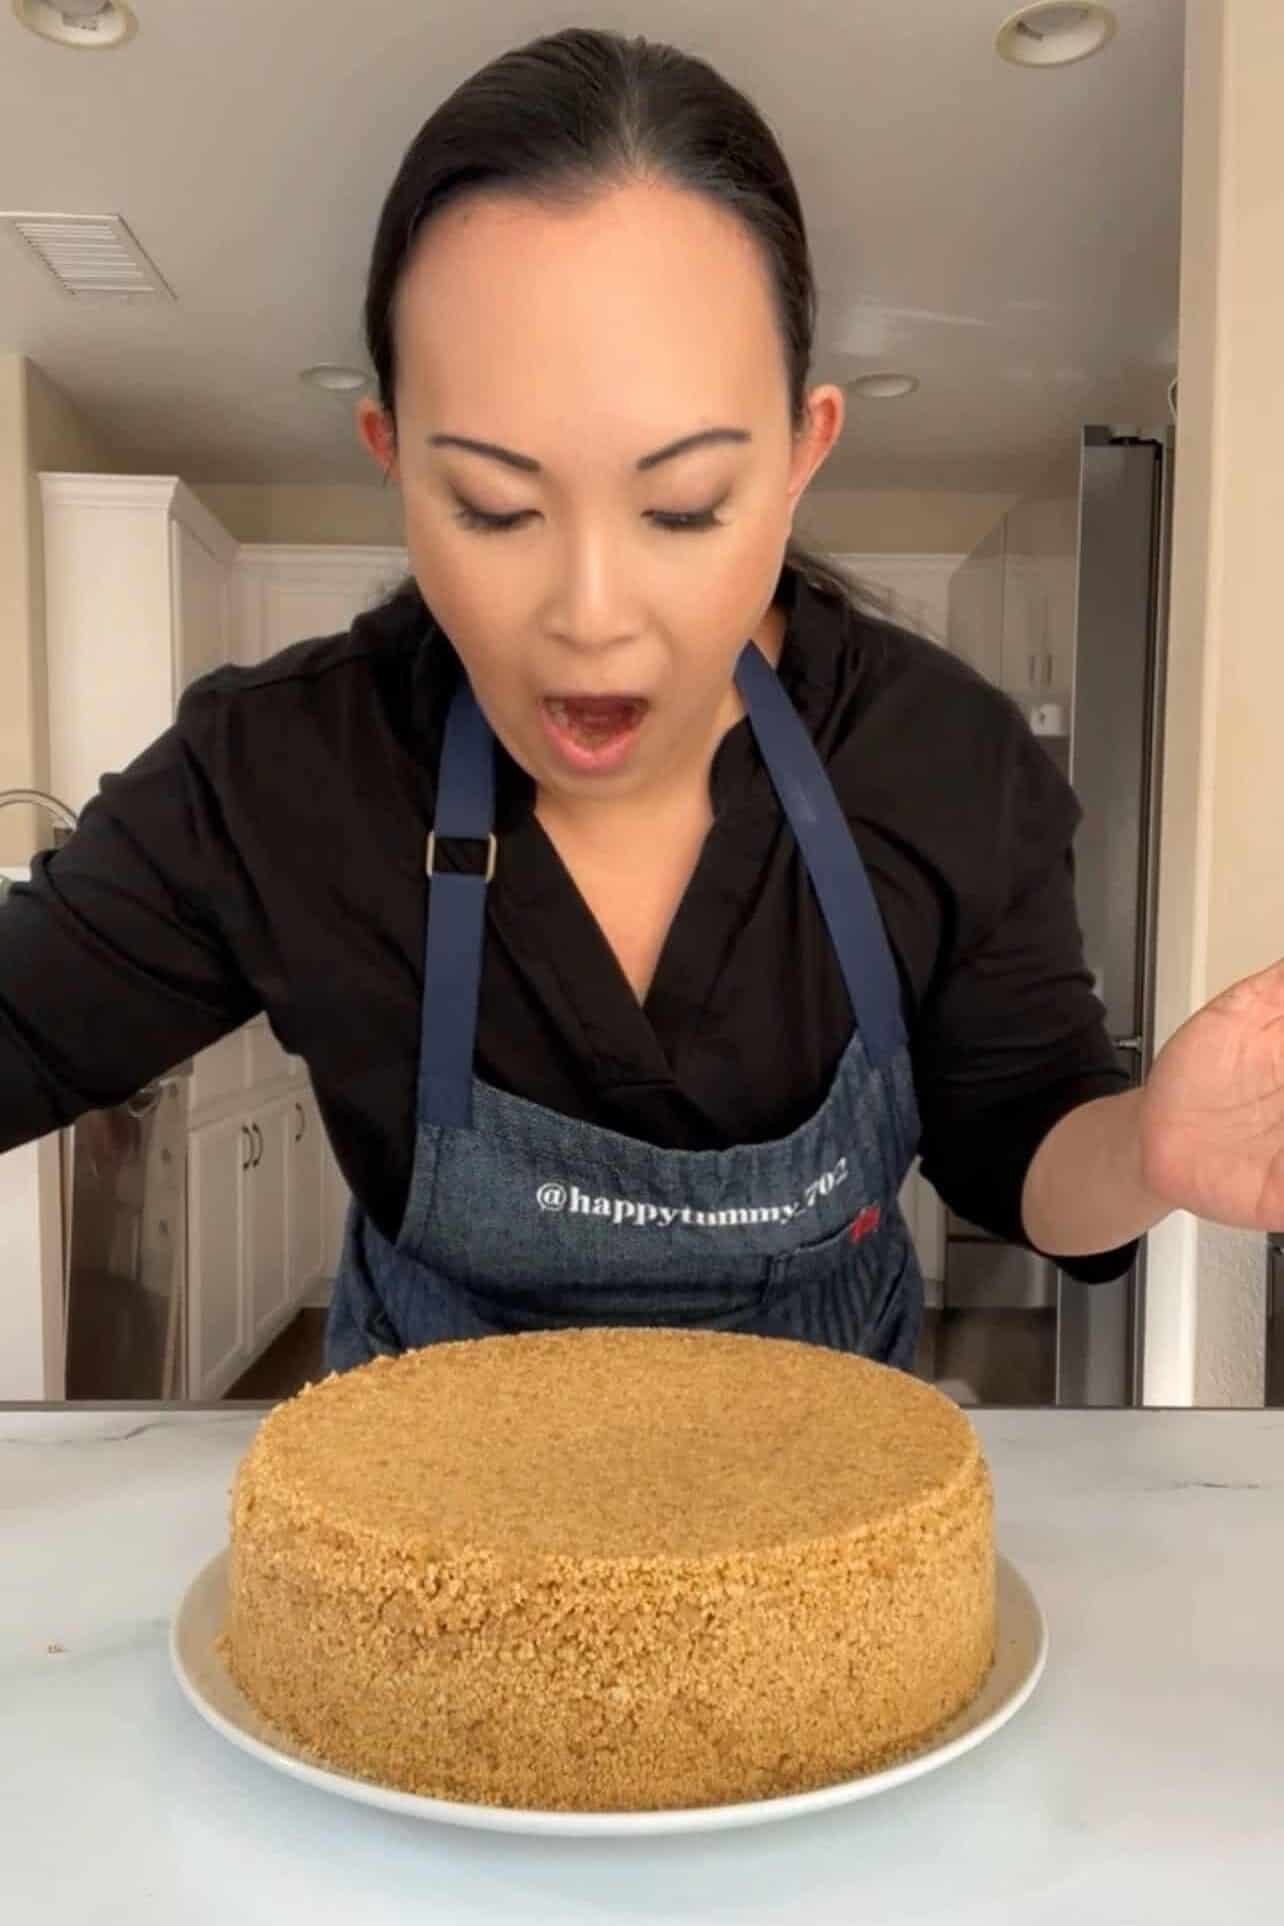
Yes, this was my true reaction when I un-molded this thick and creamy upside-down cheesecake. You always feel that excitement when you take desserts out of a springform pan. The crust came out perfect.
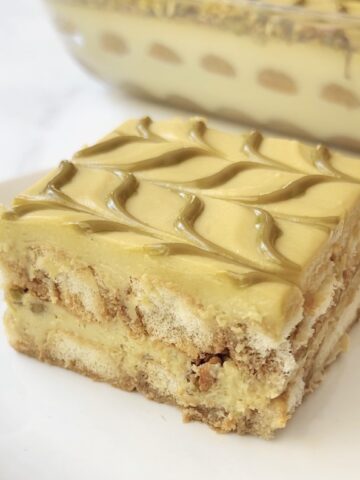
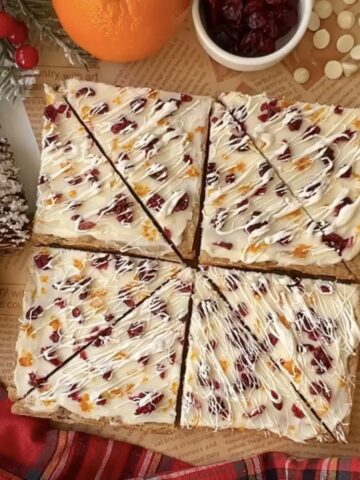
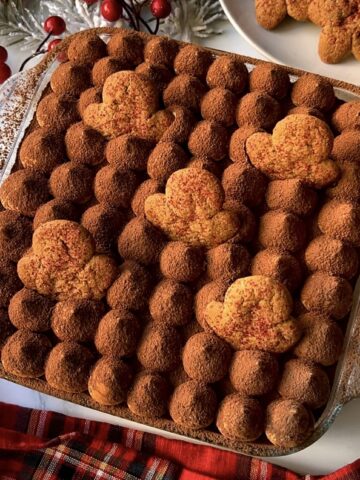
If you're looking for other spectacular no-bake desserts to show off at a party, be sure to check out all my tiramisus - Cranberry Tiramisu, Pistachio Tiramisu, and Gingerbread Tiramisu!
Jump to:
Key Ingredients
- Graham crackers: If you live in the UK, you can swap in digestive biscuits. They do differ slightly in sweetness and how they absorb the melted butter, so be sure to crush them well in a food processor. Don't pulse them to crumb dust - more like very fine gravel.
- Butter: Melt them in the microwave or on the stove. I like to use salted butter, or use unsalted and add a pinch on your own.
- Sugars: Although crackers are sweet enough on their own, the added sugar actually aids in the structure of the crust. I like to add one tablespoon of brown sugar, also, and fine powdered sugar works best for the filling.
- Fruit: Fresh or frozen. Frozen does win for convenience, and does reduce to a nice jammy consistency. I opted for the frozen triple berry, but use your favorite.
- Lemon juice: Fresh. Added to the fruit to brighten flavor, aid in thickening, and preserve color.
- Cream cheese: Full-fat. Bring to room temperature with all other dairy ingredients.
- Mascarpone cheese: Rich creamier texture creates a nice balance with the tangy cream cheese. With the higher fat content, it works great with no-bake recipes.
- Heavy whipping cream: Provides creamy and smooth mouthfeel.
- Sour cream: Adds moisture and an extra hit of sour tang to the cheesecake flavor.
- Vanilla bean paste: You can use vanilla extract, but the paste is magical here if you have some on hand!
How To Make An Upside-Down Cheesecake
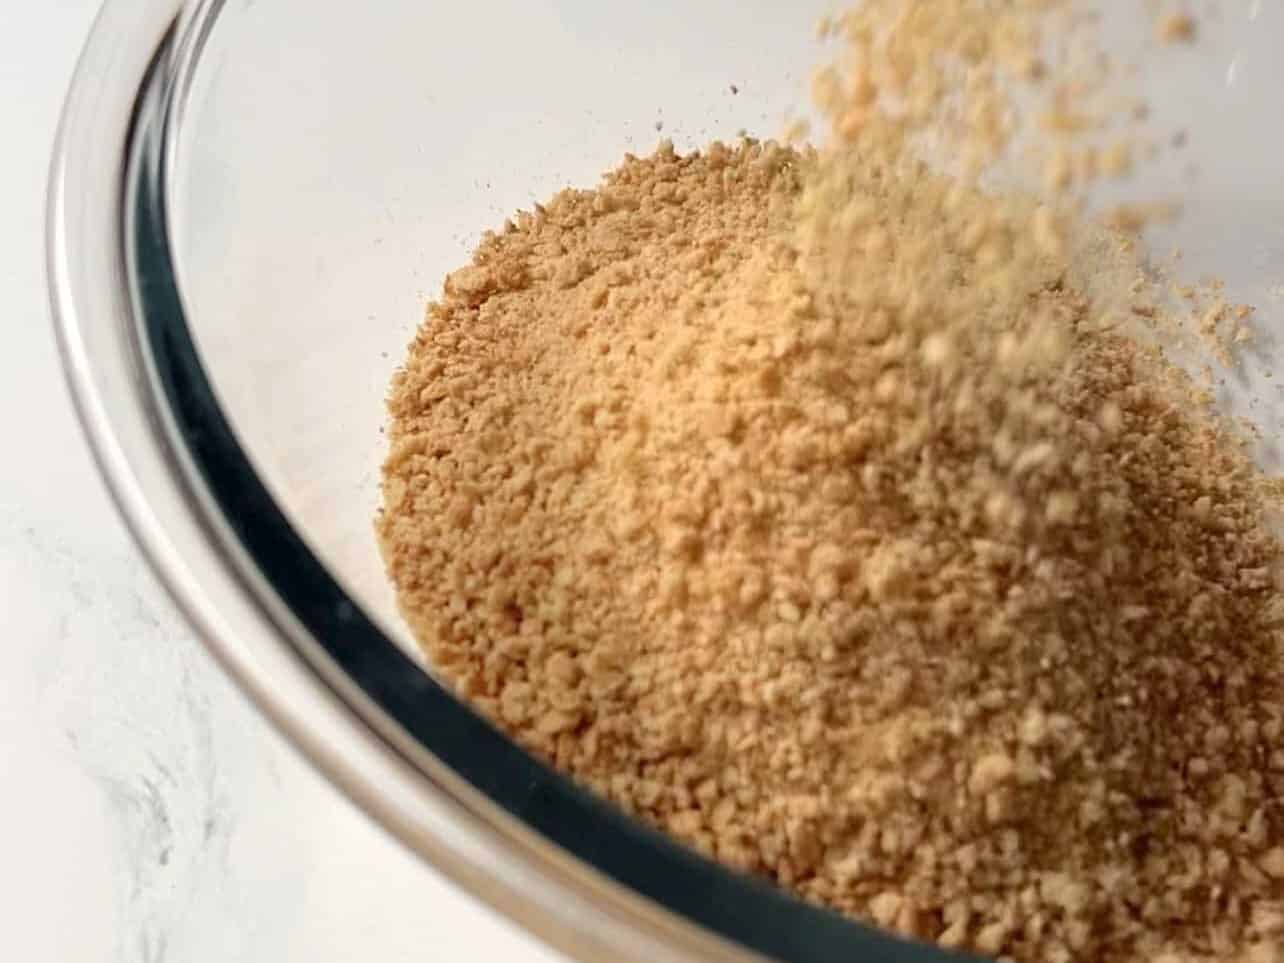
Crush them well in a food processor. Don't pulse them to crumb dust - more like very fine gravel.
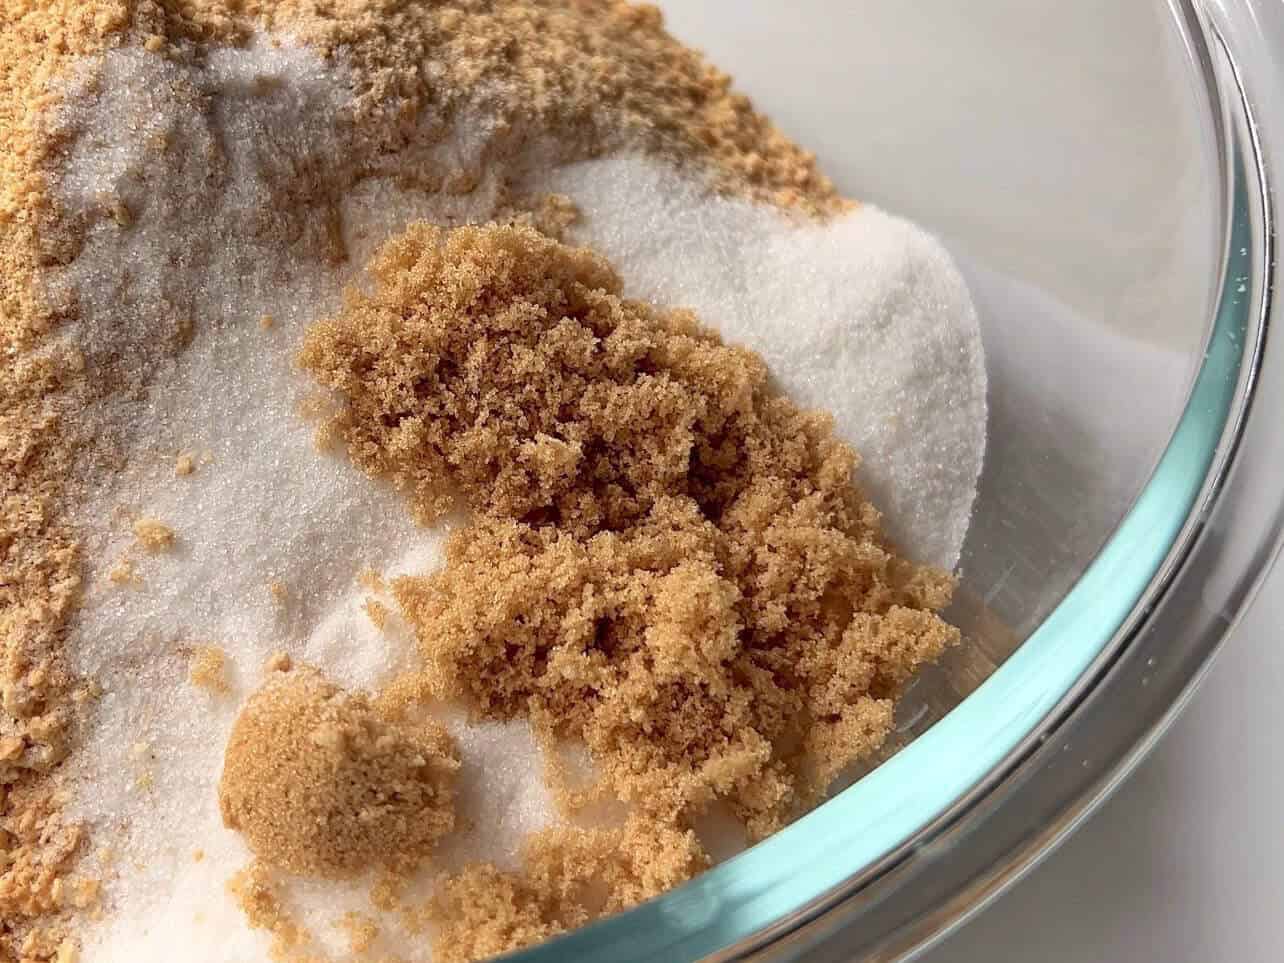
One tablespoon of brown sugar - optional, but highly recommended.
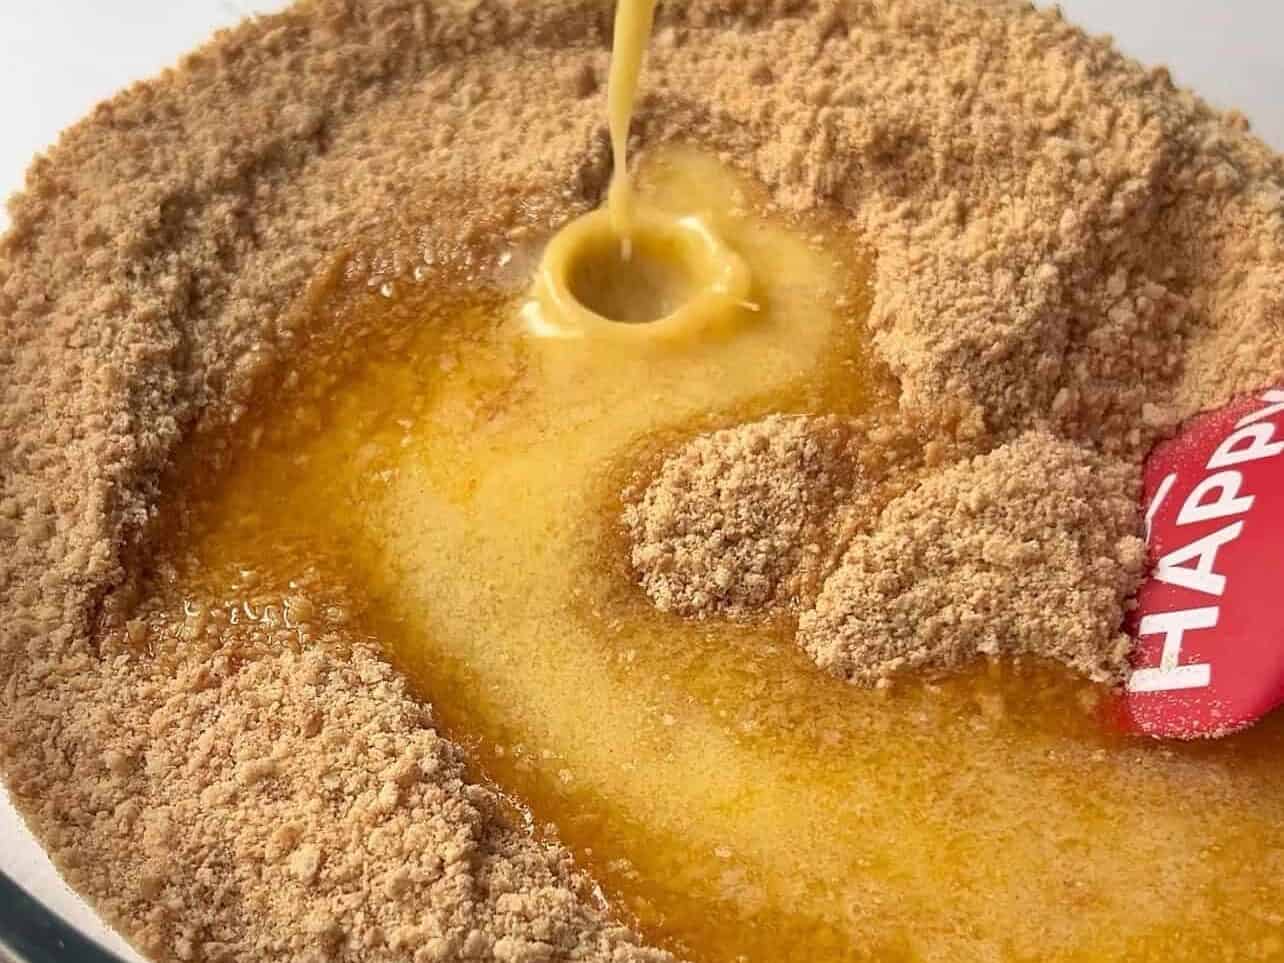
Melt your butter in the microwave or saucepan on the stove. Combine with crumb and mix well. Squeeze crumbs in your hand. It should feel like wet sand and bind together without falling apart.
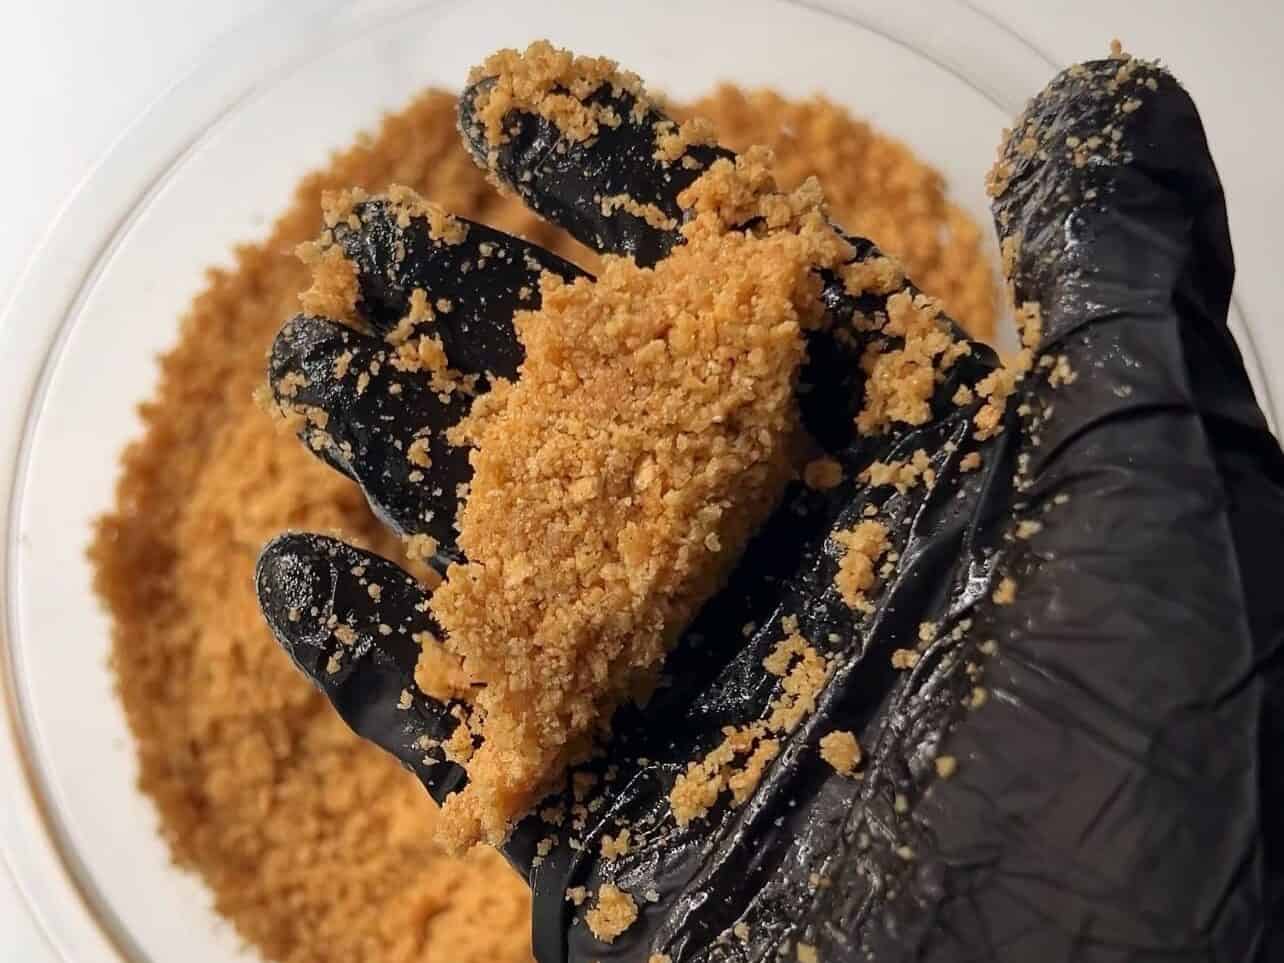
Squeeze a small amount of crumbs in the palm of your hand. The consistency should feel like wet sand, and bind together without falling apart. If it feels too dry, mix in more melted butter.
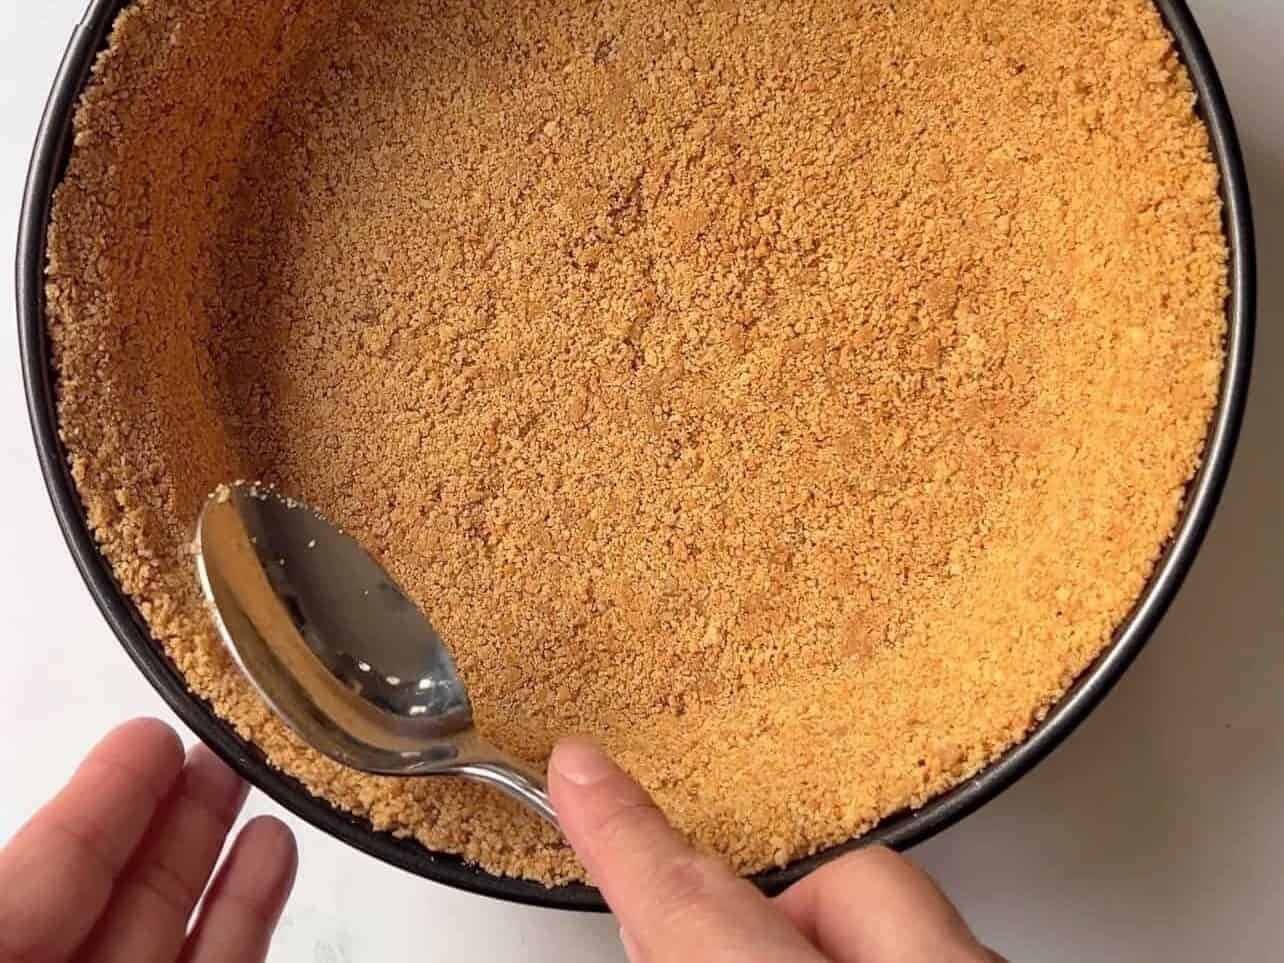
Switch to a spoon to create tall crumb walls all along the sides to the top of your pan. Try your best to spread it evenly so the walls reach the top of the pan rim. Store in fridge as you work on your fruit and cheesecake filling.
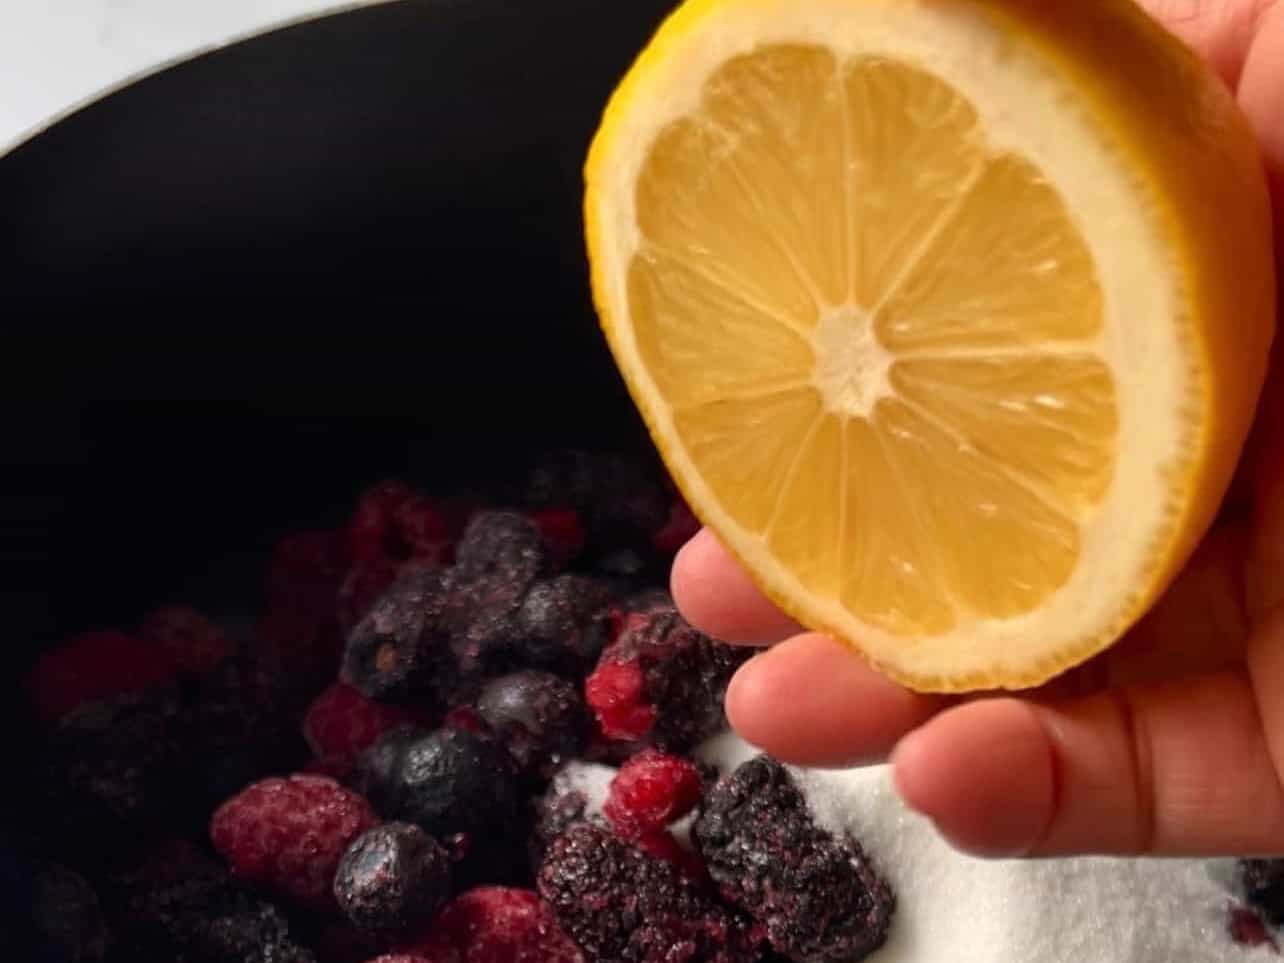
To make the berry compote, combine fruit, sugar, and lemon juice in a saucepan on medium heat.
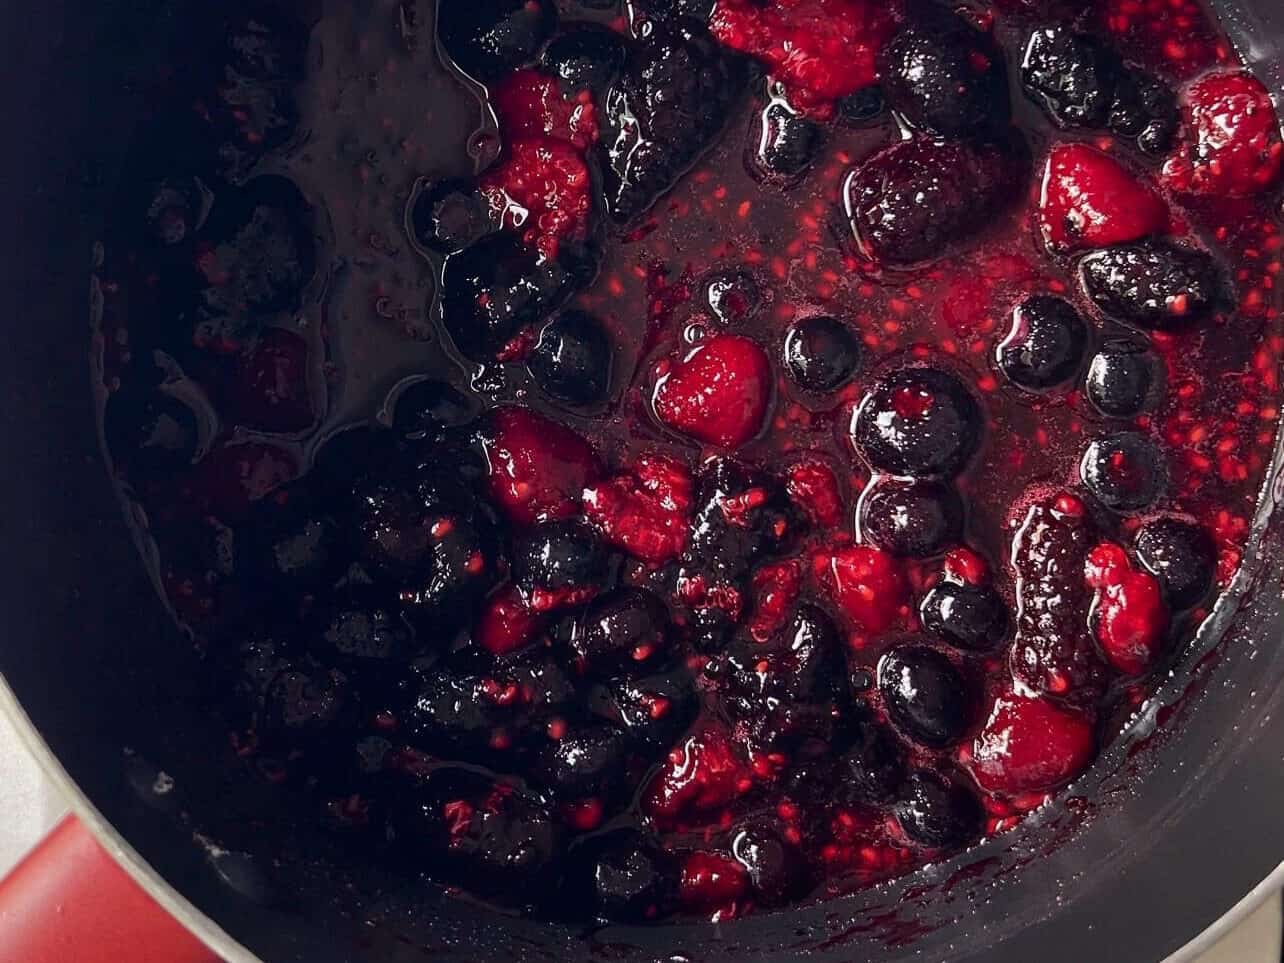
Stir regularly and allow it to simmer.
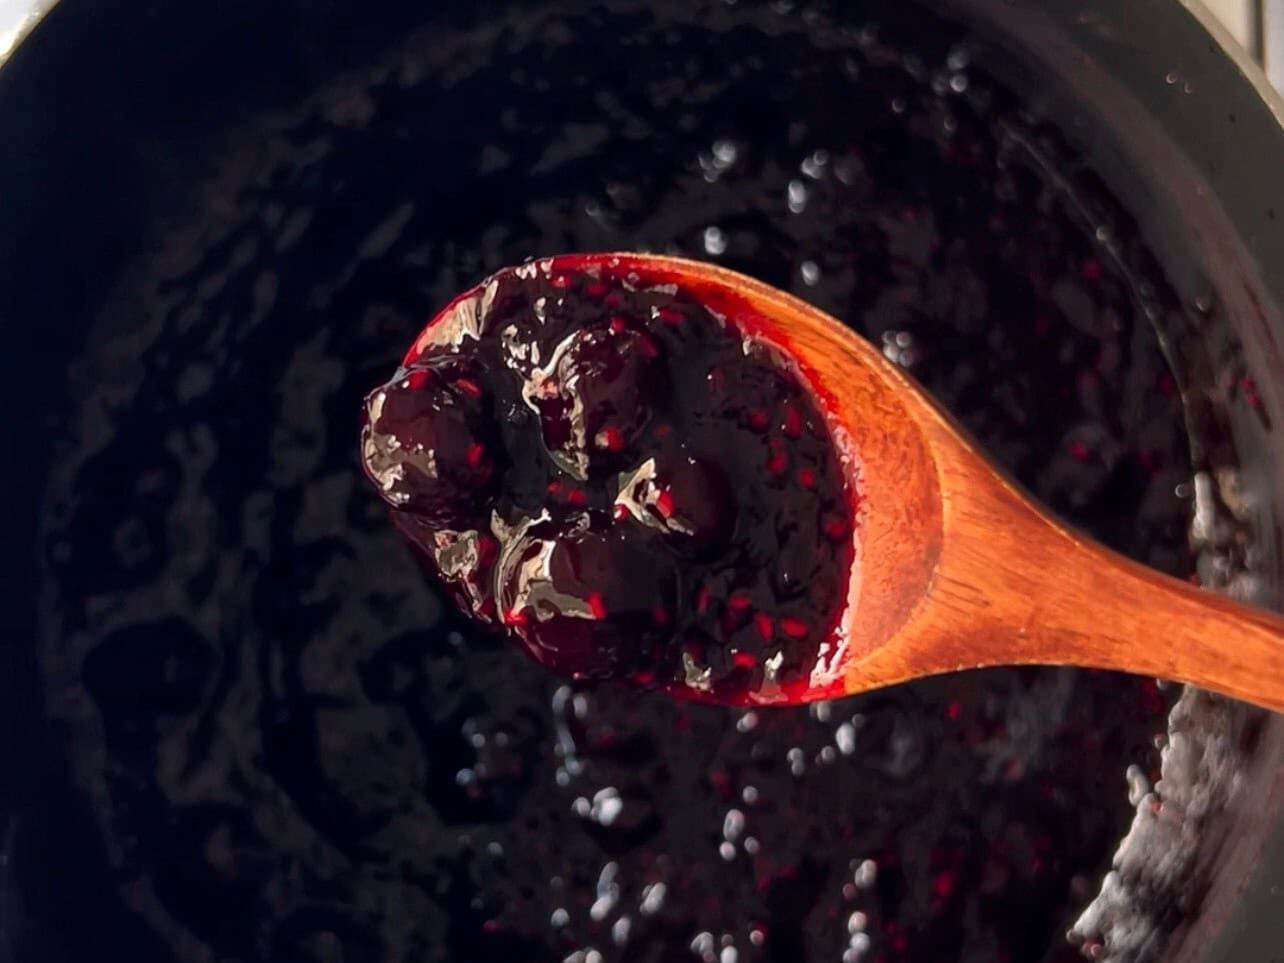
Depending on heat, fresh or frozen fruit, and size of fruit, it may take 15-30 minutes. Allow it to thicken until it almost reaches a jammy consistency. Remove from heat and set aside.
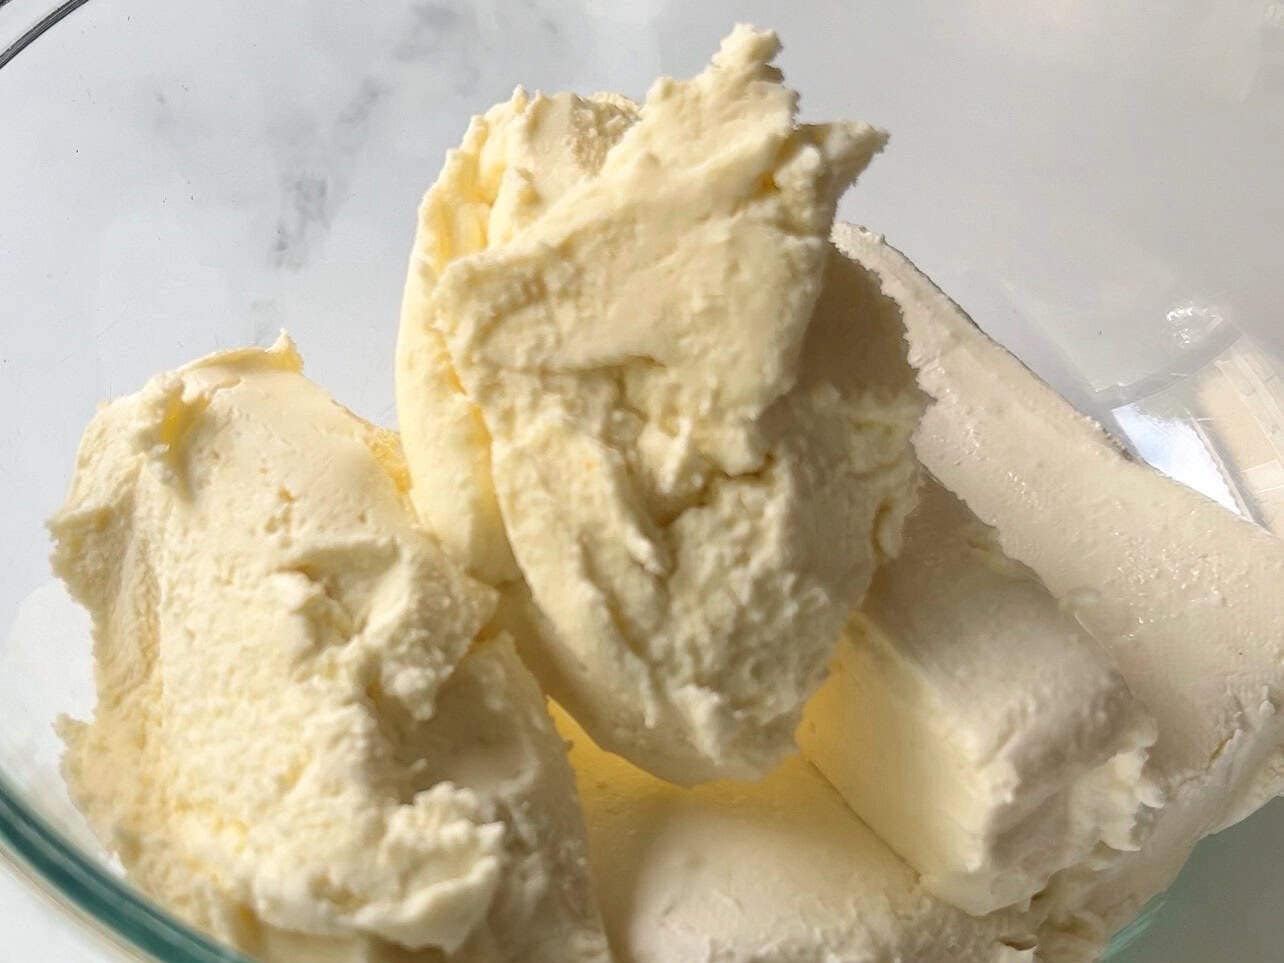
Be sure to bring your cream cheese, mascarpone cheese, sour cream, and heavy cream to room temperature. Your cheesecake batter will whip up much more smoothly!
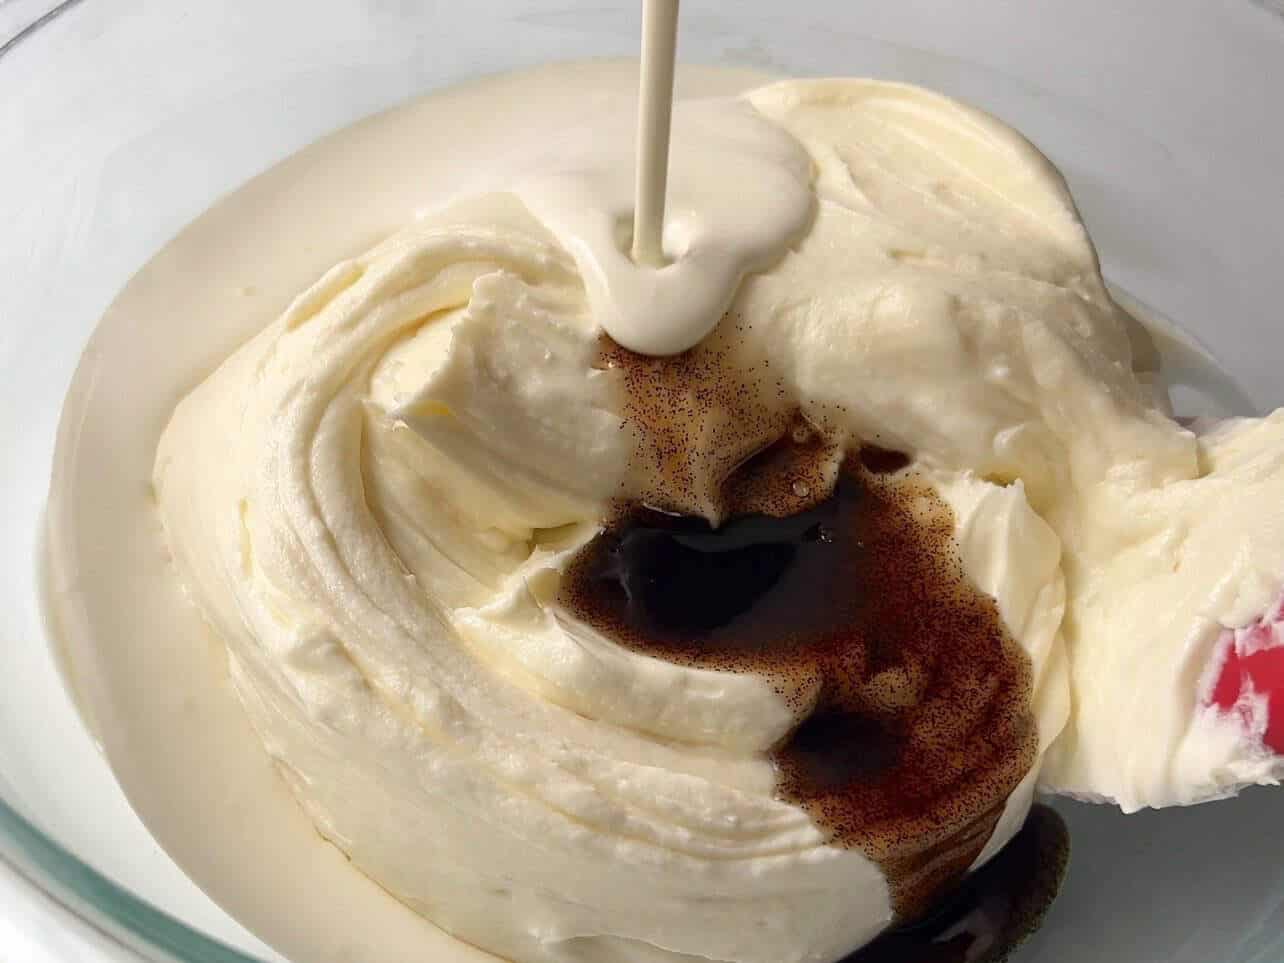
Many recipes have you whisk heavy whipping cream separately, then combine it to your cream cheese after it reaches stiff peaks. Save this step and pour in your heavy cream directly into the cream cheese.
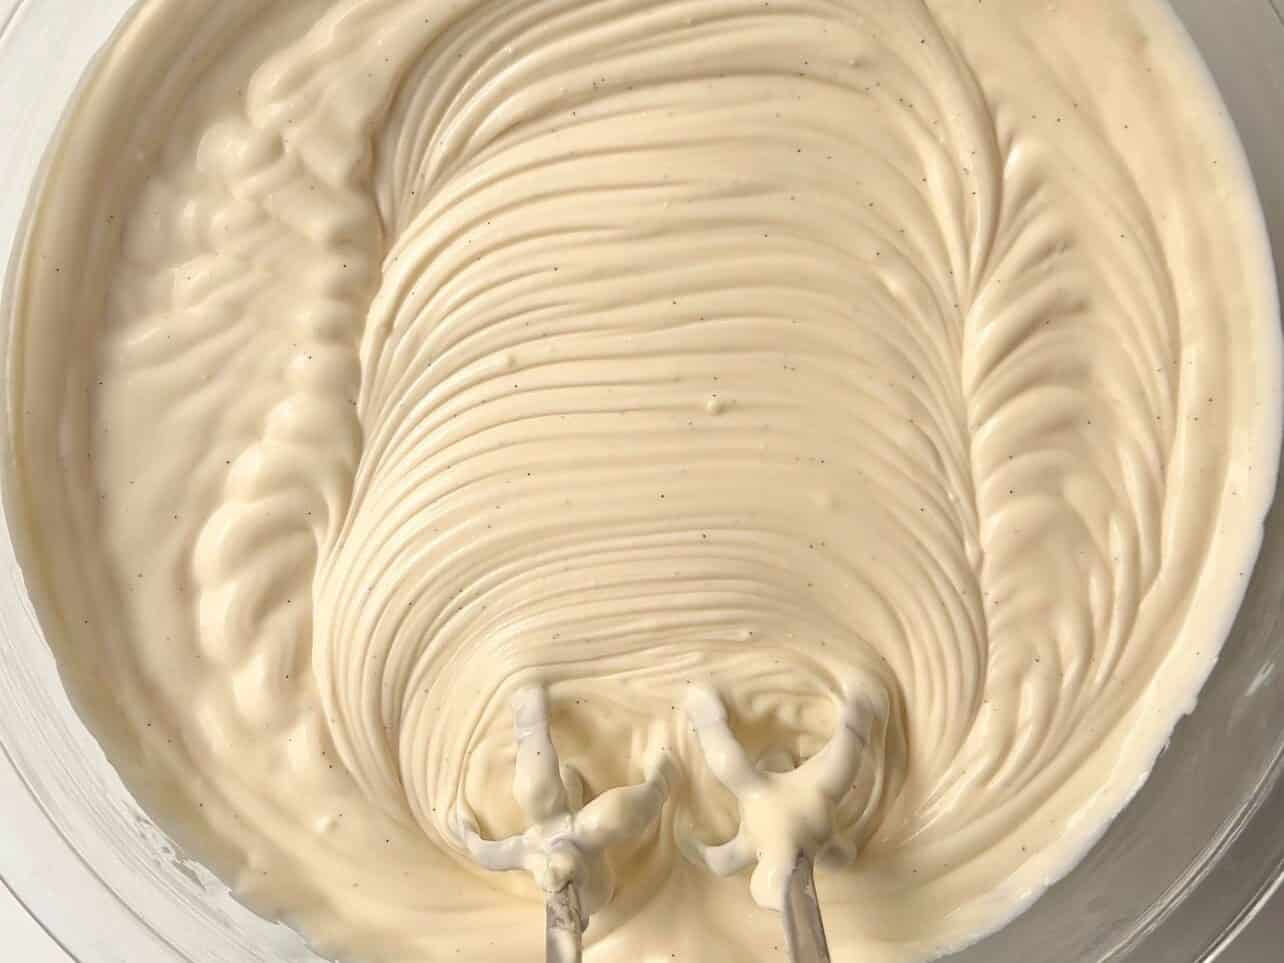
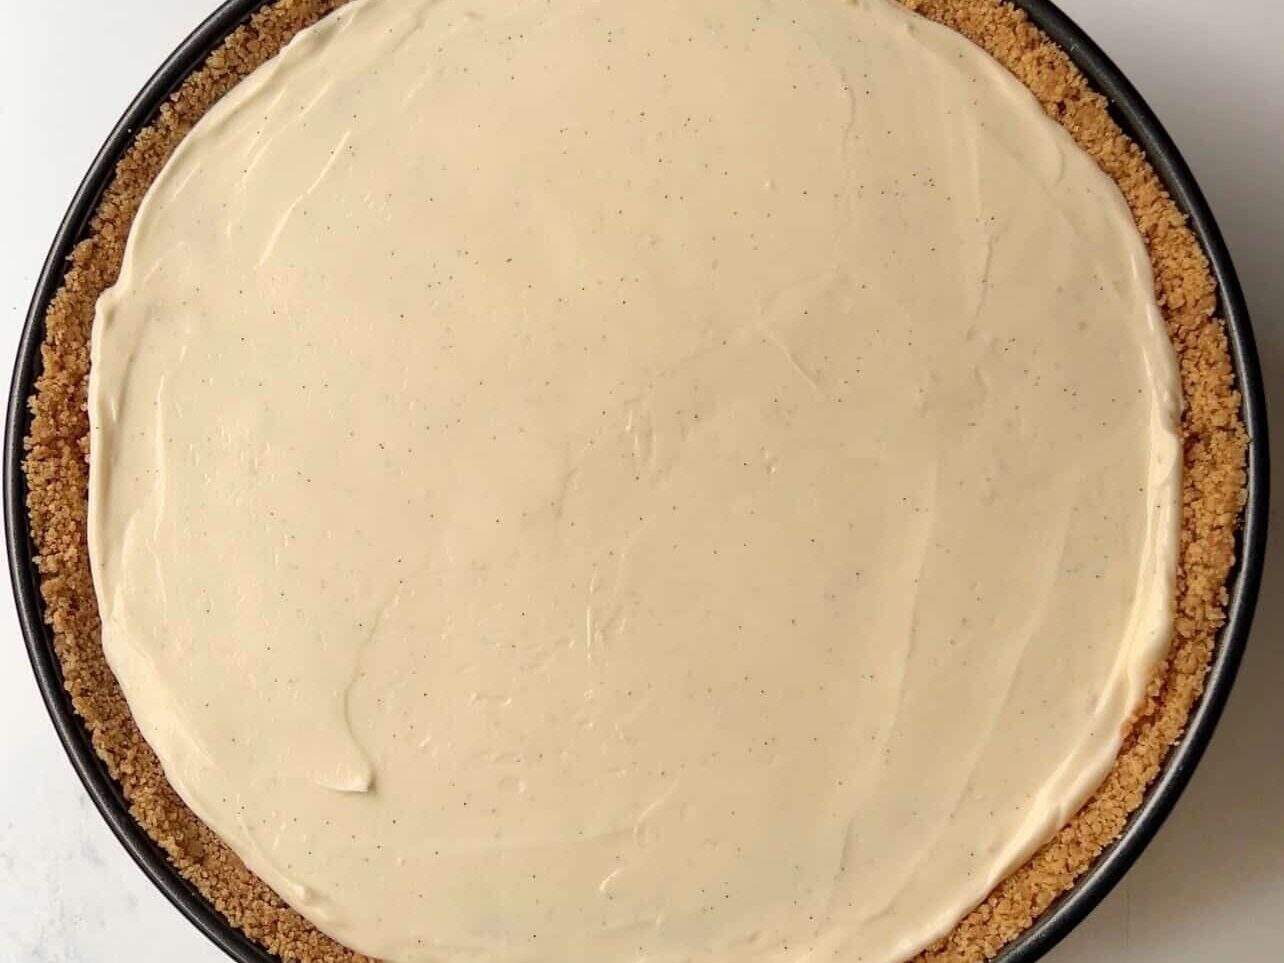
I find that whipping them all together on LOW SPEED from the get-go results in a smoother consistency, helping you gauge the overall thickness and prevents you from over-whipping. Filling should be very THICK - scoop-able but holds its shape, similar to bagel smear.
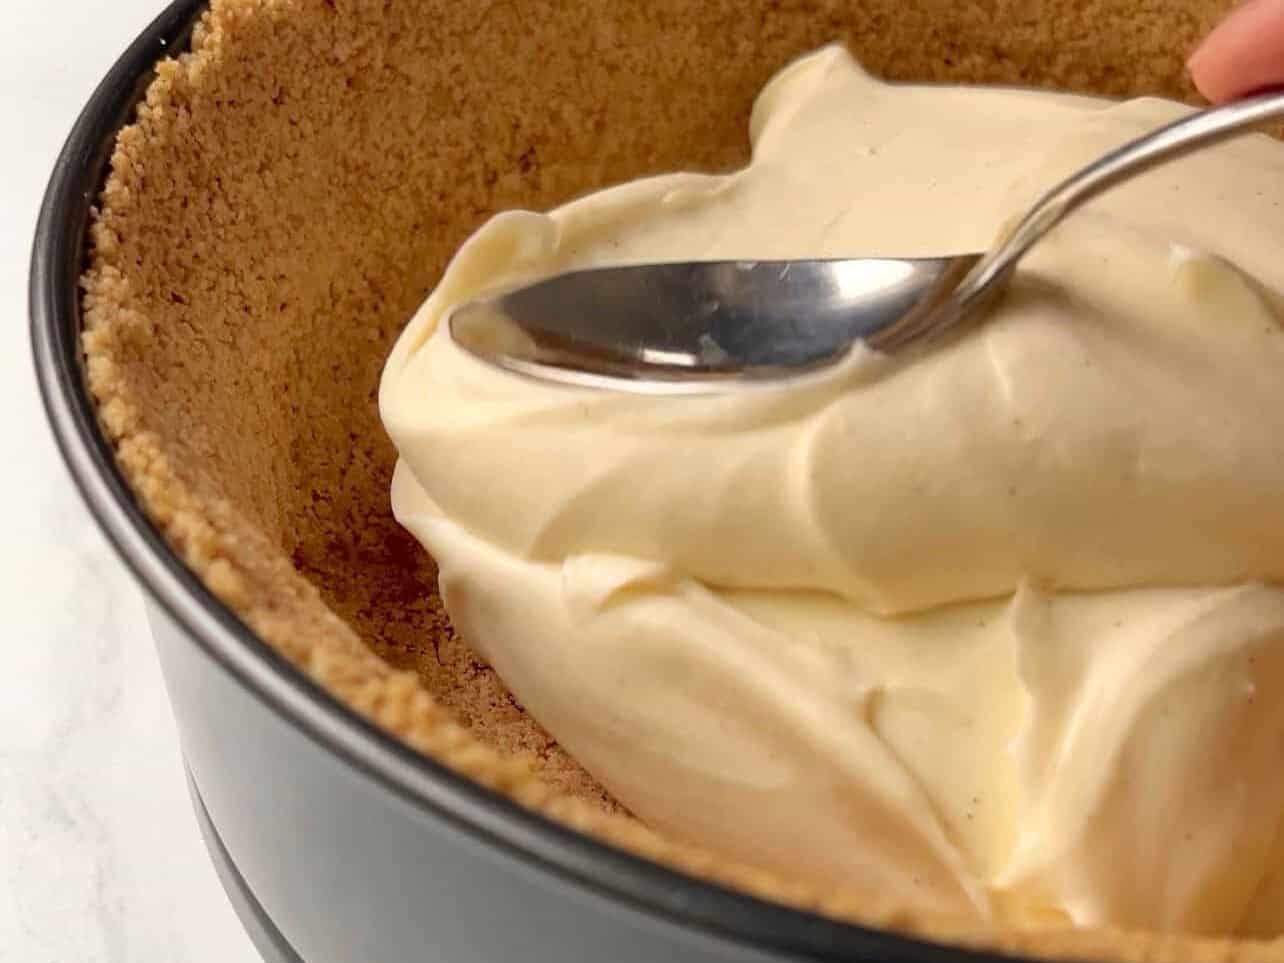
To assembly: Spread about ⅔ of the cheesecake filling evenly at the base for the bottom layer.
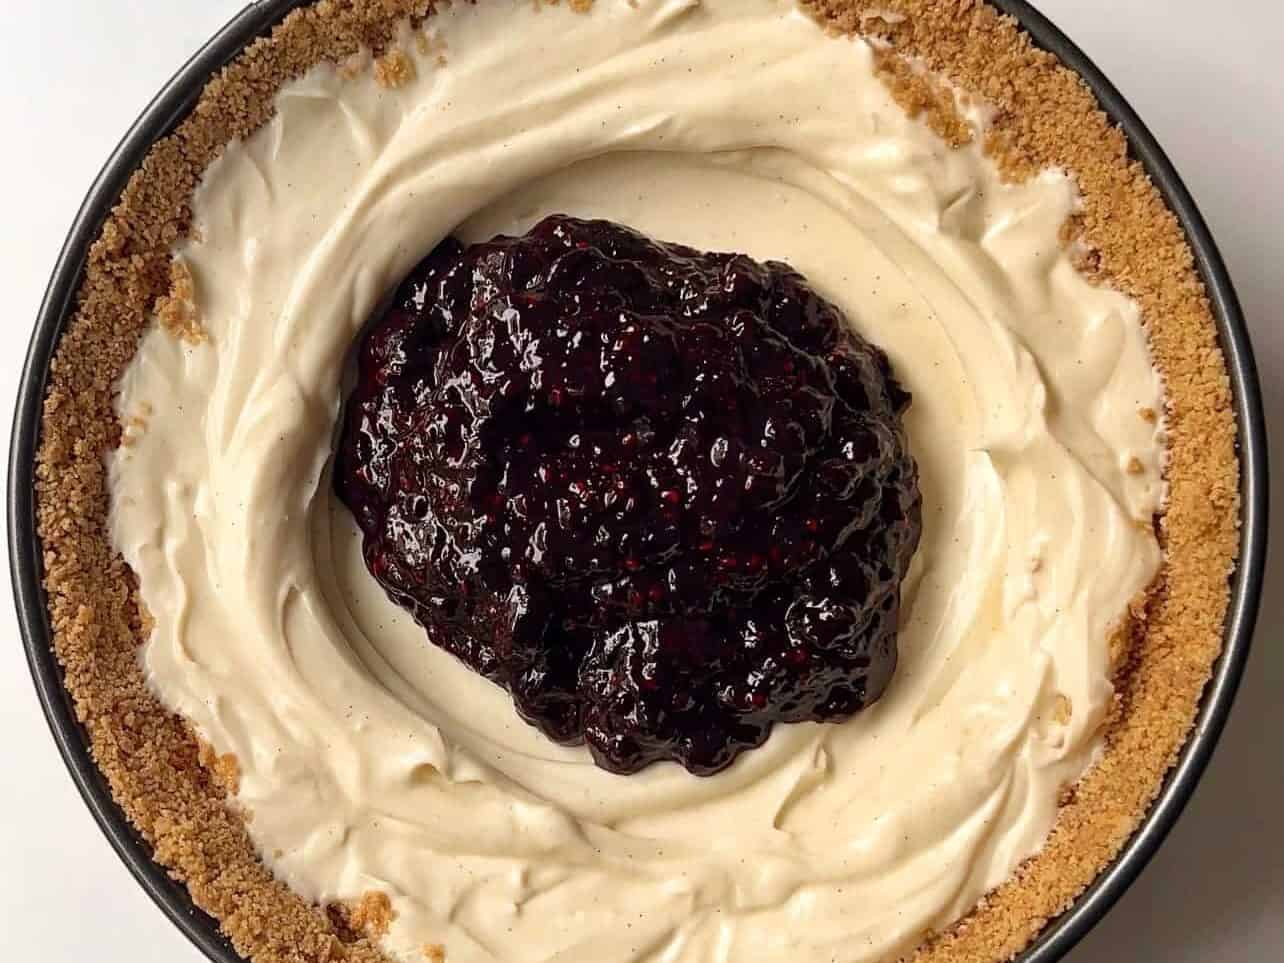
Create a deep enough crater for the cooled fruit compote.
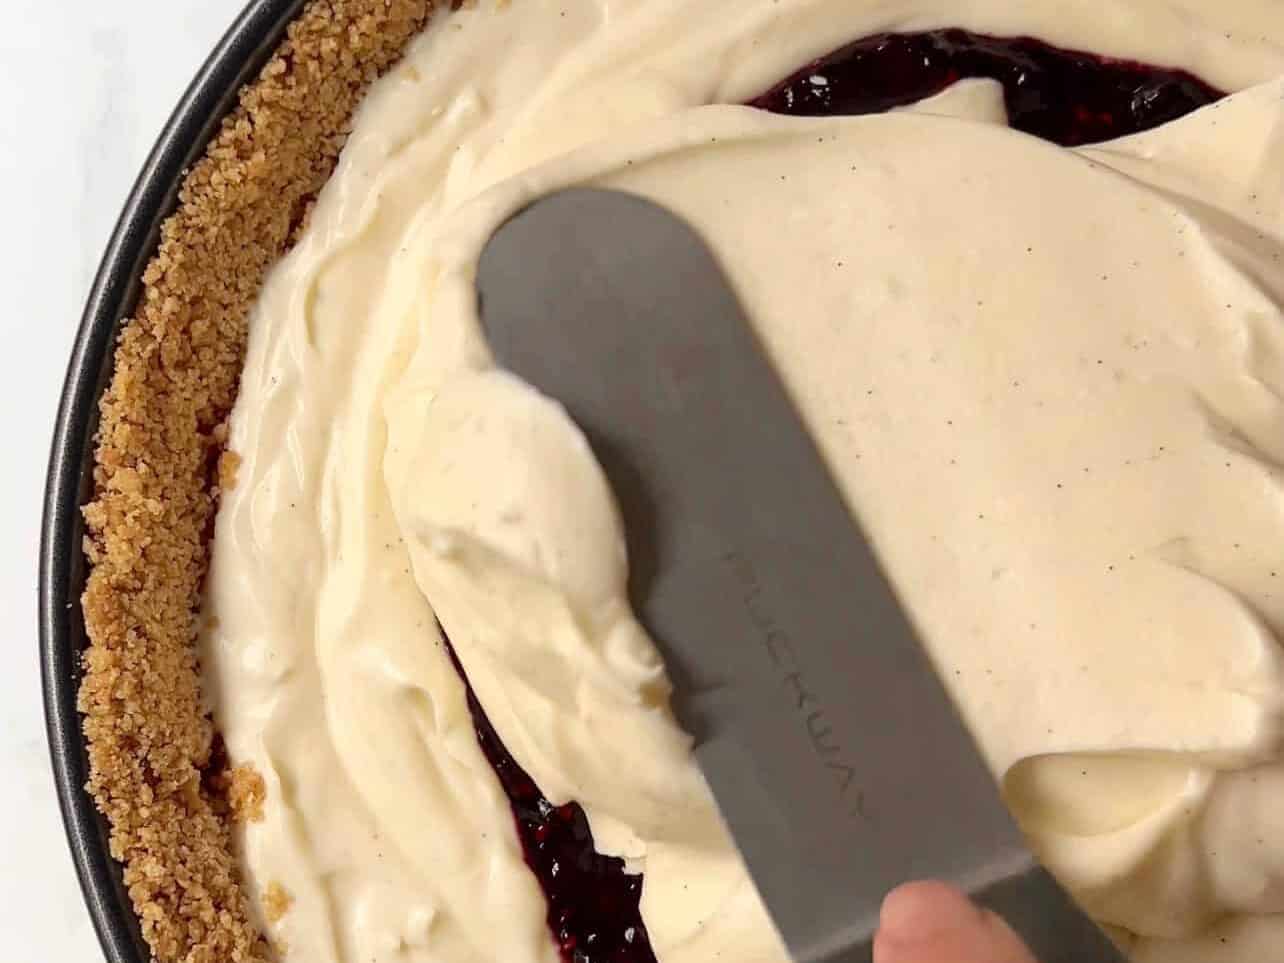
Add remaining cheesecake filling over the fruit compote to enclose it.
Cover and allow cheesecake to set in fridge for 4 hours minimum, preferably overnight.
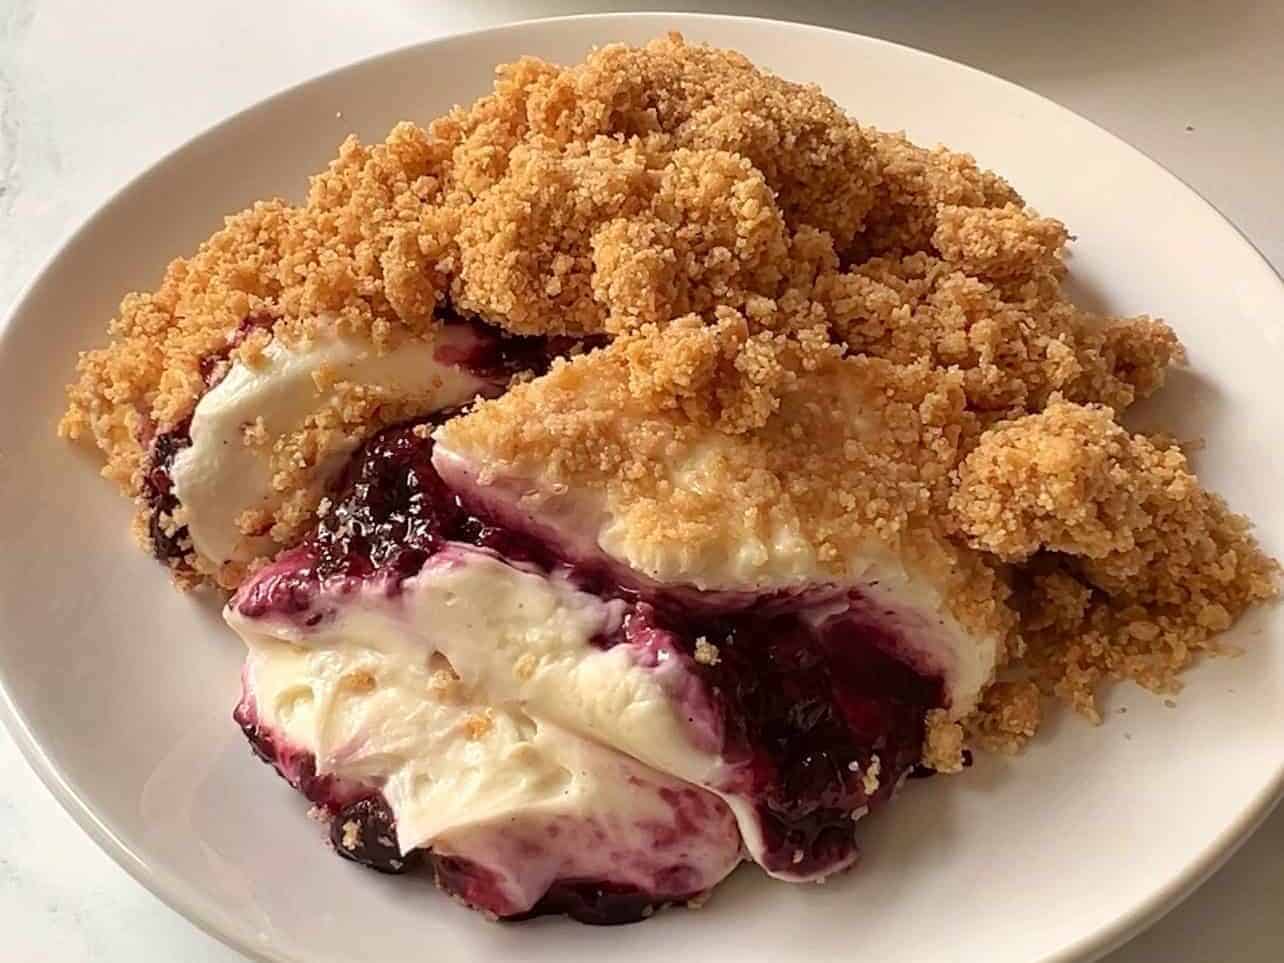
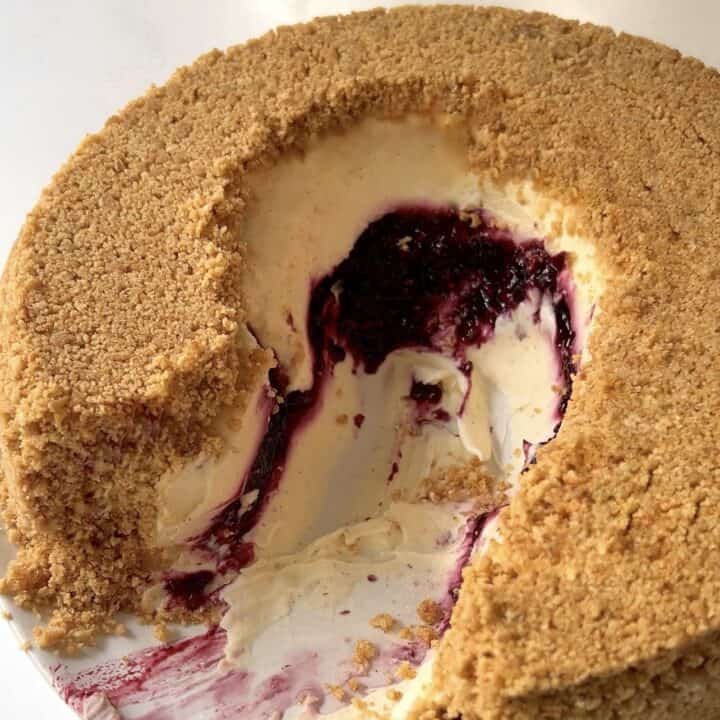
Flip cheesecake upside-down and scoop yourself a slice. Enjoy every bite with lots of lots of buttery crust!
Suzy's Tips For Success
- Room temperature ingredients: It's a pain to try mix hard blocks of cream cheese. Set an alarm before you start and set your cream cheese, mascarpone cheese, sour cream, and heavy cream on the kitchen counter 1 hour prior.
- Feel the crumbs prior to building the crust: I've tested this crust recipe many times so the ratio of crumbs-to-butter is not only delicious, yet sturdy! Measure the crackers, sugar, and butter correctly - use that trusty scale! Once combined, squeeze a small amount of crumbs in the palm of your hand. The consistency should feel like wet sand, and bind together without falling apart. If it feels too dry, mix in more melted butter.
- Keep mixer on low speed: Whipping your filling on high speed creates air pockets. Go low and slow, and you'll yield a thick yet creamy silky consistency.
- Aim for a jammy consistency: You know the fruit compote is done when it's thick enough to coat the back of a wooden spoon. If it doesn't reduce enough, it will not remain in the center of your cheesecake.
- Plan ahead and chill cheesecake overnight: We want to give the cheesecake ample time for both the crust and the filling to set. If the filling doesn't have enough time to thicken in the fridge, it will break the crust and spread out.
Best Way To Store Upside-Down Cheesecake
Store in the fridge in an airtight container up to 3-5 days. You can freeze the leftovers for 3 months, and thaw overnight in fridge before serving.
FAQ
Nope! Use a 9-inch springform pan. If the butter is measured correctly and cheesecake had time to set, the bottom will release easily.
If spread evenly, this recipe will create a solid ¼-⅓ inch bottom crust, and ⅛-¼ inch walls all the way up to the rim. Take your time and press evenly - there's enough crumbs to reinforce weak spots.
You sure can! Just remember that results and cook time will vary depending on fruit size and moisture. I prefer to use frozen fruit since it's available year-round and the convenience of not worrying of rot.
You Might Also Like...
Equipment
- ramekin or cup with straight sides
- saucepan
- stand or handheld mixer
- sifter
- Rubber Spatula
- large plate for serving
Ingredients
Crust
- 31 graham crackers sheets about 3½ sleeves
- ¼ cup granulated sugar
- 1 tablespoon brown sugar optional, but recommended
- ¾ cup + 1 tbsp butter melted
- ¼ teaspoon salt omit if using salted butter
Fruit Compote
- 2½ cup fresh or frozen fruit I used frozen triple berry
- ½ cup granulated sugar
- ½ large lemon juiced
Cheesecake Filling
- 24 oz cream cheese full-fat, room temp
- 8 oz mascarpone cheese room temp
- 1 cup powdered sugar sifted
- ¼ cup sour cream room temp
- 3 teaspoon vanilla bean paste
- 1½ cup heavy whipping cream room temp
Instructions
Crust
- Crush your graham crackers in a food processor. You're looking for a very fine gravel consistency, not powder dust. A few small pebbles remaining are fine.31 graham crackers sheets
- Melt butter in microwave or on the stovetop. In a large mixing bowl, combine and mix graham cracker crumbs, sugars, the melted butter, and salt. Squeeze a small amount of crumbs in your hand. It should feel like wet sand and bind together. If crumbs appear too dry, mix in more melted butter.¼ cup granulated sugar, 1 tablespoon brown sugar, ¾ cup + 1 tablespoon butter, ¼ teaspoon salt
- Pour crumb mixture into your springform pan. Use a ramekin or cup with straight sides to spread crust evenly. Take your time and press down firmly so the crust walls reach all the way to the top of the pan rim. Chill crust in the fridge as you work on the fruit compote and cheesecake filling.
Fruit Compote
- Combine fruit, sugar, and lemon juice in a medium saucepan on medium heat. Stir regularly as it thickens to a jammy consistency and coats the back of a spoon. This can take 15-30 mins depending on the fruit and heat level. Remove from heat and allow to cool completely. If you plan on making the cheesecake filling immediately, you can also place saucepan in fridge to cool faster.2½ cup fresh or frozen fruit, ½ cup granulated sugar, ½ large lemon
Cheesecake Filling
- Using a stand or handheld mixer on LOW SPEED, whisk together room temperature cream cheese, mascarpone cheese, sifted powdered sugar, and sour cream. Add in the vanilla bean paste and mix. Finally, pour in the heavy cream and continue to whip on low until consistency holds its shape and resembles thick spreadable bagel smear.24 oz cream cheese, 8 oz mascarpone cheese, 1 cup powdered sugar, ¼ cup sour cream, 3 teaspoon vanilla bean paste, 1½ cup heavy whipping cream
Assembly
- Scoop about ⅔ of the cheesecake filling (approx 850-875g) in the crust and spread evenly. Make a center well or crater in the center by spooning the filling out and up the sides against the crust walls. Some crumbs will detach, just try to keep it to a minimum.
- Pour in the cooled fruit compote inside the center well. Scoop remaining cheesecake filling on top and spread evenly to encase and cover the fruit. The filling should now come up close to the rim of the pan as the crust.
- Chill in fridge for 4 hours minimum (preferably overnight). When ready to serve, place a large round plate upside-down on top the pan. Invert it quickly and place plate down. Release the springform side and gently peel off the bottom. Smack the crust with a serving spoon and enjoy!
Notes
- Nutritional information is only an estimate. The accuracy of the nutritional information for any recipe on this site is not guaranteed.
- For the best consistent results, use a kitchen scale. Measuring ingredients accurately gives you the best chance for success, and a scale will give you the most precise readings.
Nutrition
Looking for other recipes like this?

TJ says
Saw your reel on IG at 9:29am, was at the store by 10am on Thanksgiving buying the ingredients! Since I had a plethora of fresh cranberries, I used them as the filling. It came out absolutely delicious but I clearly did something wrong because when I pulled the bottom off, some of the crust came with it. It literally looked like your after picture. But whatever, the filling held up like a boss and it tasted so good. I’m going to have a rematch with that crust one day and I will win. Thank you for creating and sharing this recipe!
Suzy says
Yes, the crust is definitely an architectural challenge - thickness of walls, the height to match the filling height, etc. I'm sure your rematch will go much better. Not sure how long you chilled it, but if you didn't do overnight - I highly recommend it. Thank you so much for going shopping on Thanksgiving to try it. I commend your bravery!