
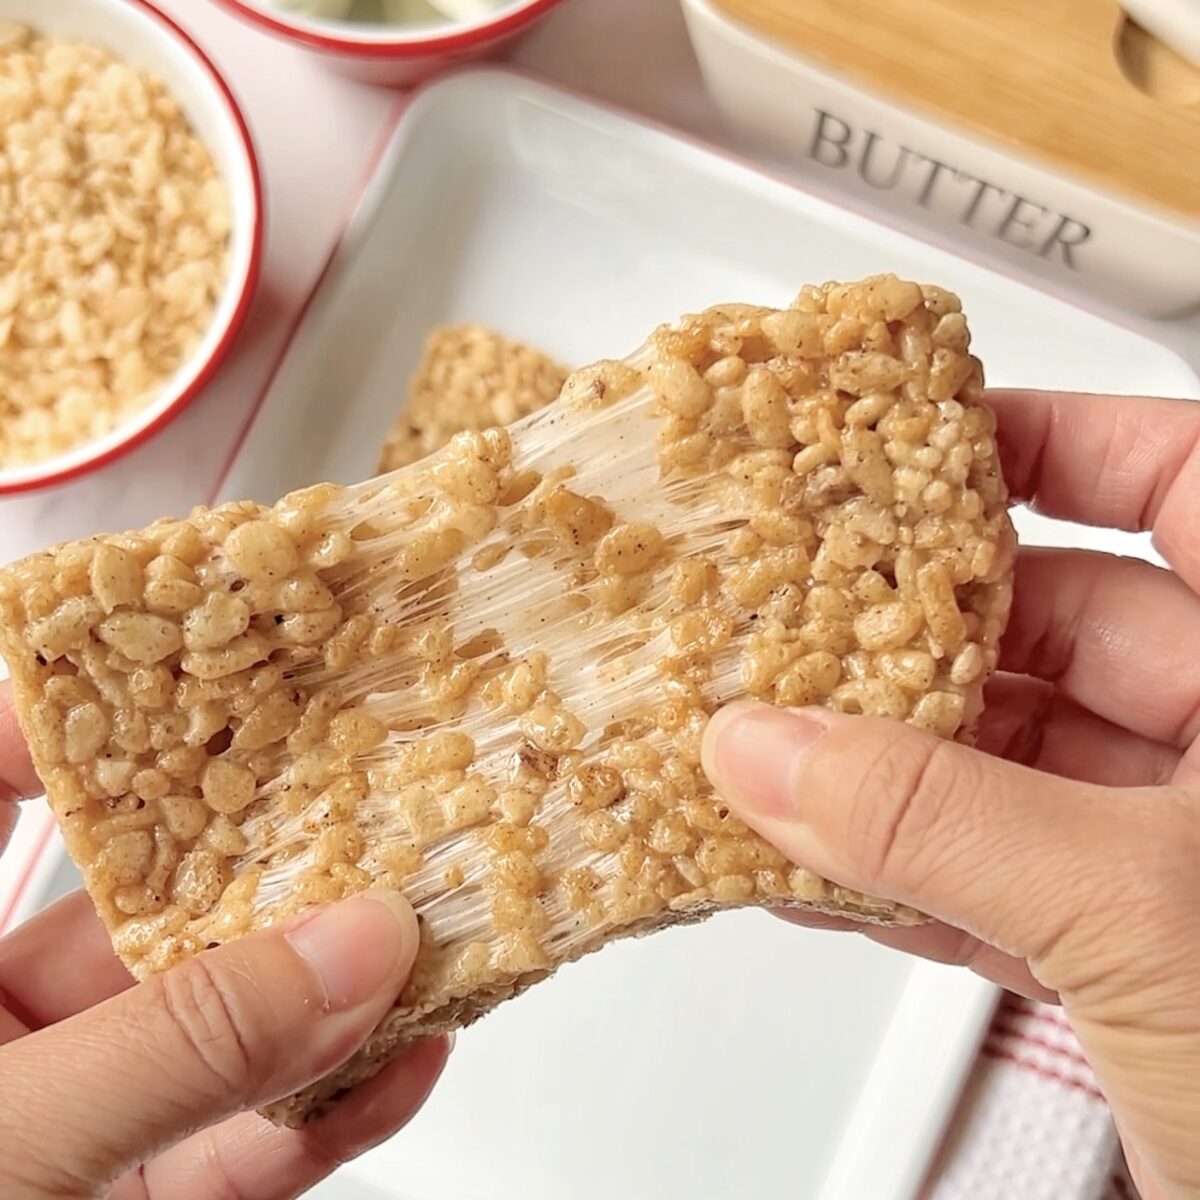
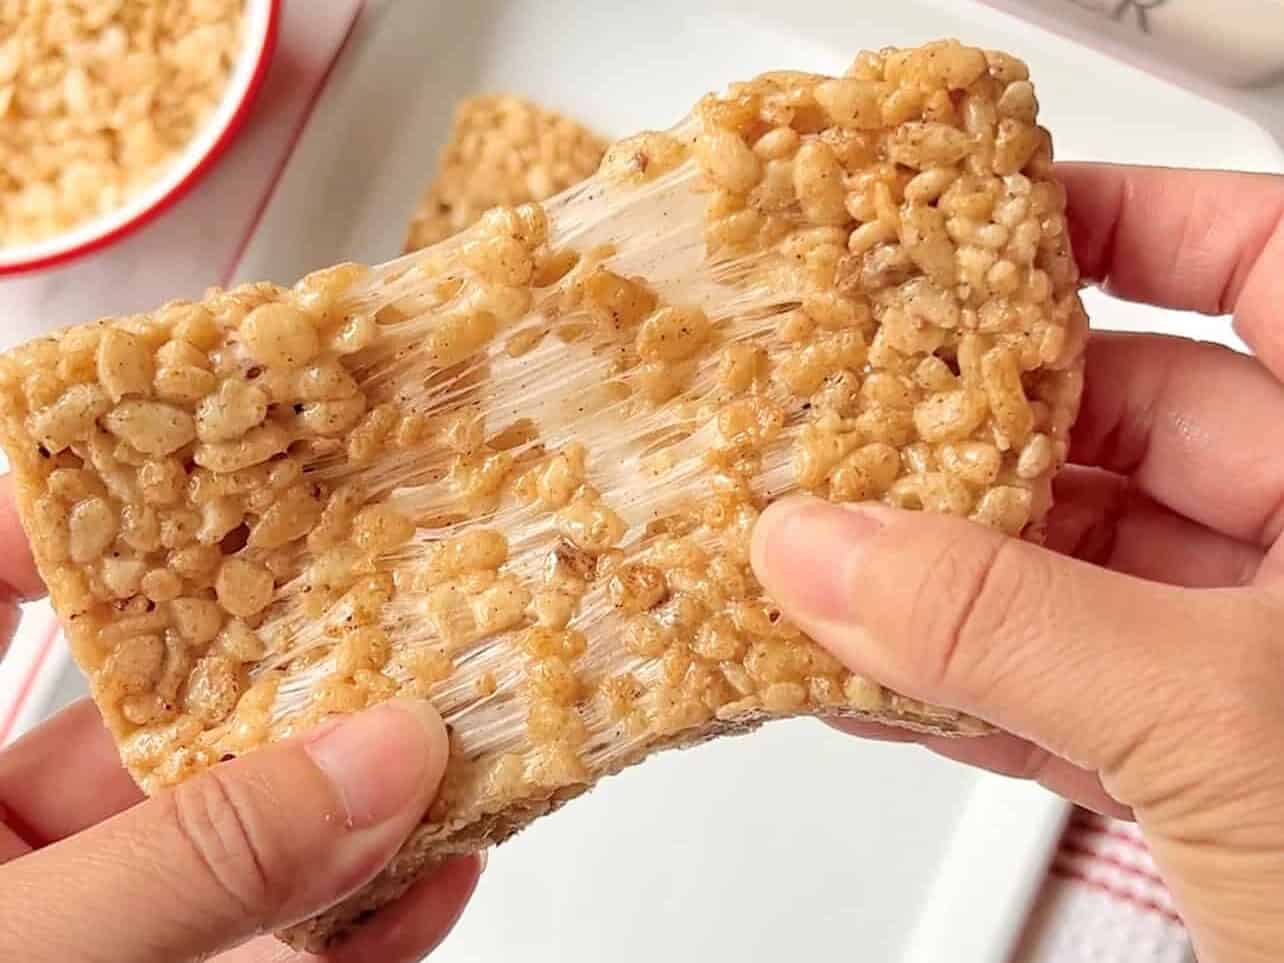
The best part of this extra gooey Torched Brown Butter Rice Krispie Treats recipe - it doesn't require any extra ingredients. Yes! We are taking the nostalgic classic, and amping it up a notch. Maybe two. Don't worry, it's super simple and a total GAME CHANGER.
Have you tried a treat that was a childhood favorite as an adult, only to realize it's just... meh? This is what happened to me! I opened up that ol' familiar blue box we grew up with, anxiously ripped open the wrapper, bit into it, and immediately tasted just straight... sugar. Don't get me wrong, I know that's mainly what it's made out of. It just made me realize our palates are forever changing as we get older and we need more flavor and depth than just... sweet.
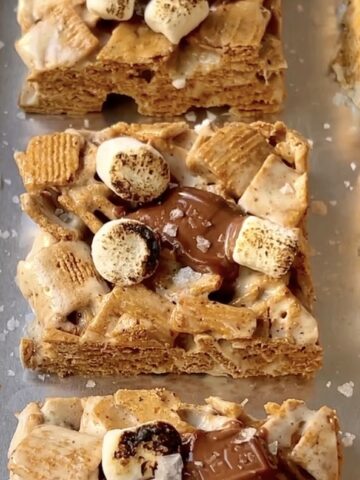
So instead of melting the butter, we're taking it further by browning it to develop a deep toasted nuttiness. And instead of simply heating the marshmallows, we whip out the blowtorch to create specks of charred, smoky bits as they melt all over the crispy cereal. The result? It's the oh-so-familiar gooey marshmallow-y treat you grew up loving, but elevated for the adult palate you have now. Are you ready?
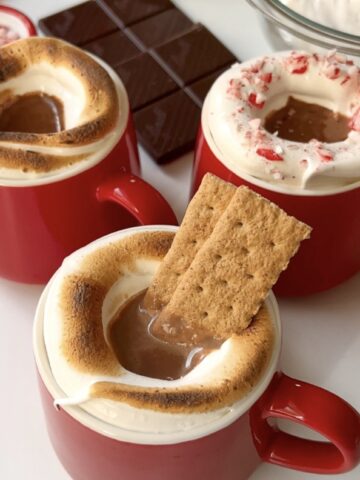
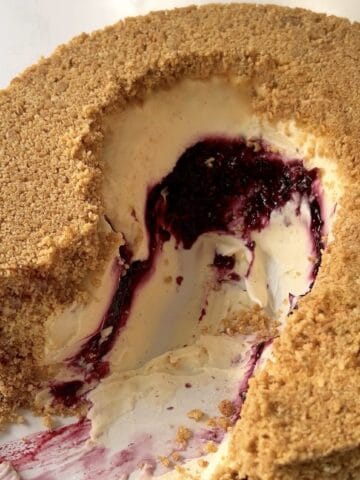
If you love marshmallow-y campfire-vibe treats, you definitely have to make my Easy Reese's S'more Dip made all in one pan, or my Creamy Hot Cocoa with Torched Marshmallows before winter is over!
Jump to:
- Why Brown Butter is ELITE
- Charred Marshmallows
- No Extra Ingredients Needed...
- ... But Lots of Delicious Add-Ins If You Like
- How To Make Extra Gooey Torched Brown Butter Rice Krispie Treats
- Suzy's Tips For Success
- Best Way To Store These Torched Brown Butter Rice Krispie Treats
- FAQ
- You Might Also Like...
- Torched Brown Butter Rice Krispie Treats (Extra Gooey!)
Why Brown Butter is ELITE
Browning butter has been done for centuries, a staple ingredient in classic French cuisine that made its way into American cookbooks in the 20th century. As you melt butter in a pan, the milk solids begin to separate from the fat. These milk solids are heavier, so they begin to fall to the bottom of the pan and begin to caramelize from the heat, creating the most amazing nutty flavor. It is why it's known as beurre noisette in French, which literally translates to "hazelnut butter."
Restaurants use it to revamp their menu items all the time. If you think about it, it's genius since it adds depth and complexity to both sweet and savory foods without increasing any additional food costs. Now you see brown butter flavors everywhere!
Charred Marshmallows
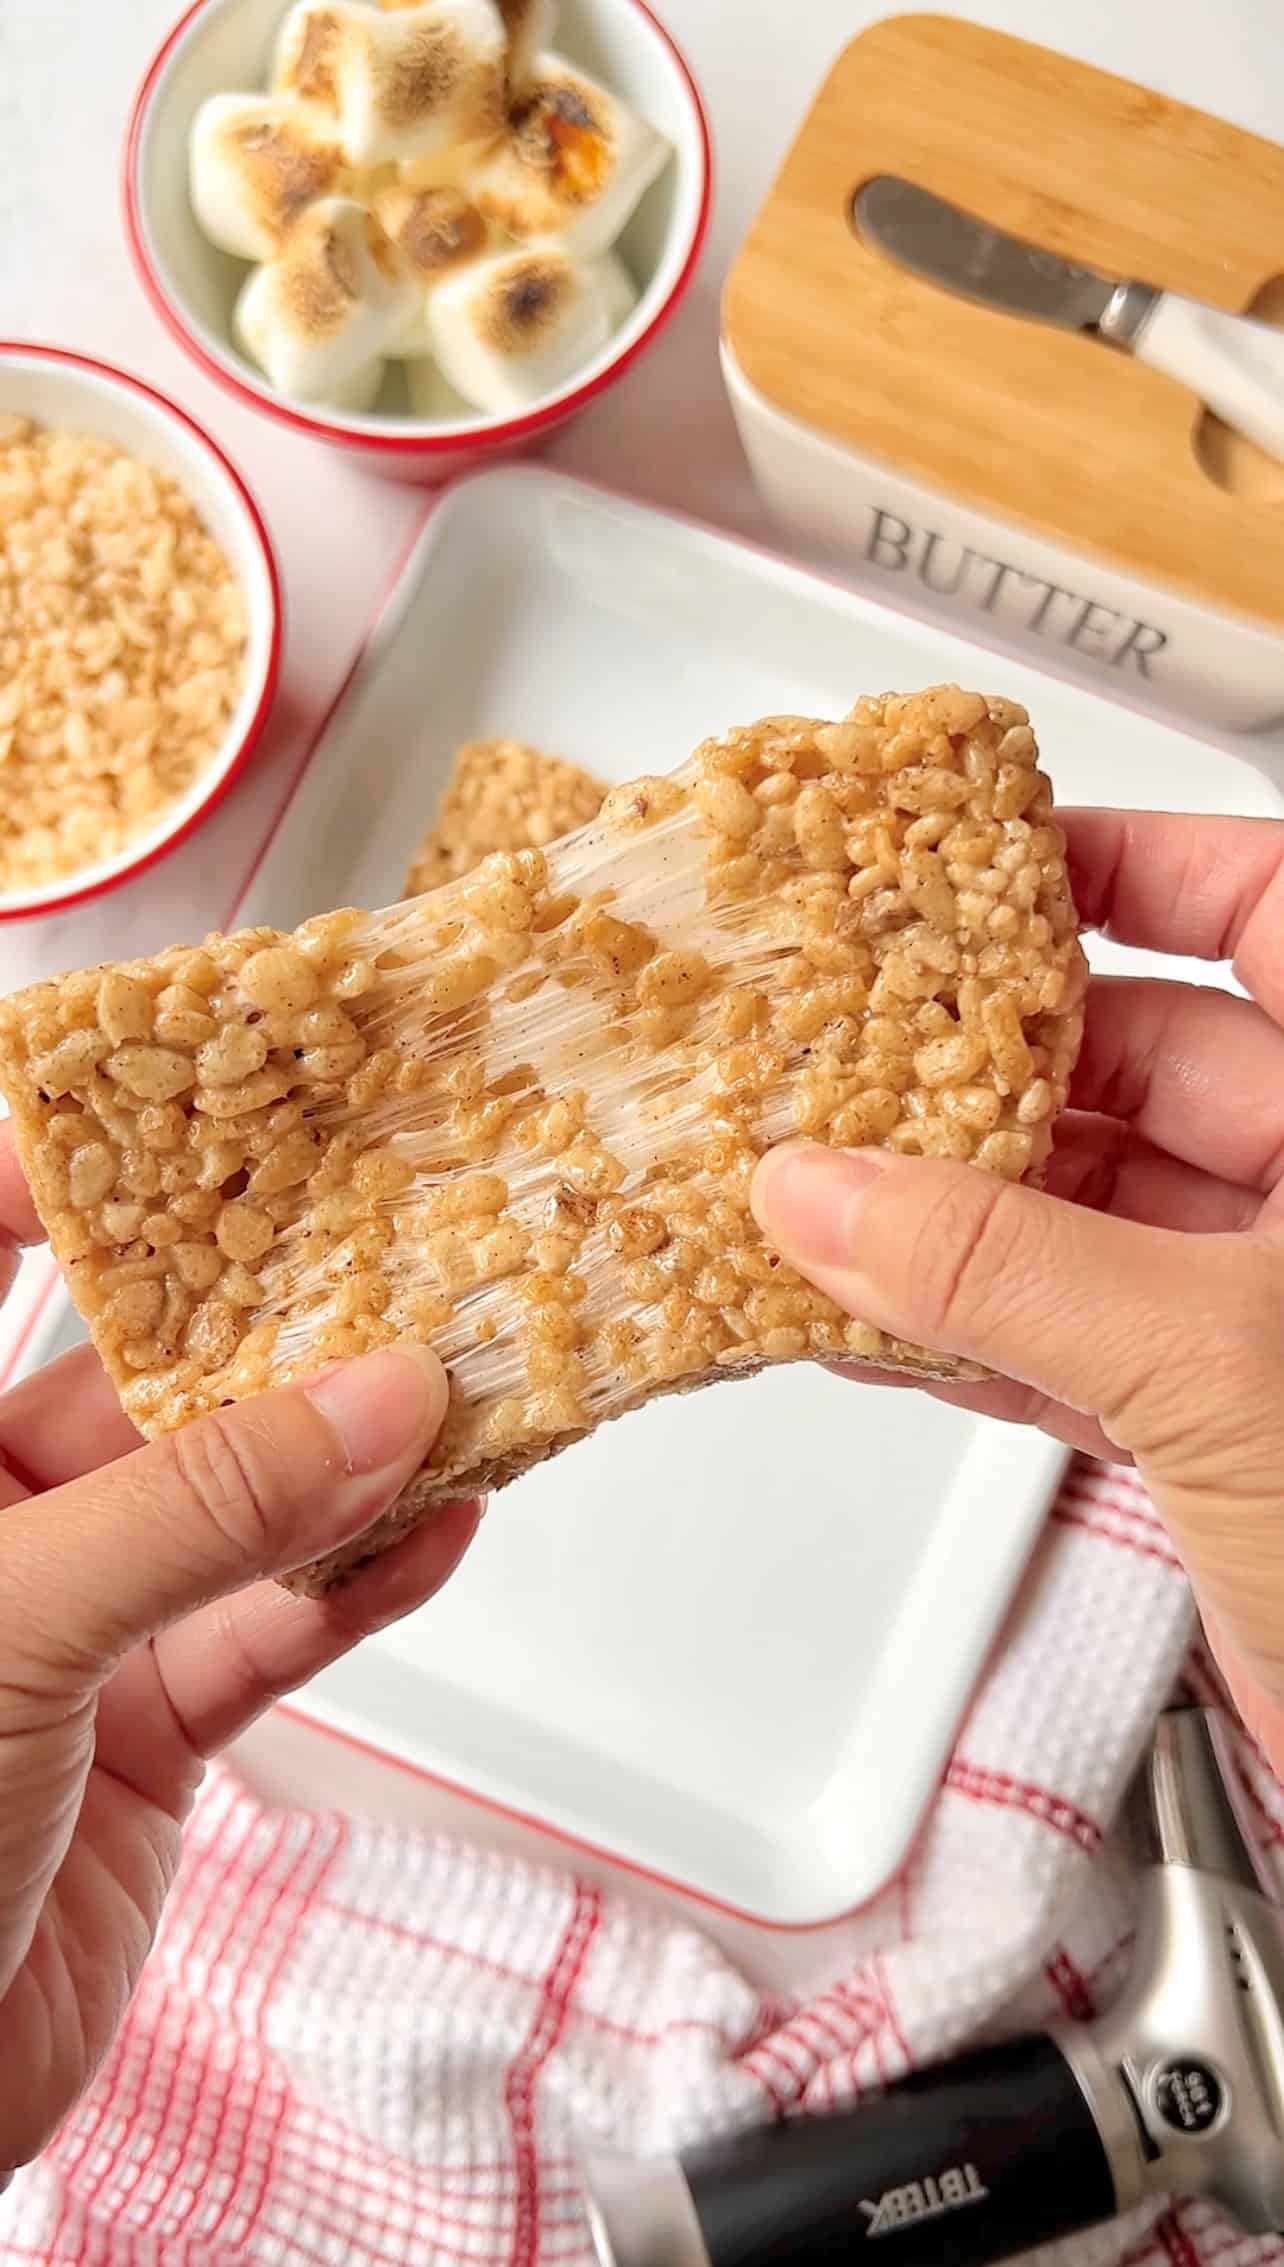
Why does the flavor of slightly burnt marshmallow taste so darn good? If you've never had it before, I would describe it as bitter-yet-sweet burnt caramel with a crunchy exterior yet soft gooey center.
There's a few ways to toast them - my favorite indoor method is using a kitchen blowtorch. A blowtorch is easily be my favorite kitchen tool - hands down! Once you understand how to use it safely, you can elevate so many foods - searing meats, roasting vegetables, meringues, and of course caramelizing the sugar on top creme brûlée! But do not worry if you do not own one. Simply start with a good size oven-safe pan for your marshmallows and broil it for a few minutes. Easy!
No Extra Ingredients Needed...
- Salted butter: Unsalted butter works just as well, you can choose to add a pinch of salt if desired.
- Marshmallows: Large, regular, or mini marshmallows.
- Rice cereal: You can be flexible how much you add depending on how gooey you like your Rice Krispie treats. You can also toast them in the oven on a baking sheet for extra crunch!
- Pinch of salt: Optional to add if using unsalted butter.
... But Lots of Delicious Add-Ins If You Like
Absolutely not necessary, but so many ingredients you can add to take it to the next level:
- Vanilla extract
- Flaky sea salt topping
- Chocolate chips
- M&M's
- White chocolate
- Caramel
- Peanut buttter/Nutella
- Coconut
- Colored mini marshmallows
- Golden Grahams or Fruity Pebbles cereal
How To Make Extra Gooey Torched Brown Butter Rice Krispie Treats
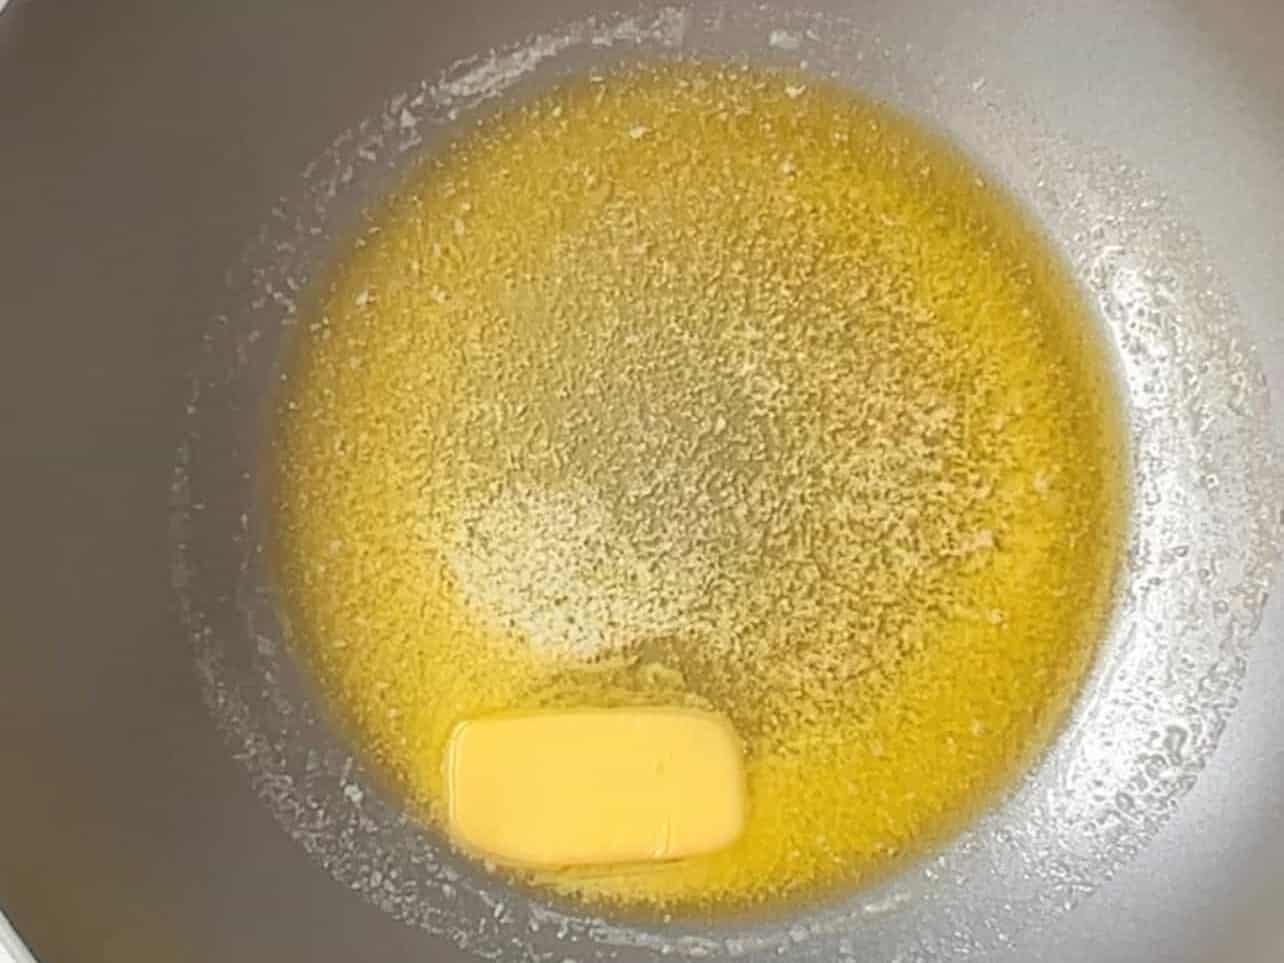
If you plan to torch your marshmallows in the oven instead of using a blowtorch, start with an oven-safe LIGHT COLORED pan if you have one. This will allow you to see the milk solids changing color later more clearly. Melt your butter on med-low heat.
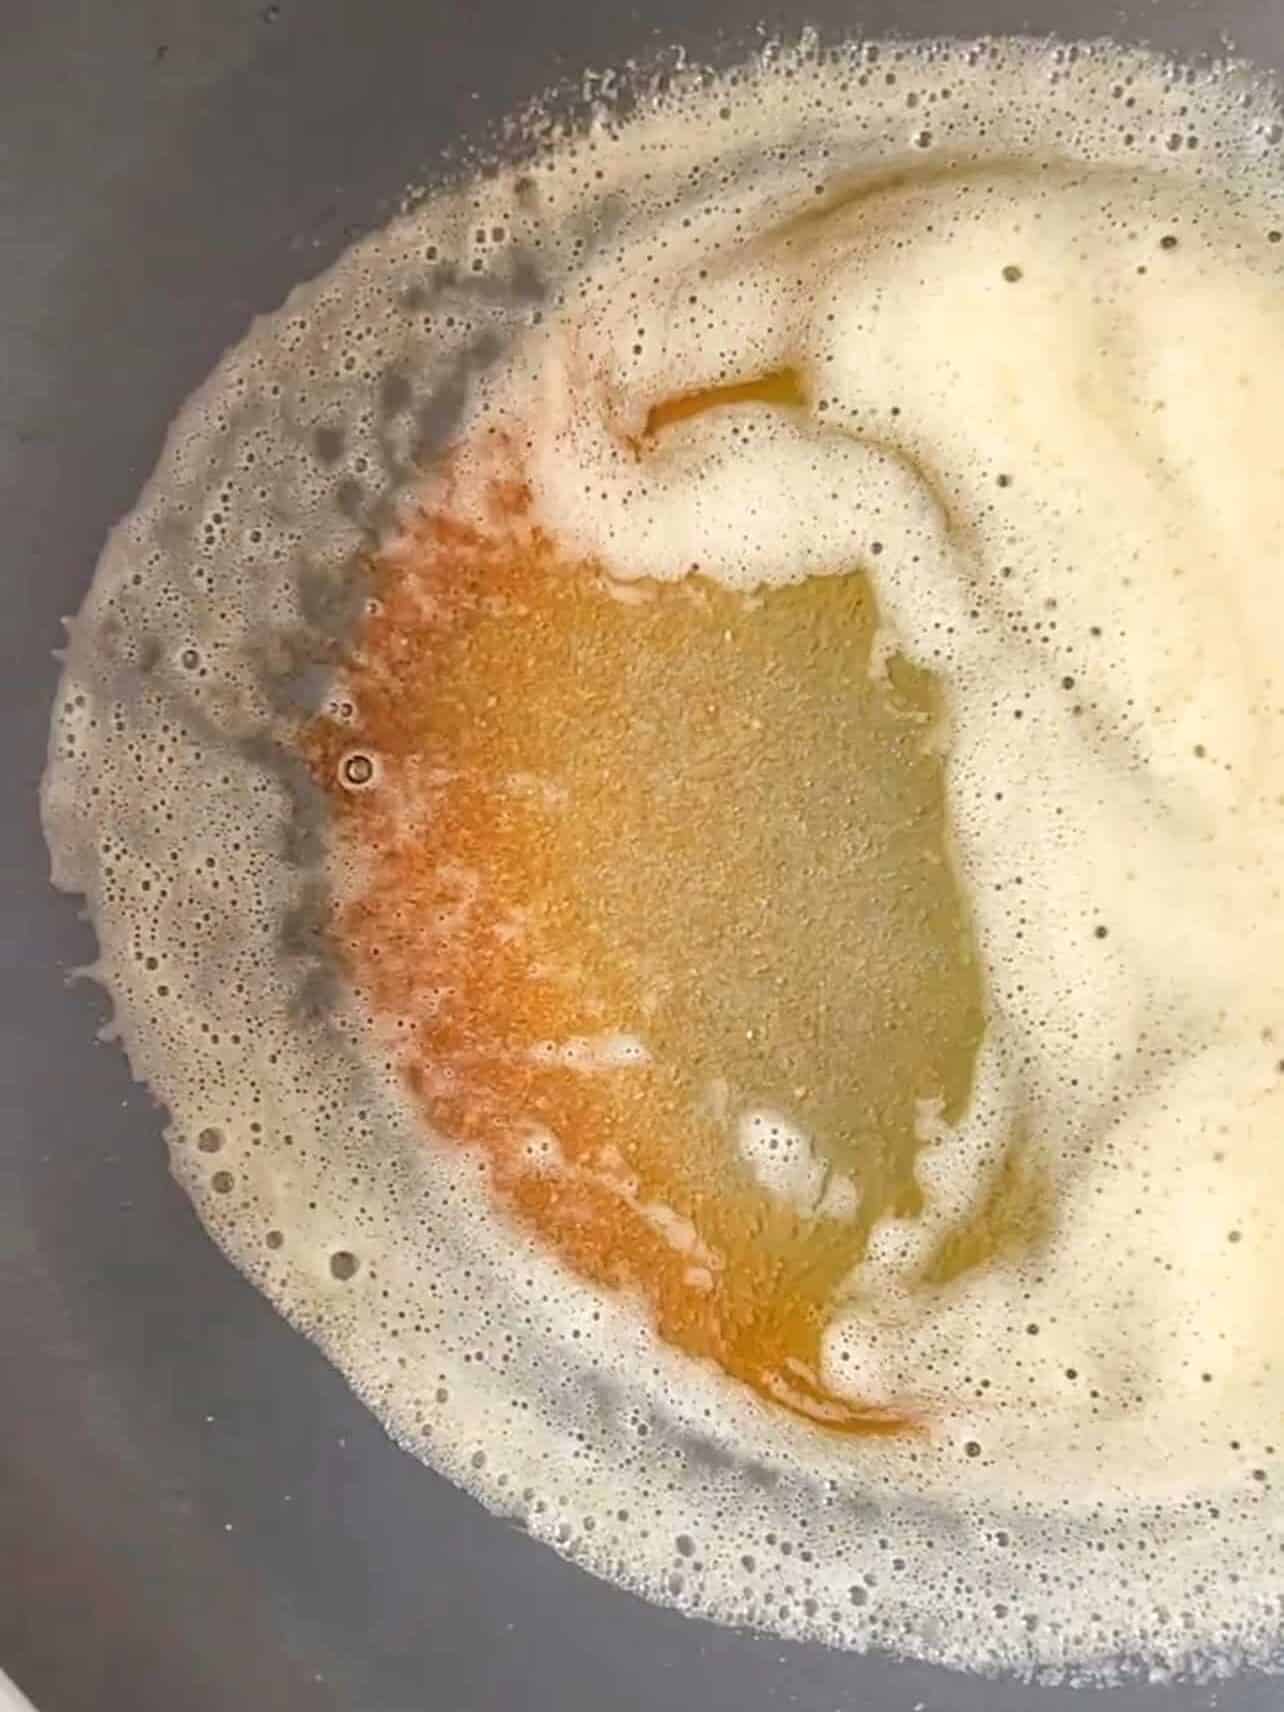
Do not walk away from the stove. Butter will go from browning to burnt before you can blink. You can swirl your pan to keep the butter moving, or stir with a rubber spatula.
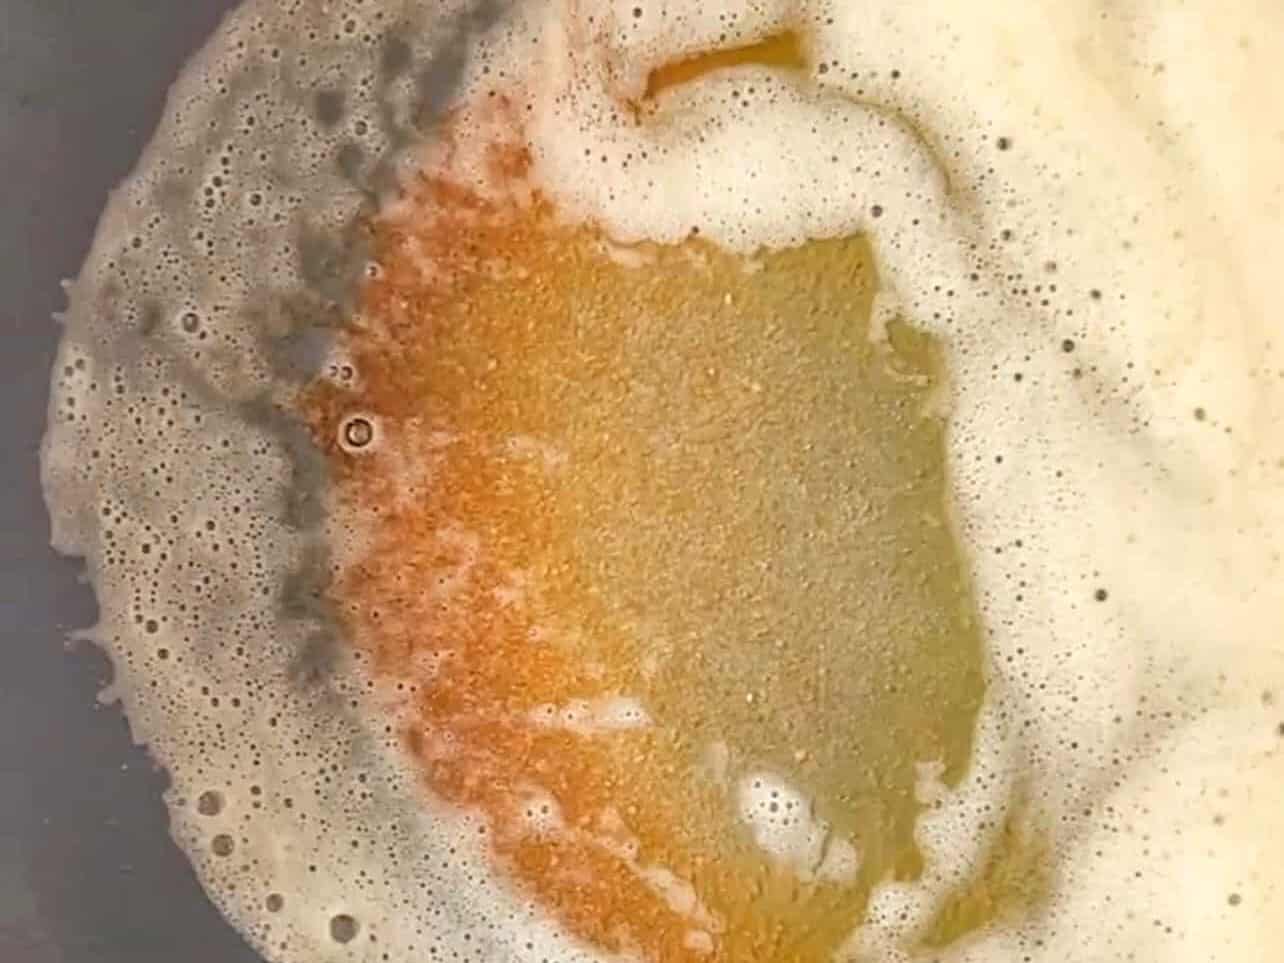
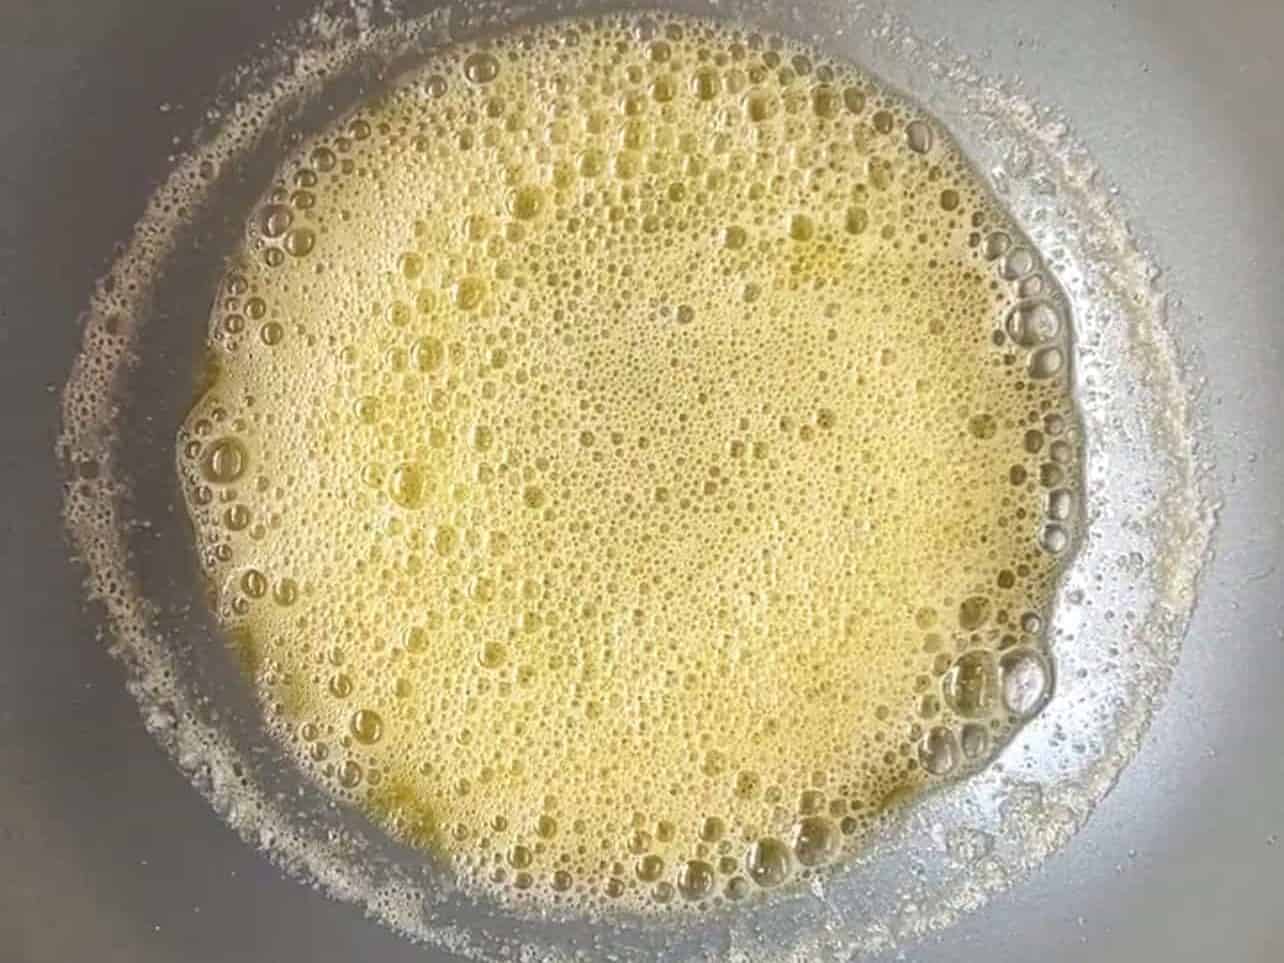
Bubbles will disappear and then turn into foam. Consistency keep the butter moving. The moment you see amber specks at the bottom, turn off the heat. You just browned butter!
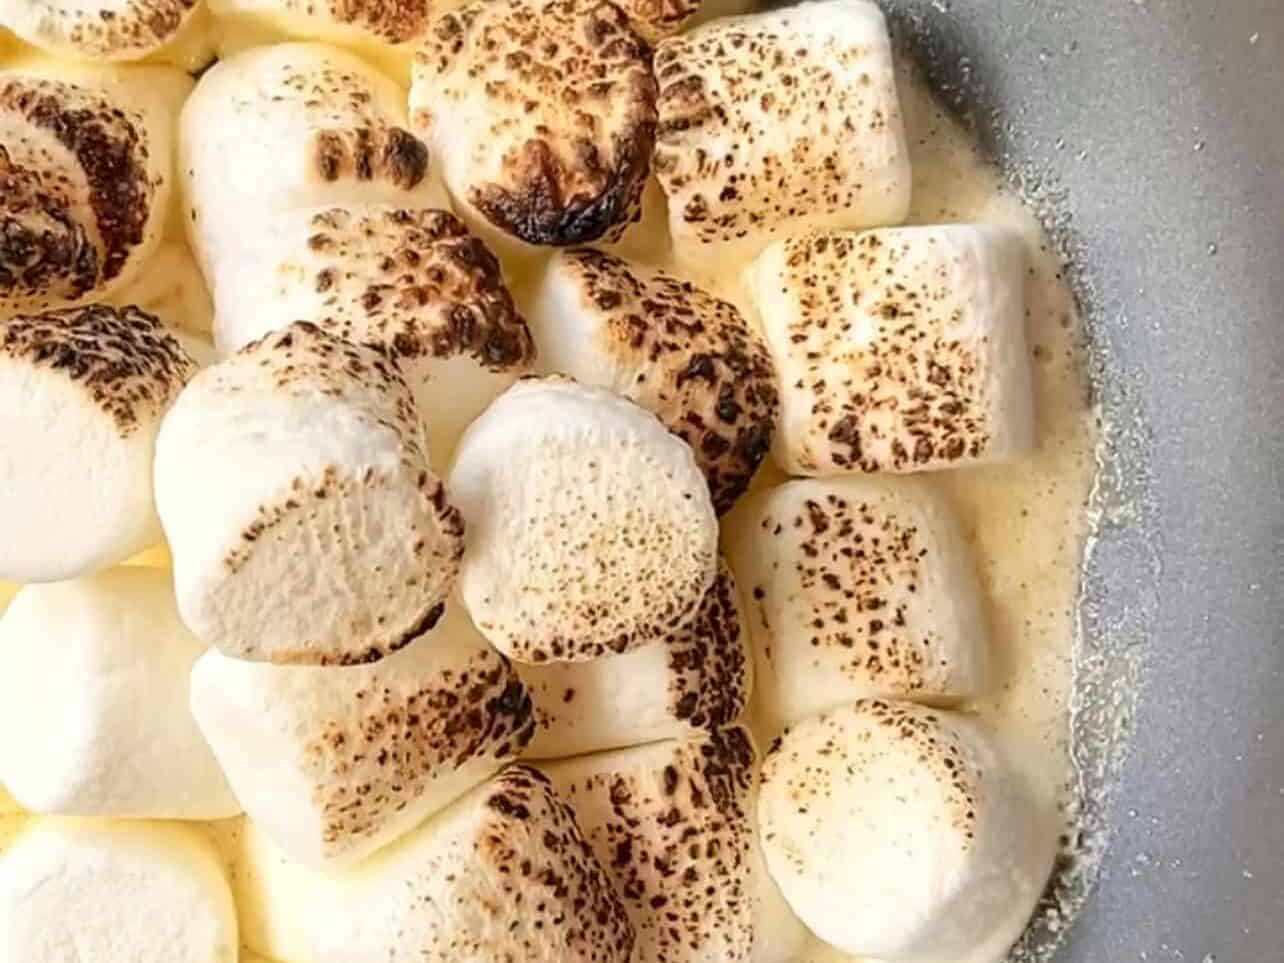
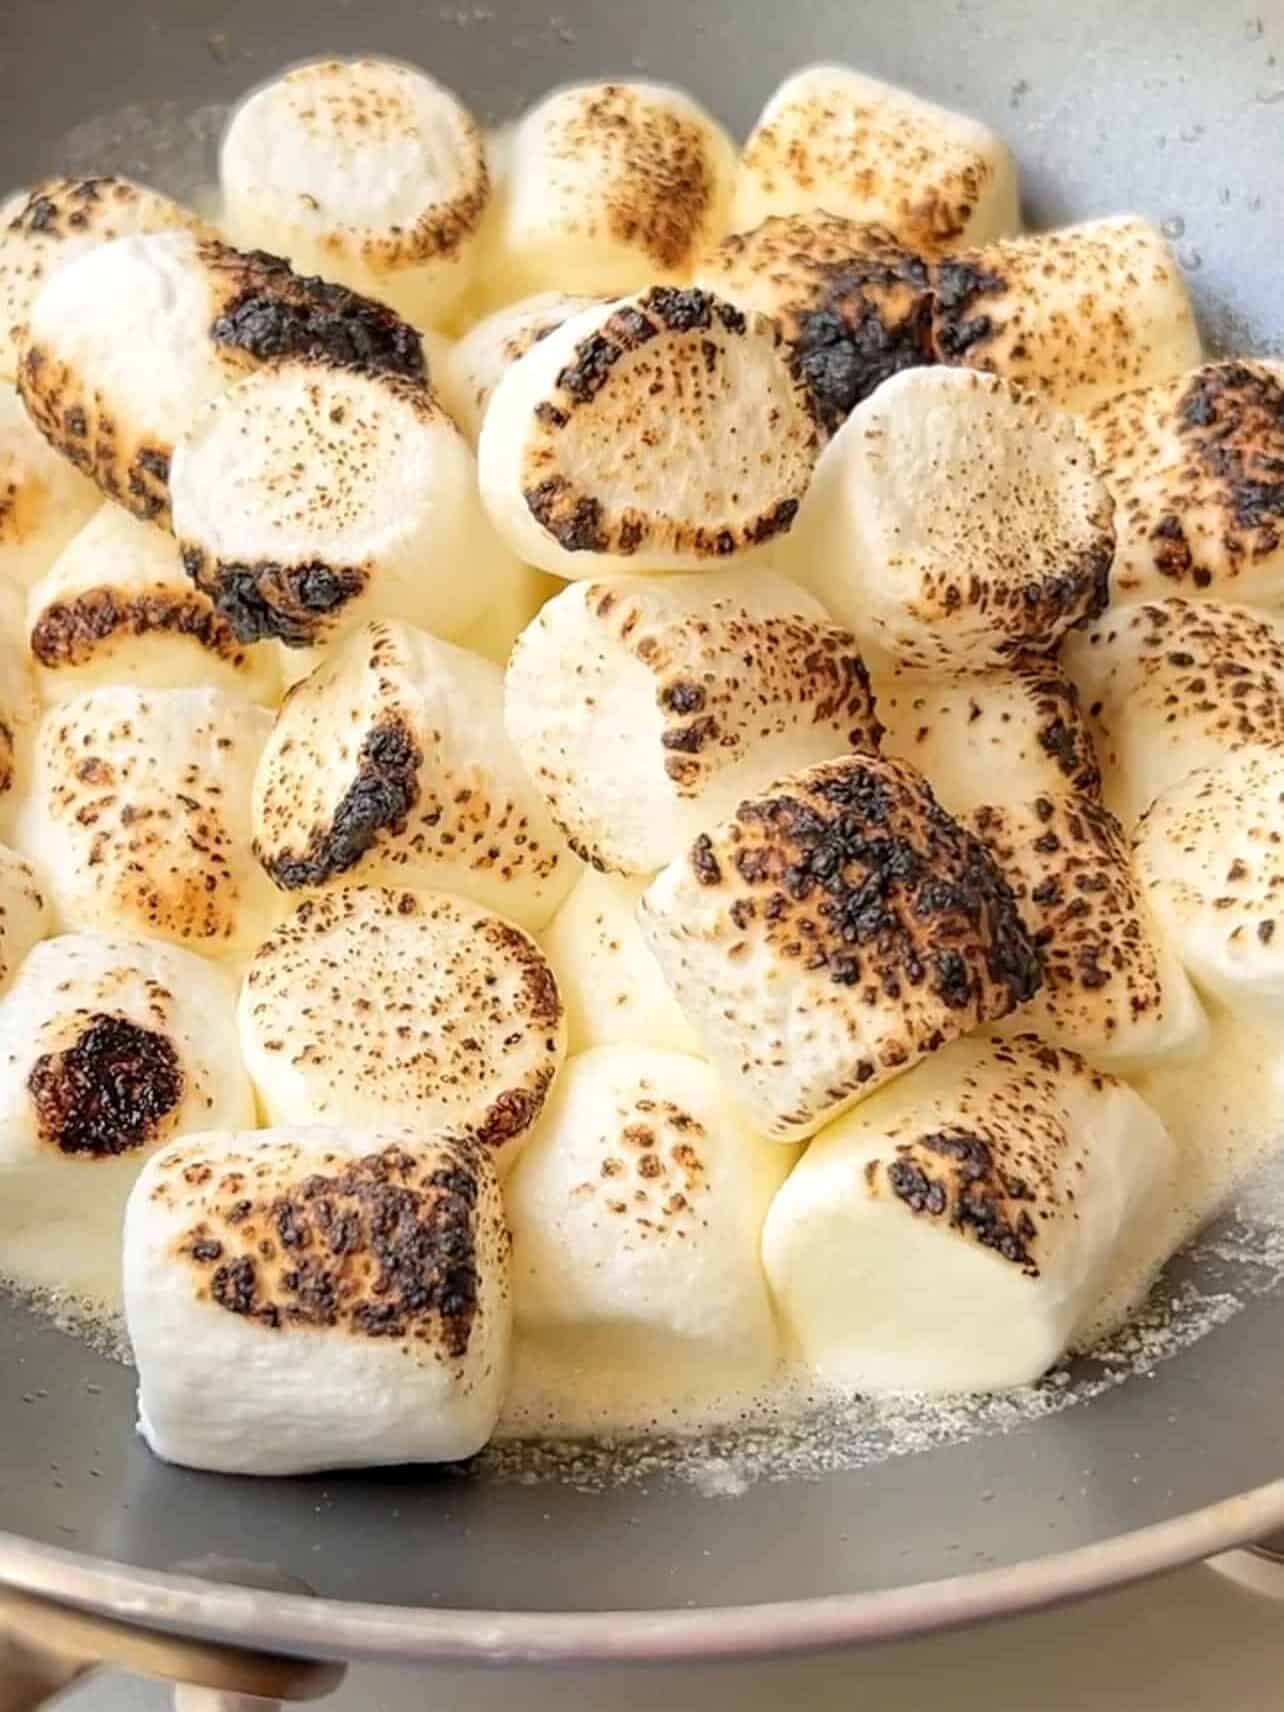
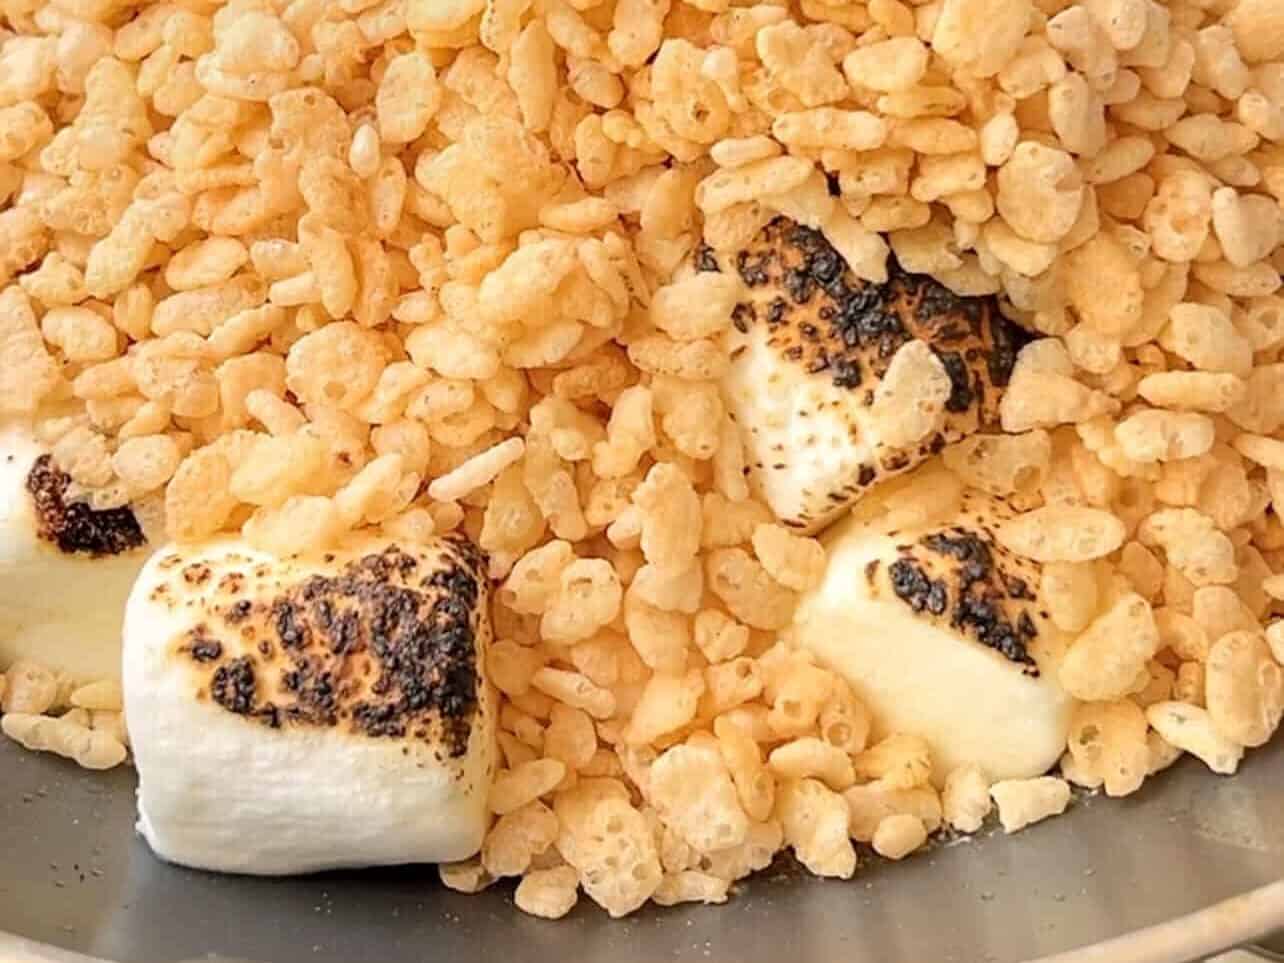
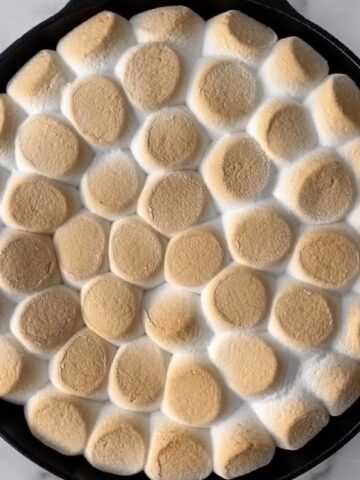
Add the marshmallows. Carefully char using a blowtorch, or broil in the oven until they're torched.
Turn stove heat back to medium and stir in your rice cereal. You can adjust between 2-3 cups depending on how gooey or crunchy you prefer your treats (or refer to recipe card if making a bigger tray).

Transfer to a greased/lined pan. Besure the parchment paper hangs over the sides so it's easy to grip and lift. Pat down cereal gently and evenly using a rubber spatula. Do not press too firmly as this will flatten and crush the cereal. Allow to cool at room temperature, then remove from the pan.

Tip for cutting neat squares: Apply a small amount of nonstick spray or oil to a paper towel.
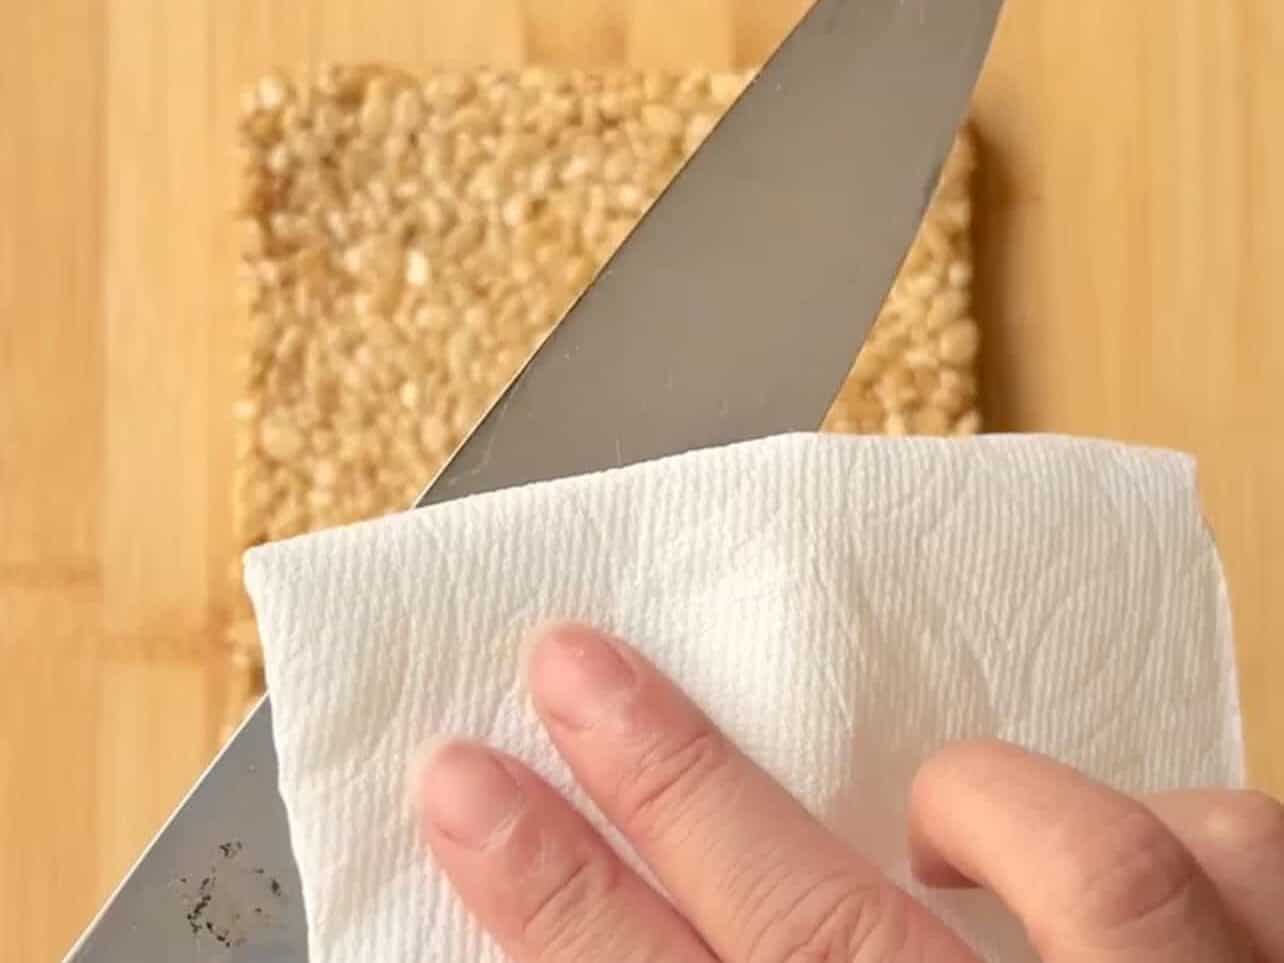
Grease a large sharp knife. This is prevent marshmallows from sticking.
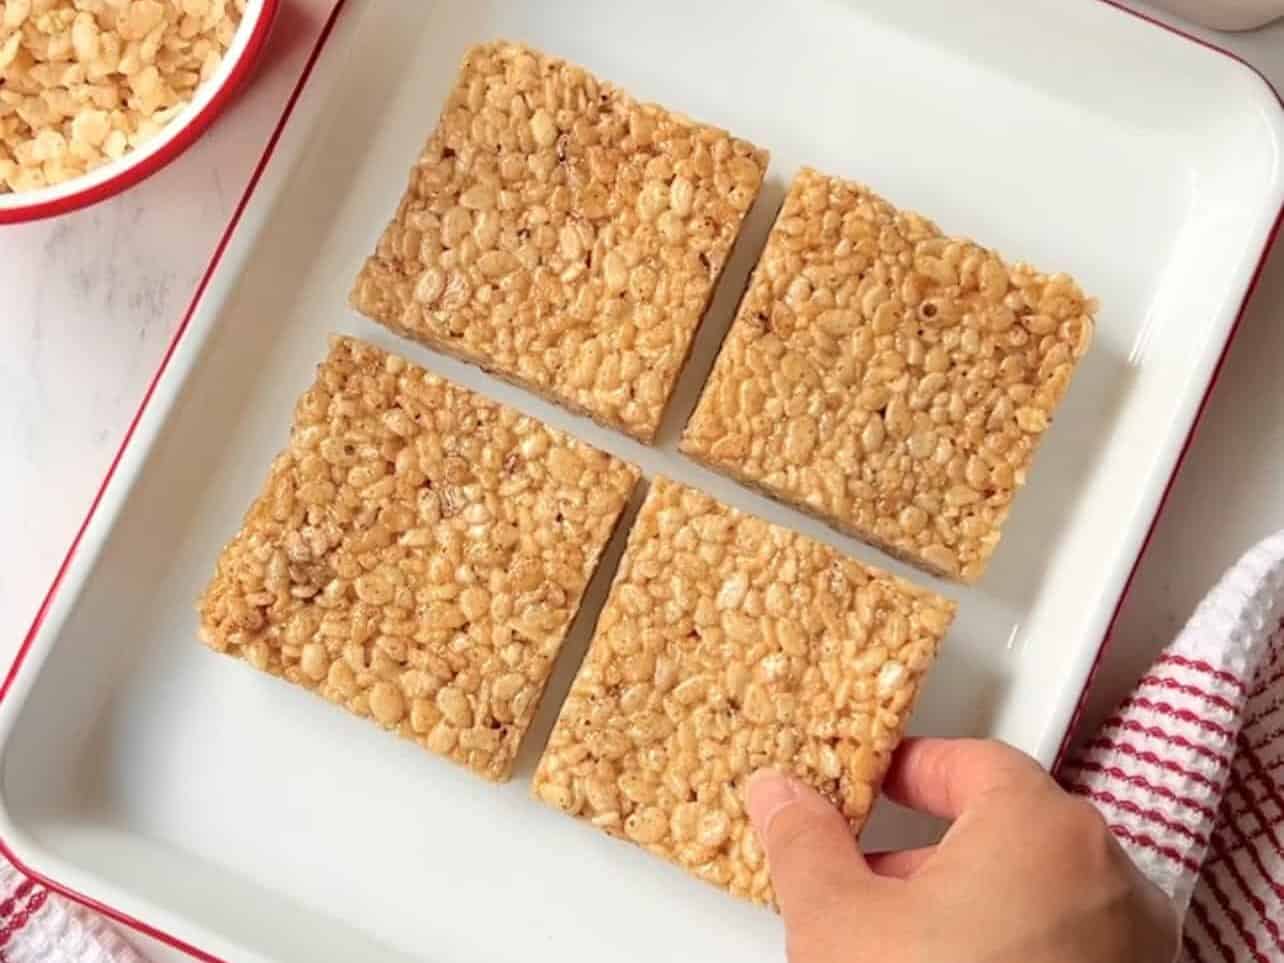
This recipe yields a small 6x6-inch pan. For larger batches, refer to the recipe card.
Enjoy your hard work!
Suzy's Tips For Success
- Stay by the stove while browning your butter: If you've attempted this before, you know what I'm talking about! Butter will burn in an instant, so keep an eye on it until it's finished.
- Use your blowtorch cautiously: Read the manual. Be sure you're in a well-ventilated area with no flammable items (like parchment paper) near the marshmallows. Ignite and adjust the torch strength before aiming, and continuously move the flame as the marshmallows start to char. If any of them catches a flame, simply blow on it to extinguish.
Best Way To Store These Torched Brown Butter Rice Krispie Treats
Store in an airtight container at room temperature for up to 2 days.
FAQ
Absolutely! I love using Golden Grahams cereal and adding chocolate for a delicious "s'mores" version. Or how about Fruity Pebbles?
Yes, simply substitute gluten-free rice cereal. Kelloggs brand Rice Krispies cereal is generally not gluten-free since they contain malt flavoring. Although I have not tried it personally, Aldi's offers a gluten-free version.
Start with an oven-safe pan, and broil marshmallows in the oven.
You Might Also Like...


Equipment
- 6x6-inch (15cm) square pan refer to recipe for bigger batches
- parchment paper
- nonstick oil spray
- oven-safe pan
- Rubber Spatula
- sharp knife
Ingredients
For 6x6-inch (15cm) pan
- 4 tablespoon salted butter
- 8 oz marshmallows
- 2-3 cups rice cereal
For 8x8-inch (20cm) pan
- 4 tablespoon salted butter
- 10½ oz marshmallows
- 5 cups rice cereal
For 9x13-inch (22x33cm) pan
- 6 tablespoon salted butter
- 12 oz marshmallow
- 6 cups rice cereal
Instructions
- Spray pan with nonstick spray and line with parchment paper. Make sure the paper hangs over the sides for easy gripping to remove later.
- Melt the butter in an oven-safe pan over medium-low heat. Use a light-colored pan if you have one as it's easier to gauge butter as it browns. Swirl the pan continuously or stir with a rubber spatula. Bubbles will form and start to crackle, then foam will appear. Once you see amber specks at the bottom, turn off the heat.4 tablespoon salted butter
- Add in the marshmallows and char using a blowtorch, or alternatively broil under the oven for approx 3 minutes.8 oz marshmallows
- Turn stove back on to medium to melt down marshmallows and stir in the rice cereal until evenly coated.2-3 cups rice cereal
- Transfer mixture to prepared pan. Gently pat down cereal evenly using a rubber spatula. Do not press too firmly as that will flatten them. Allow to cool at room temperature for 1 hour.
- Lift parchment paper sides and remove from pan to a cutting board. To avoid marshmallows from sticking to the knife, spray nonstick oil spray onto a paper towel and grease knife before cutting into squares.
Looking for other recipes like this?

Did you make this recipe? Let me know!