
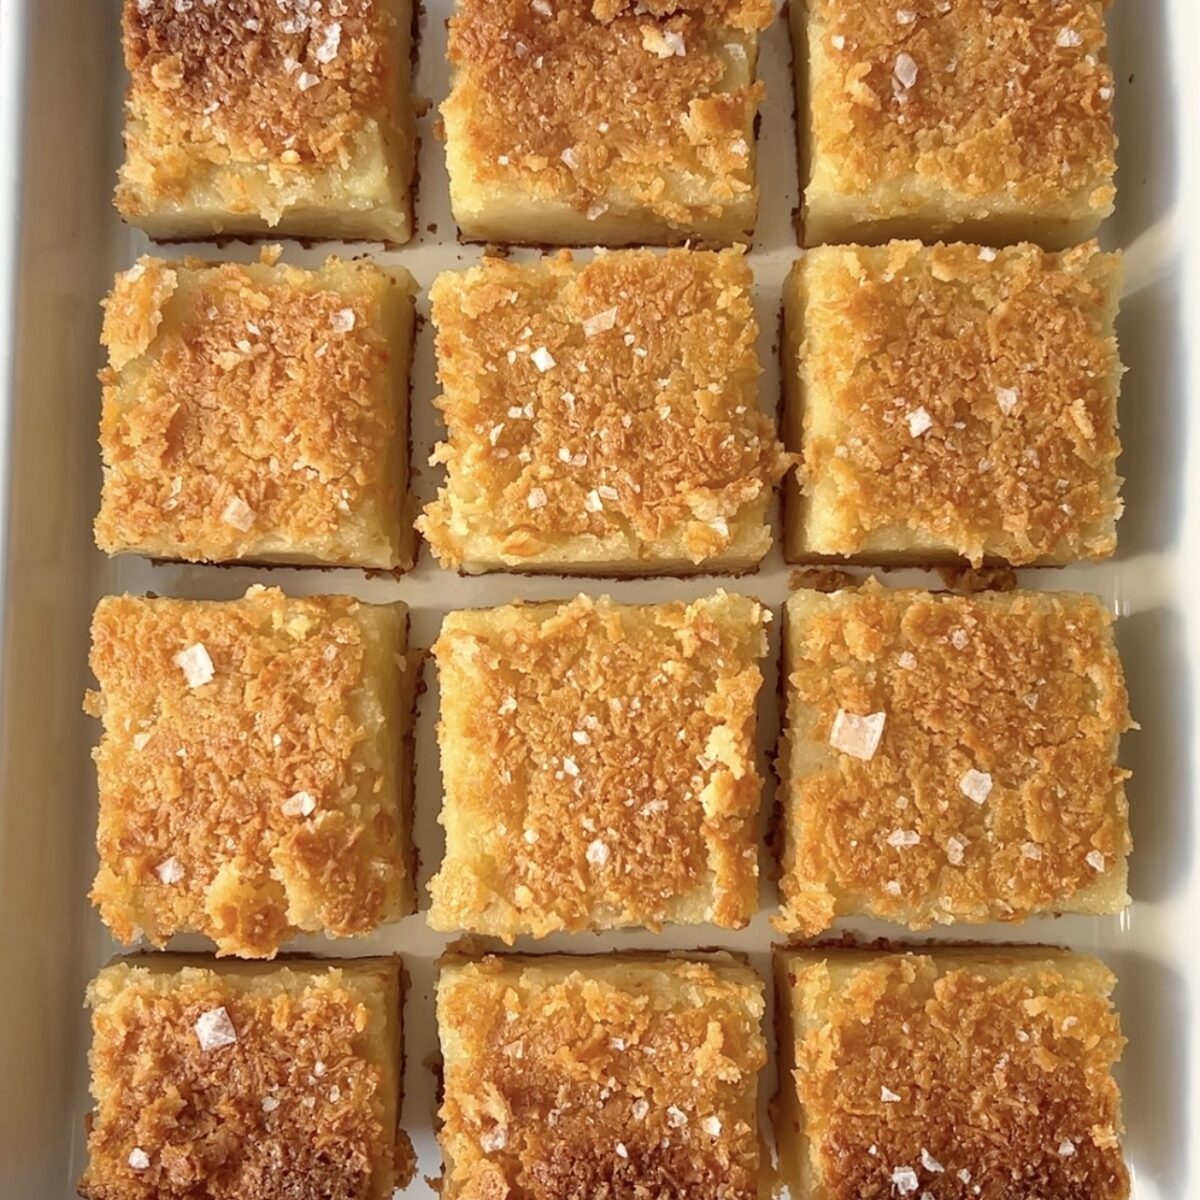
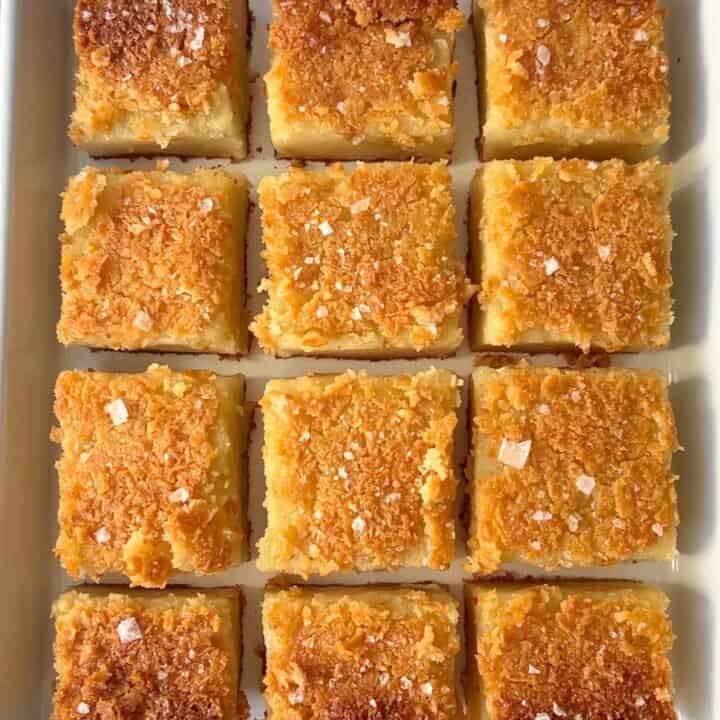
If you've never tried Chewy Butter Mochi, you are in for a TREAT! This popular Hawaii dessert is an all-time island favorite for a good reason. You'll find it at parties, potlucks, even bakeries sell them. Once you tasted it for the first time, I guarantee you'll be grabbing for seconds. This easy-to-make mochi is chewy, sweet yet salty, coconut-y, and of course oh so BUTTERY.
As you can see, this Butter Mochi isn't your typical Japanese mochi but more of a hybrid treat of a variety of different cultures' cuisines during Hawaii's plantation era. I started making this recipe created by Alana Kysar after seeing it on @thekitchn and it's been my favorite way to make it.
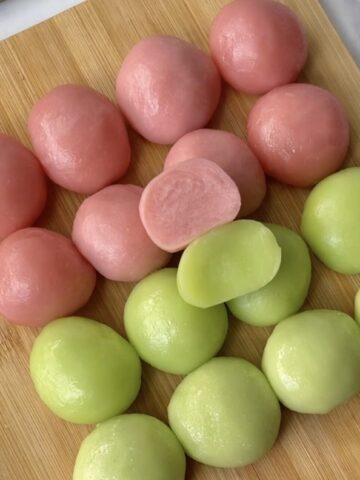
Ever tried a 2-ingredient mochi hack? Try my Melona Mochi recipe using any flavor Melona Bars!
Jump to:
Why You Should Make Butter Mochi
Butter mochi is so simple to make, so it's perfect for beginning bakers - two bowls, whisk them together, and bake. The biggest bonus: it is gluten-free. Yes, my GF friends. This is one treat you do not have to miss out on! It comes out of the oven smelling of coconut and butter, and that crispy crust - trust me and save yourself a corner piece.
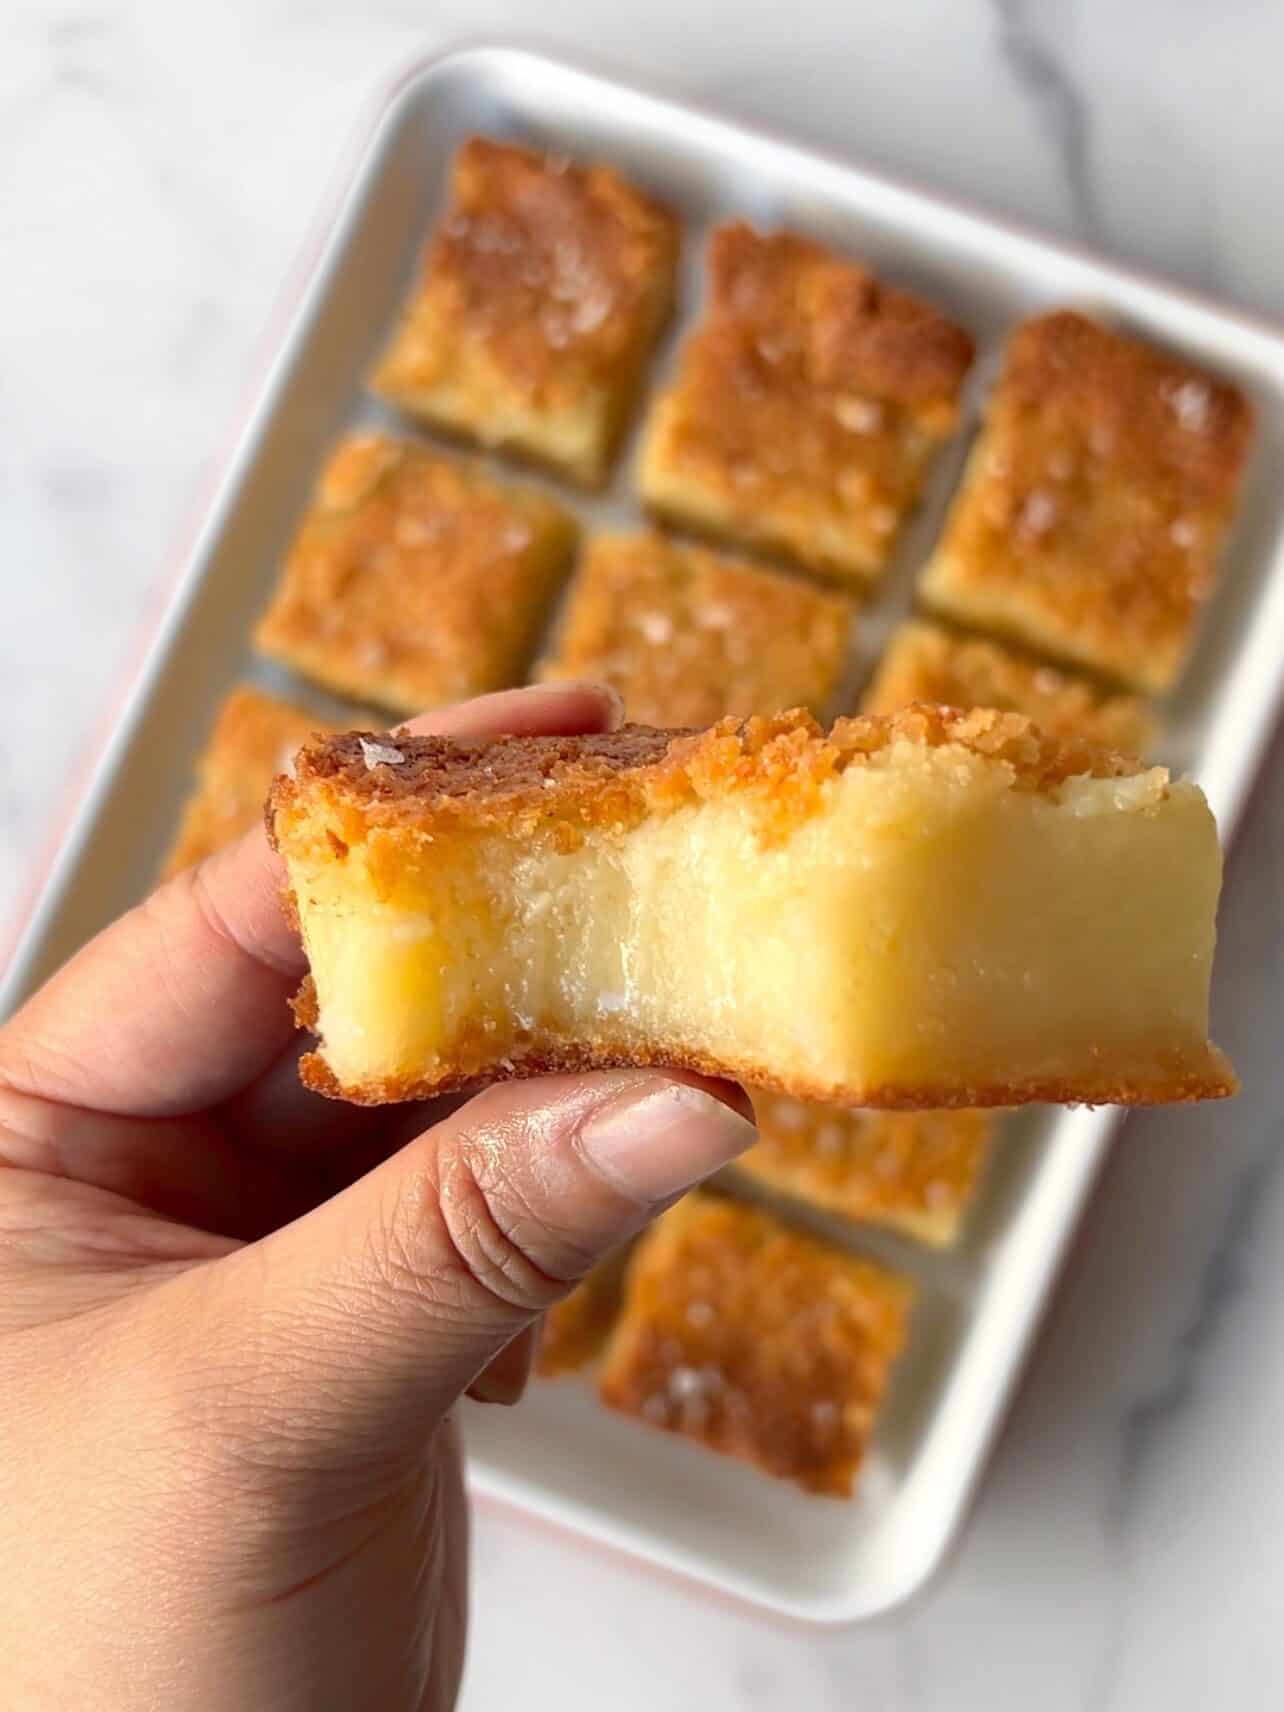
The best way to describe classic butter mochi? It's bouncy, chewy, with a definitely coconut flavor. It has a similar texture to Japanese chi chi dango or Filipino bibingka. I've seen many variations of butter mochi made with ube, matcha, even corn!
Key Notes About The Ingredients
- Butter: I prefer using unsalted, but salted butter works just the same. Adjust the salt in the recipe as needed.
- Mochiko Flour: Also labeled Sweet Rice Flour or glutinous rice flour. Do not mistaken it for regular rice flour. This is what gives butter mochi its chewy texture.
- Milk: I prefer using whole milk for most of my baking, but any fat percentage will work here.
How To Make Butter Mochi
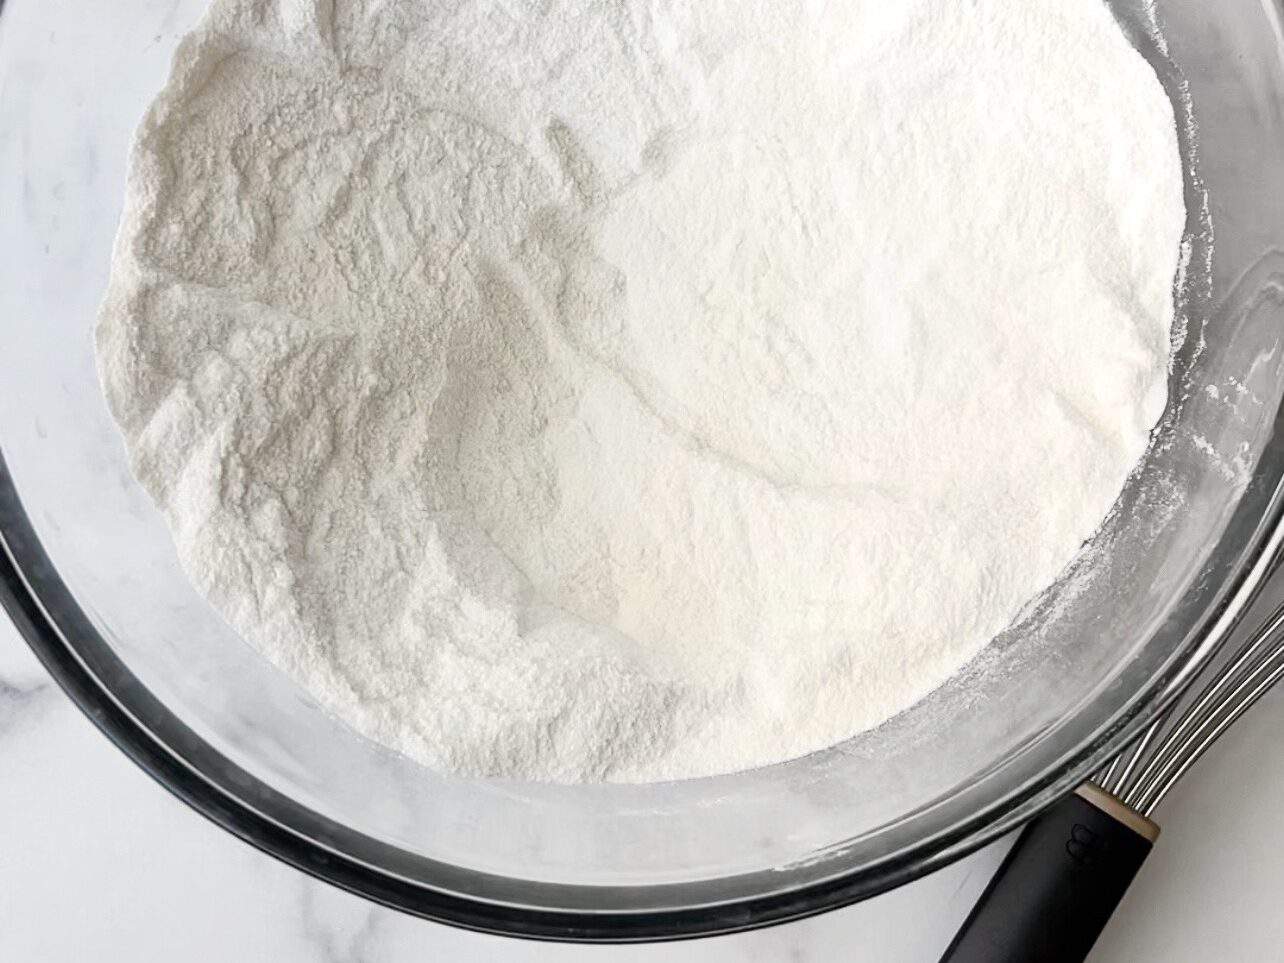
Combine dry ingredients and sugar in a large bowl.
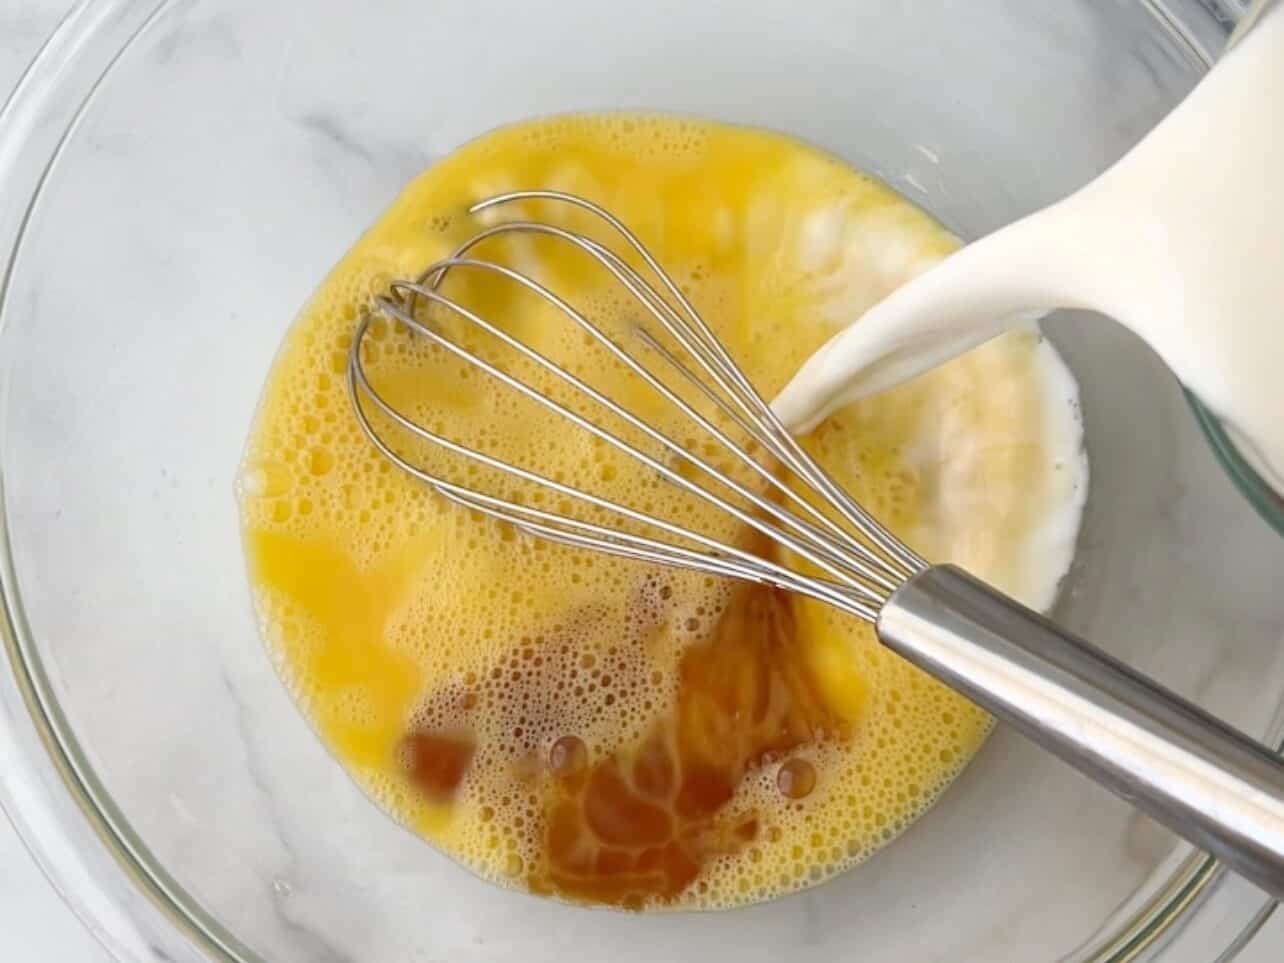
Whisk together the wet ingredients in a separate bowl.
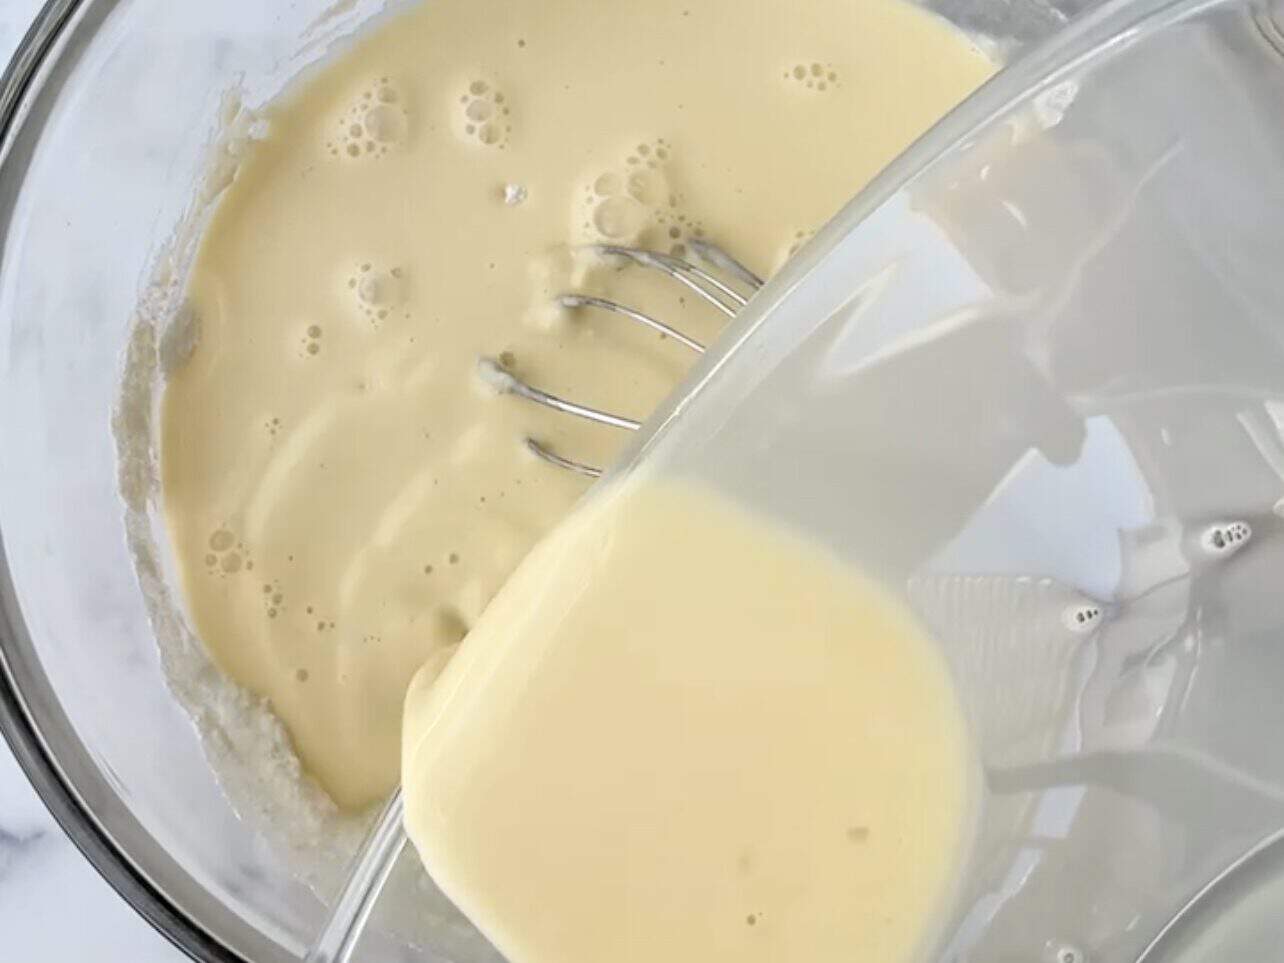
Pour the wet ingredients into the flour bowl.
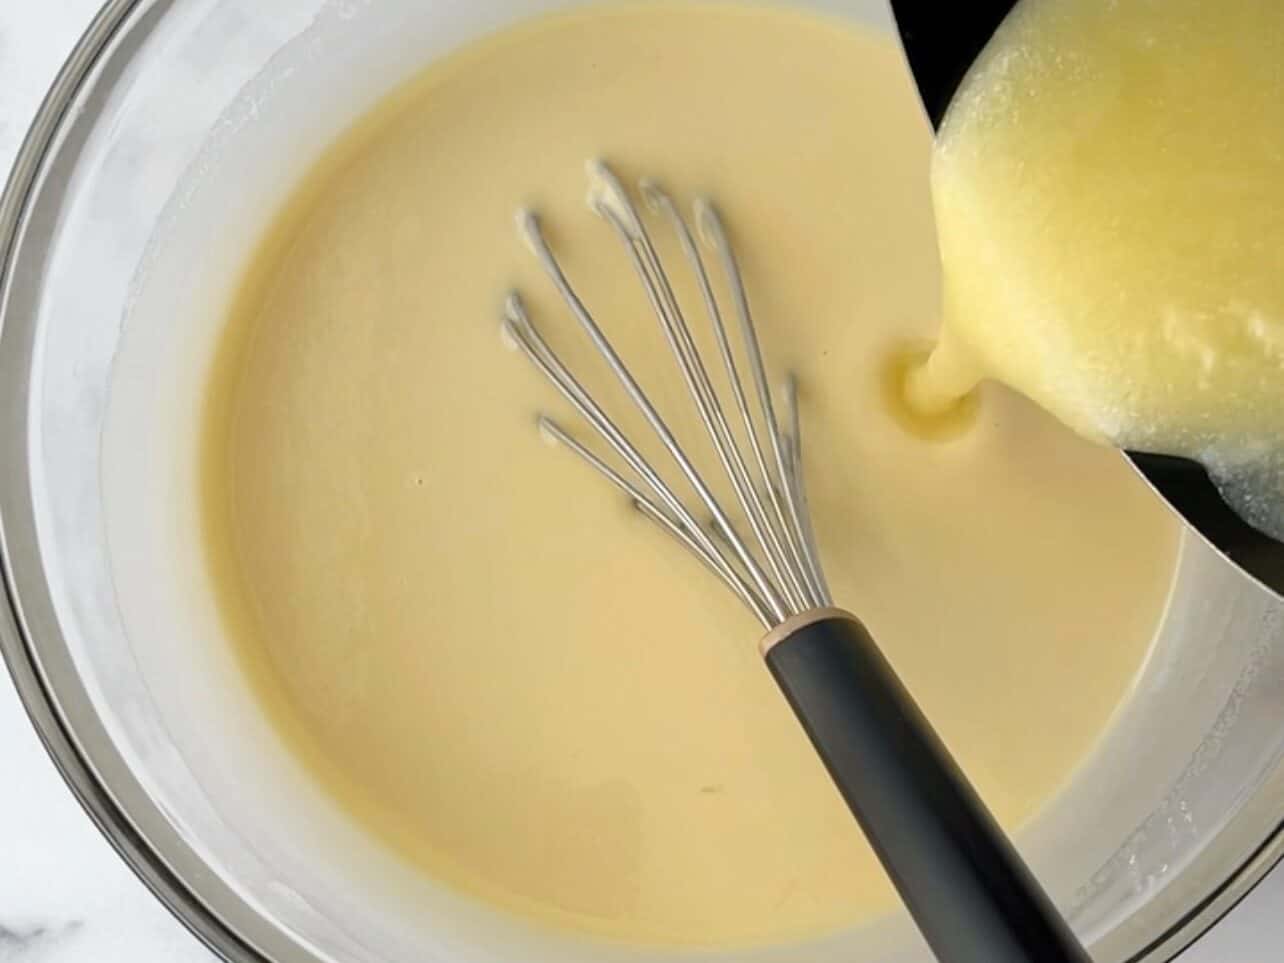
Add the melted cooled butter and coconut milk to the batter, and mix well until mixture is smooth.
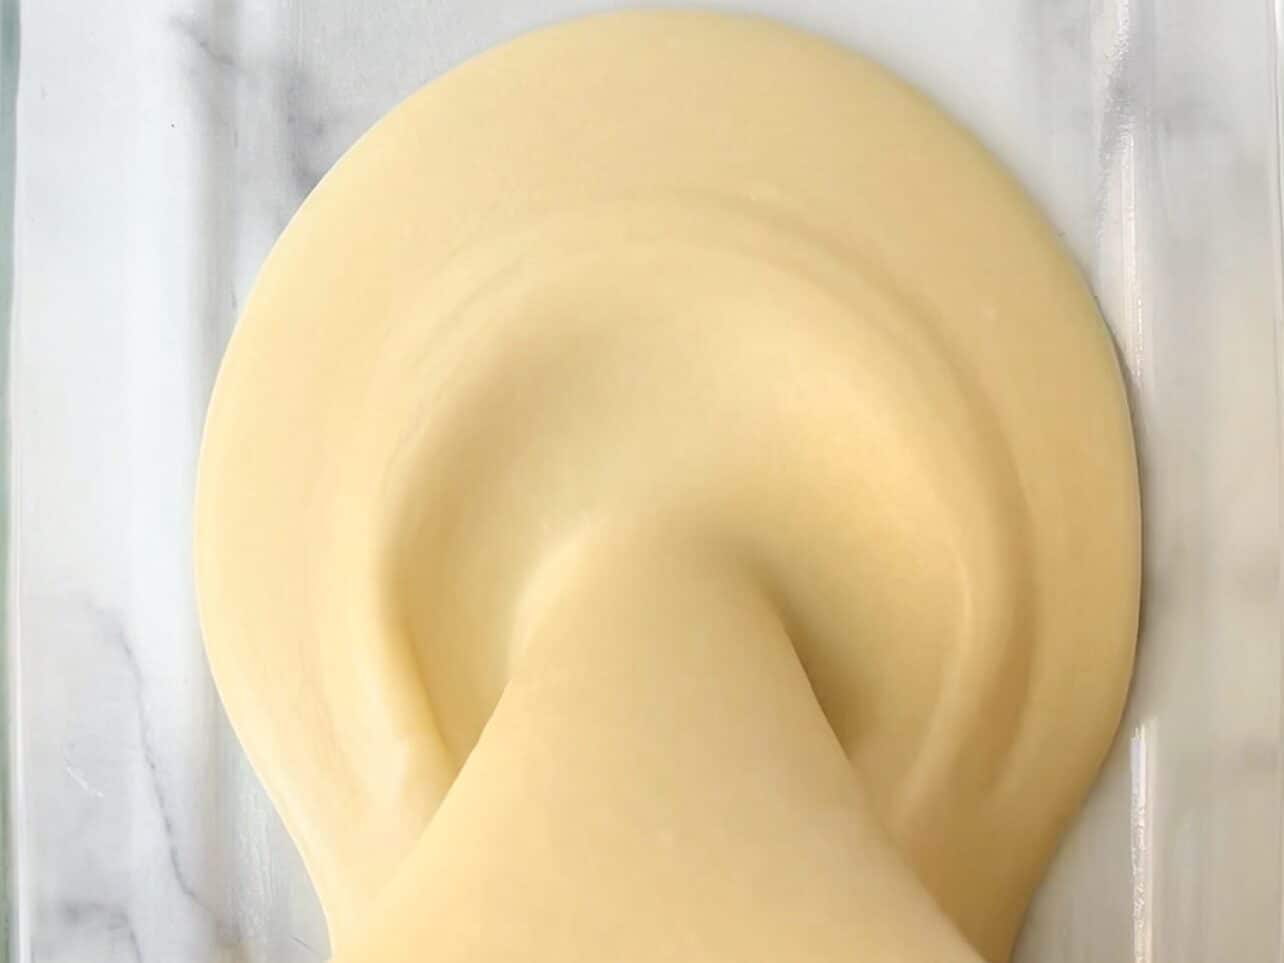
Be sure to grease your pan before adding the batter. Tap pan on counter to get rid of any air bubbles.
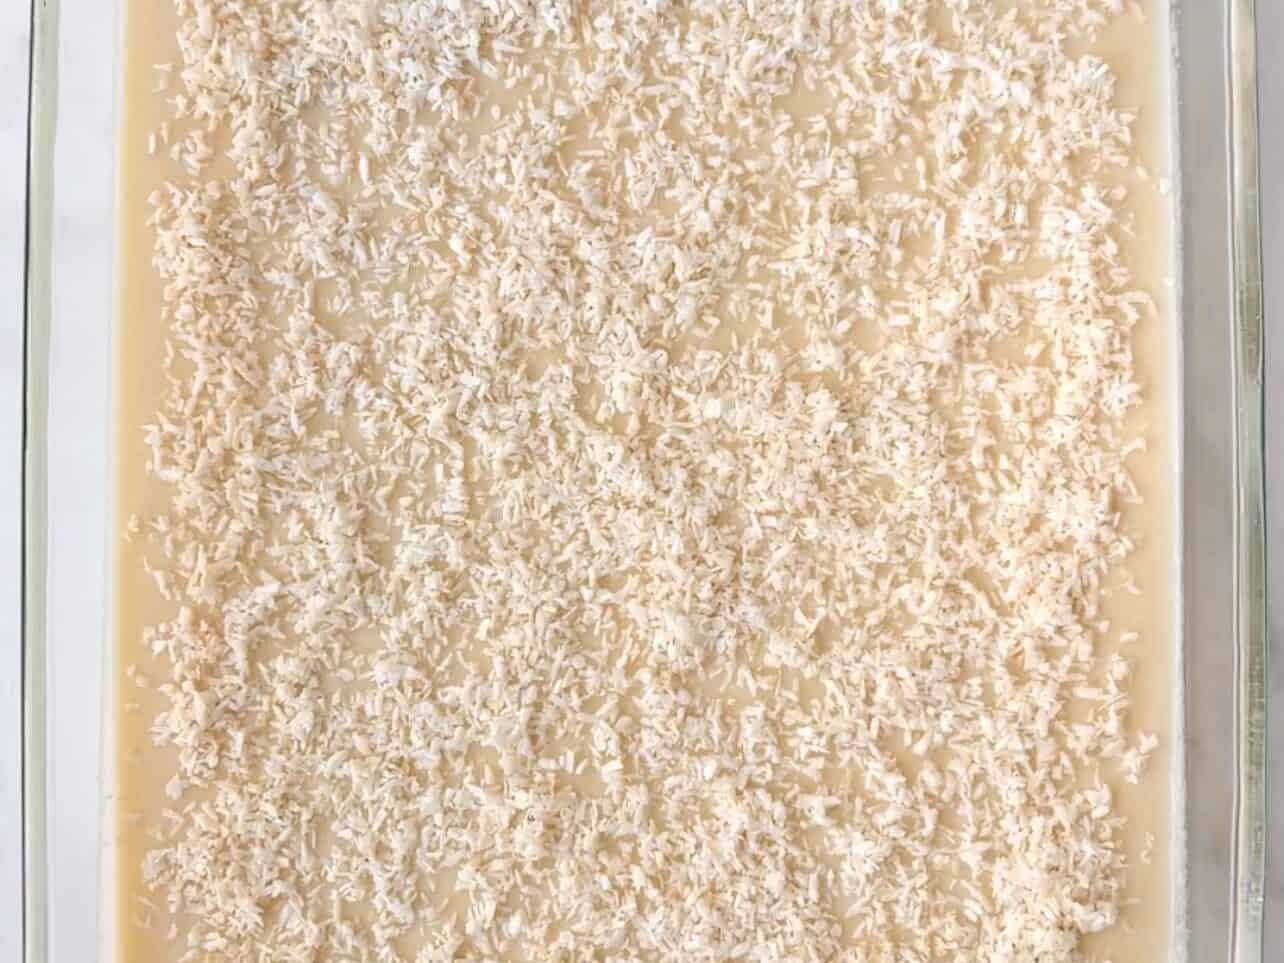
Add shredded coconut as the final layer, and place in oven.
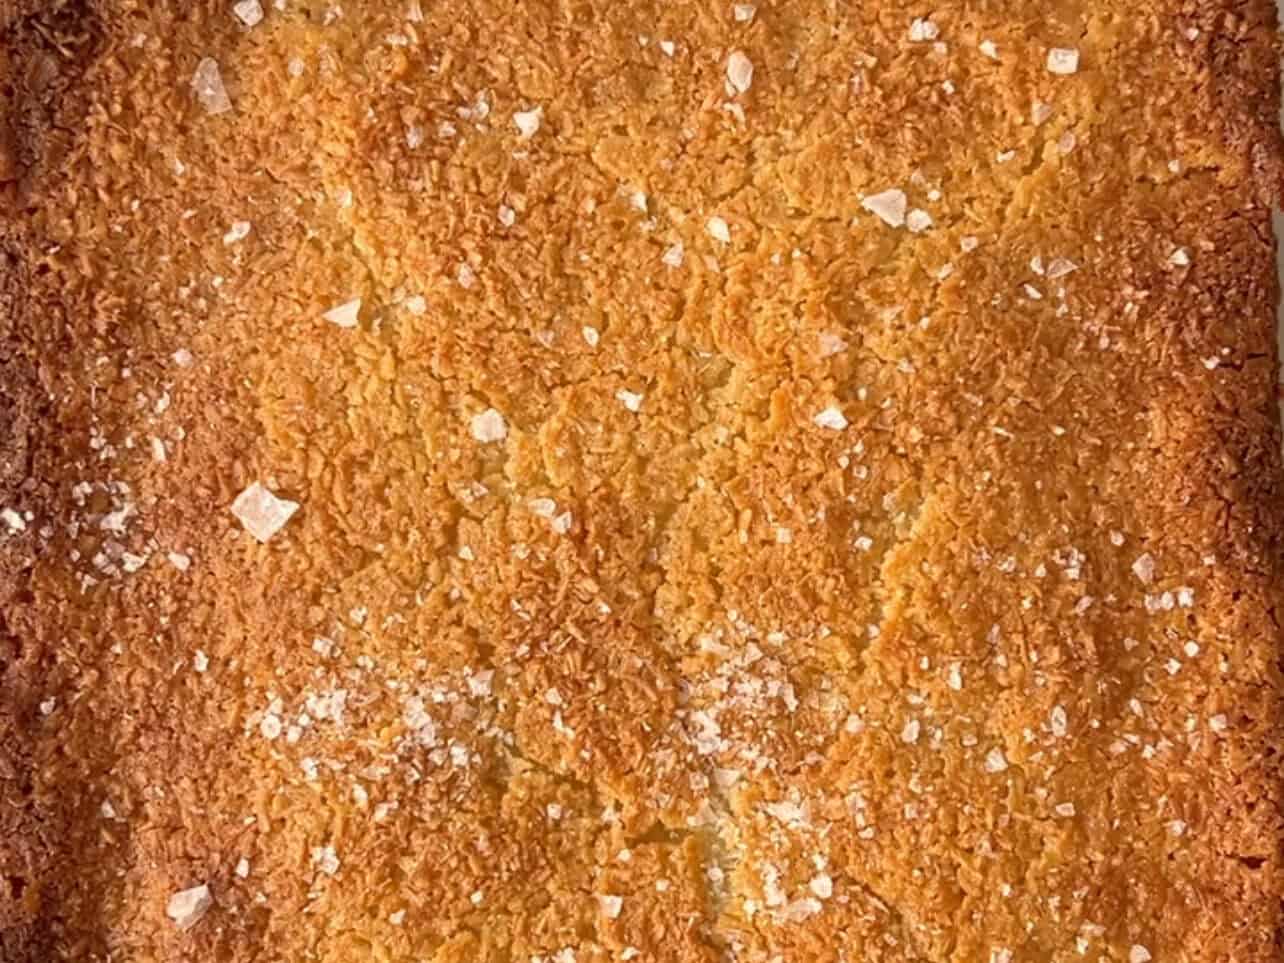
Sprinkle on flaky sea salt.

Allow butter mochi to cool completely. Slice into desired squares with a plastic knife.
Suzy's Tips For Success
- Mix out all the lumps: Since mochiko flour is naturally gluten-free, you do not need to worry about gluten developing from overmixing the batter.
- Get rid of the air bubbles in batter: To achieve the smoothest custard-y texture, tap pan a few times on the counter before sprinkling on the shredded coconut. Most of the air bubbles will come up to the surface.
- Mochi texture and different pans: Bake time listed in this recipe is for a slightly soft custard-like center baked in a glass pan. If using a metal pan, or if you enjoy more of a firm mochi texture, bake it slightly longer.
Best Way To Store Butter Mochi
Store leftovers in an airtight container at room temperature for up to 3 days. You can also wrap and freeze mochi in individual pieces for up to 3 months, and thaw at room temperature before enjoying.
FAQ
Although they have a similar chewy texture, classic Japanese mochi is typically pounded and steamed whereas butter mochi is simply mixed and baked.
You're looking for the top and edges to be crispy and golden brown, but the center should still have a slight jiggly to it. If you prefer your butter mochi more soft and custard-like, you can reduce the bake time. If you enjoy it firmer, bake it slightly longer.
Be sure to use glutinous rice flour, as regular rice flour will not give you a chewy texture.
You Might Also Like...

Equipment
- 1 large rectangle glass or metal pan
- 1 plastic knife for easy slicing
Ingredients
- 16 oz glutinous rice flour or sweet rice flour
- 2 cups granulated sugar
- 2 teaspoon baking powder
- ½ teaspoon kosher salt adjust if using salted butter
- 4 large eggs
- 2 teaspoon vanilla extract
- 2 cups milk whole, 2%, or skim
- ½ cup unsalted butter melted & cooled
- 1 can 13.5oz unsweetened coconut milk
- shredded coconut
- flaky sea salt
- nonstick spray to grease pan
Instructions
- Preheat oven to 350℉(175℃) with oven rack placed in the middle. Grease 9x13 pan with butter or nonstick spray. Melt butter in saucepan or microwave and allow to cool.
- In a large mixing bowl, combine mochiko flour, sugar, baking powder, and salt. Whisk and set aside. In another mixing bowl, whisk together eggs, vanilla, and milk.16 oz glutinous rice flour, 2 cups granulated sugar, 2 teaspoon baking powder, ½ teaspoon kosher salt , 4 large eggs, 2 teaspoon vanilla extract , 2 cups milk
- Combine the wet ingredients into the dry bowl. Add the melted cooled butter and coconut milk. Whisk until mixture is smooth and lump-free.½ cup unsalted butter, 1 can 13.5oz unsweetened coconut milk
- Transfer batter into greased pan. Tap the pan on the countertop a few times to get rid of the air bubbles. Sprinkle top with shredded coconut.shredded coconut
- Bake and check doneness at 50-55 mins if using a glass pan. You're looking for crispy edges with a soft center. Bake longer if using a metal pan, up to 1 hr 10 mins if you want a firmer texture.
- Cool pan on a wire rack, sprinkle with flaky sea salt, and allow to cool for 1 hour. Cut into squares using a plastic knife to avoid sticking.
Notes
Nutrition
Looking for other recipes like this?
Anne-Marie says
I worked with a lady from the Philippines who made this often for our racquetball tournaments. I'd lost the recipe years ago but was THRILLED when I stumbled across yours (ironically looking for a different Chex mix recipe). Overexuberance is a personal trademark, but I can't stress enough how happy it makes me to find this delicious dessert recipe.
Suzy says
Thank you so much, Anne-Marie! I love this Butter Mochi recipe - I hope you do, too!