
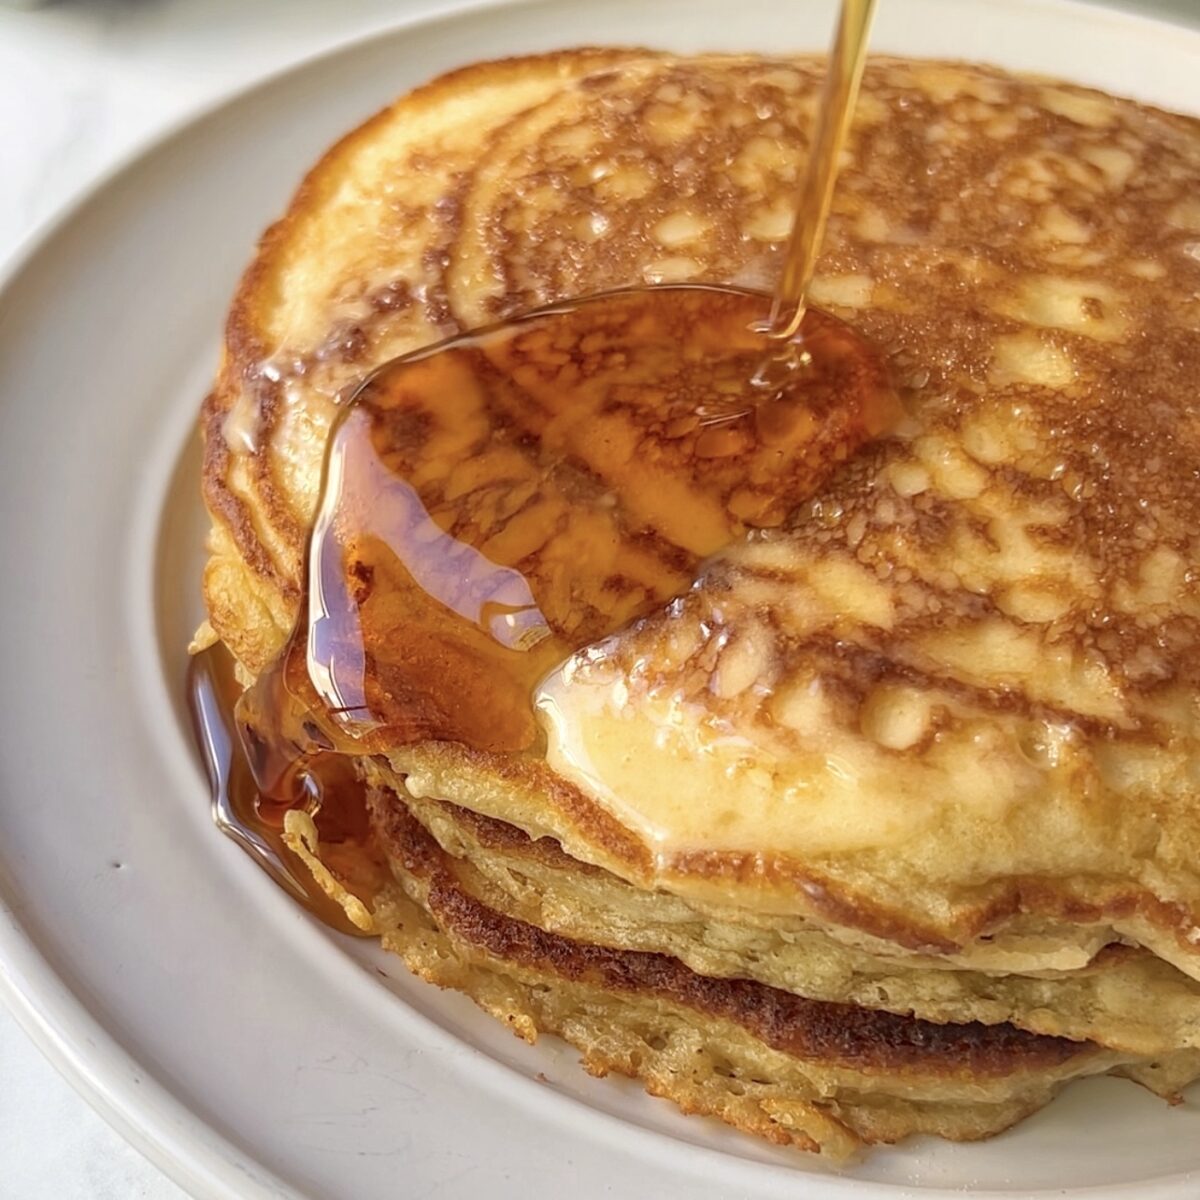
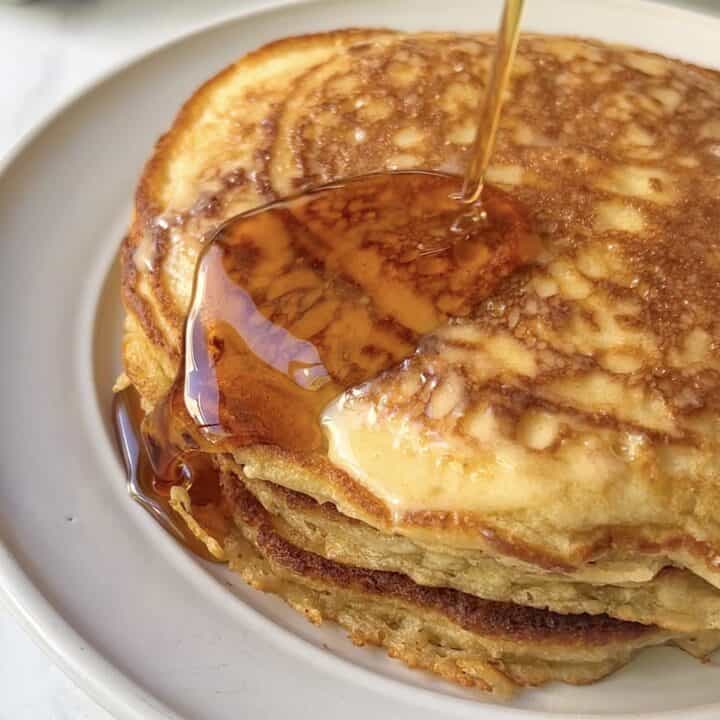
We all know what makes the BEST Buttermilk Pancakes - it's the fluffy ones with the irresistible buttery crispy edges going all the way around. Great, I'm glad we all agree! Typically all pancake recipes will tell you almost the same straight-forward process and simple ingredient list. What you may or may not know are the key steps people miss and end up flipping over rubbery pancakes, forget about the crispy ring we were looking for. Get ready, and let's make the fluffiest restaurant-quality stack of pancakes that will soon become a family favorite!
One of my first part-time jobs was at a family-style cafe on O'ahu. They had a breakfast menu you typically find in Hawaii - Loco Moco, Fried Rice Omelette, Portuguese Sausage or Spam & Eggs. And although they only offered classic flavors such as banana, blueberry, and buttermilk, I still remember to this day their pancakes were absolutely DIVINE. Buttery, fork-tender fluffy, and those glorious golden crispy edges - hands down the best part! I can safely say I ate STACKS of pancakes working there as my employee meal.

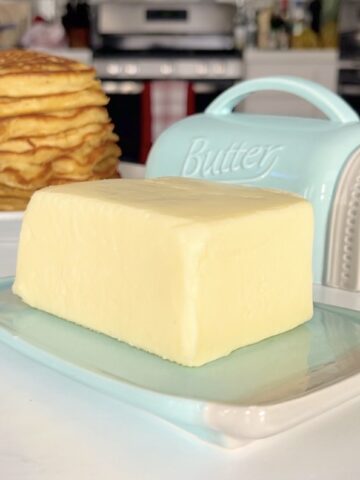
The last time I made these buttermilk pancakes was when I made Homemade Butter - have you seen it? I had so much buttermilk from whipping all that heavy cream. I also made a few jars of Salted Whipped Brown Butter from that batch to spread all over these pancakes. Let me tell you, fry up a few strips of bacon and now you have a breakfast combo you're already planning to make again next weekend!

Jump to:
Why This Pancake Recipe Is Worth Making
Everyone should have a reliable go-to homemade buttermilk pancake recipe. Nothing again Aunt Jemima. There's just something so satisfying about the smell of coffee brewing, bacon sizzling, and a big ol' stack of buttery pancakes to start your weekend. Make this the recipe you have in your back pocket. You can even start with half a batch. And if you already have a trusty recipe, we'll just remind you of the key essential steps you can utilize with any pancake recipe to help you make the fluffy crispy golden flapjacks that Aunt Jemima could never.
Ingredients
- Eggs: If a recipe doesn't specify, it's typically safe to default to large eggs.
- Granulated sugar: Sweetness.
- Butter: Unsalted butter, melted and cooled. If you use salted butter, adjust salt in recipe.
- Buttermilk: Adds the classic tangy flavor. I rarely buy a buttermilk carton from the store. I find I usually use it for 1-2 recipes, and end up wasting the rest. If you make homemade butter, you can use the whey - the liquid you extract as the heavy cream separates the butter. You can also simply add an acid - vinegar or lemon juice to milk. The ration I use: 1 tablespoon vinegar or lemon juice for 1 cup of milk. Allow it to sit for 5 mins as it curdles.
- Vanilla extract: Adds extra aroma and flavor.
- All-purpose flour: The main structure for pancakes.
- Baking powder: Creates airy fluffy pancakes by releasing carbon dioxide bubbles to batter.
- Baking Soda: Helps flavor and boosts browning.
- Salt: Enhances flavor and balances the sweetness.
Instructions
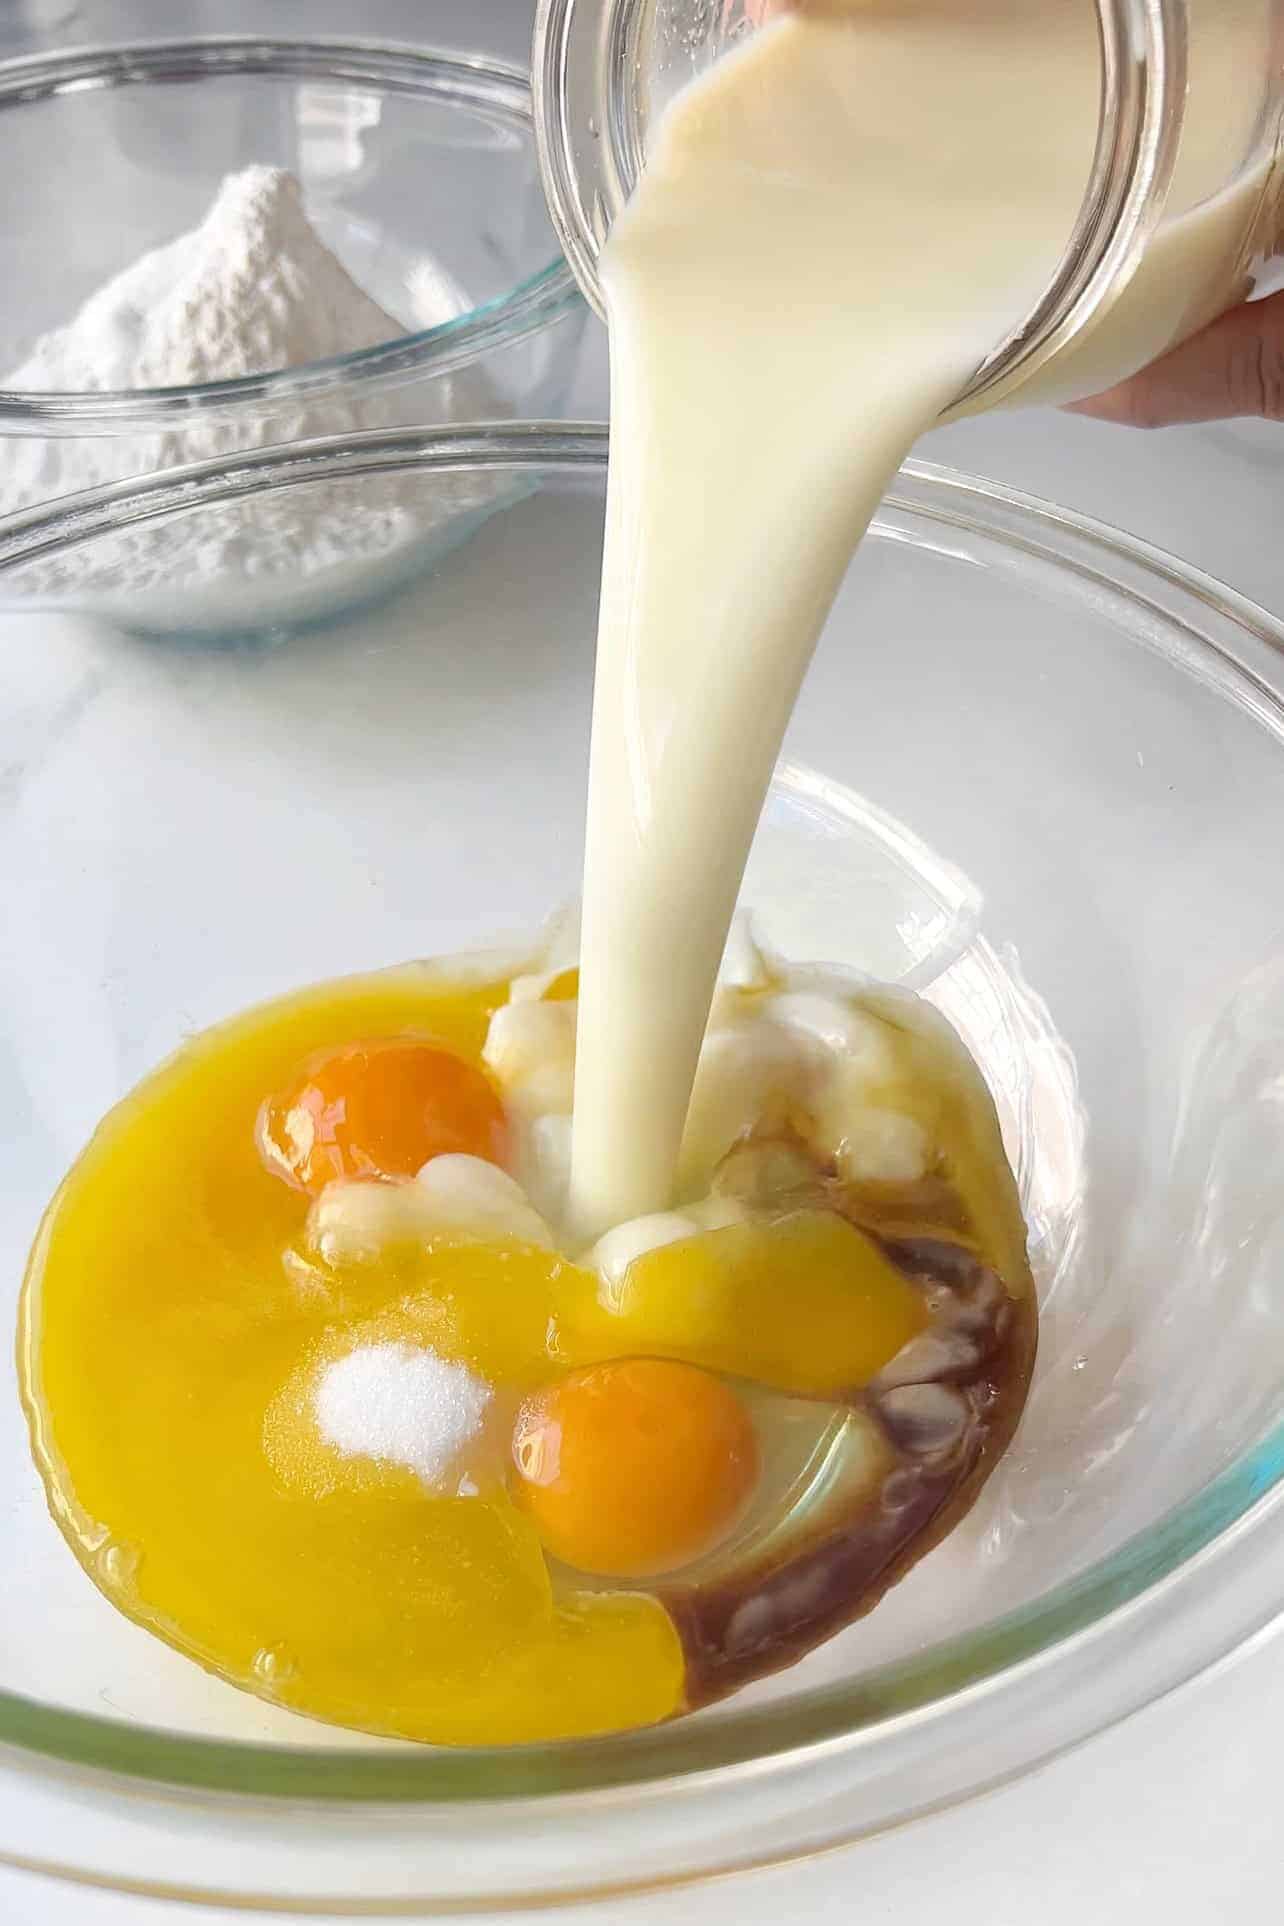
Gather all dry ingredients into a small bowl, whisk, and set aside. Combine all wet ingredients in a large mixing bowl.
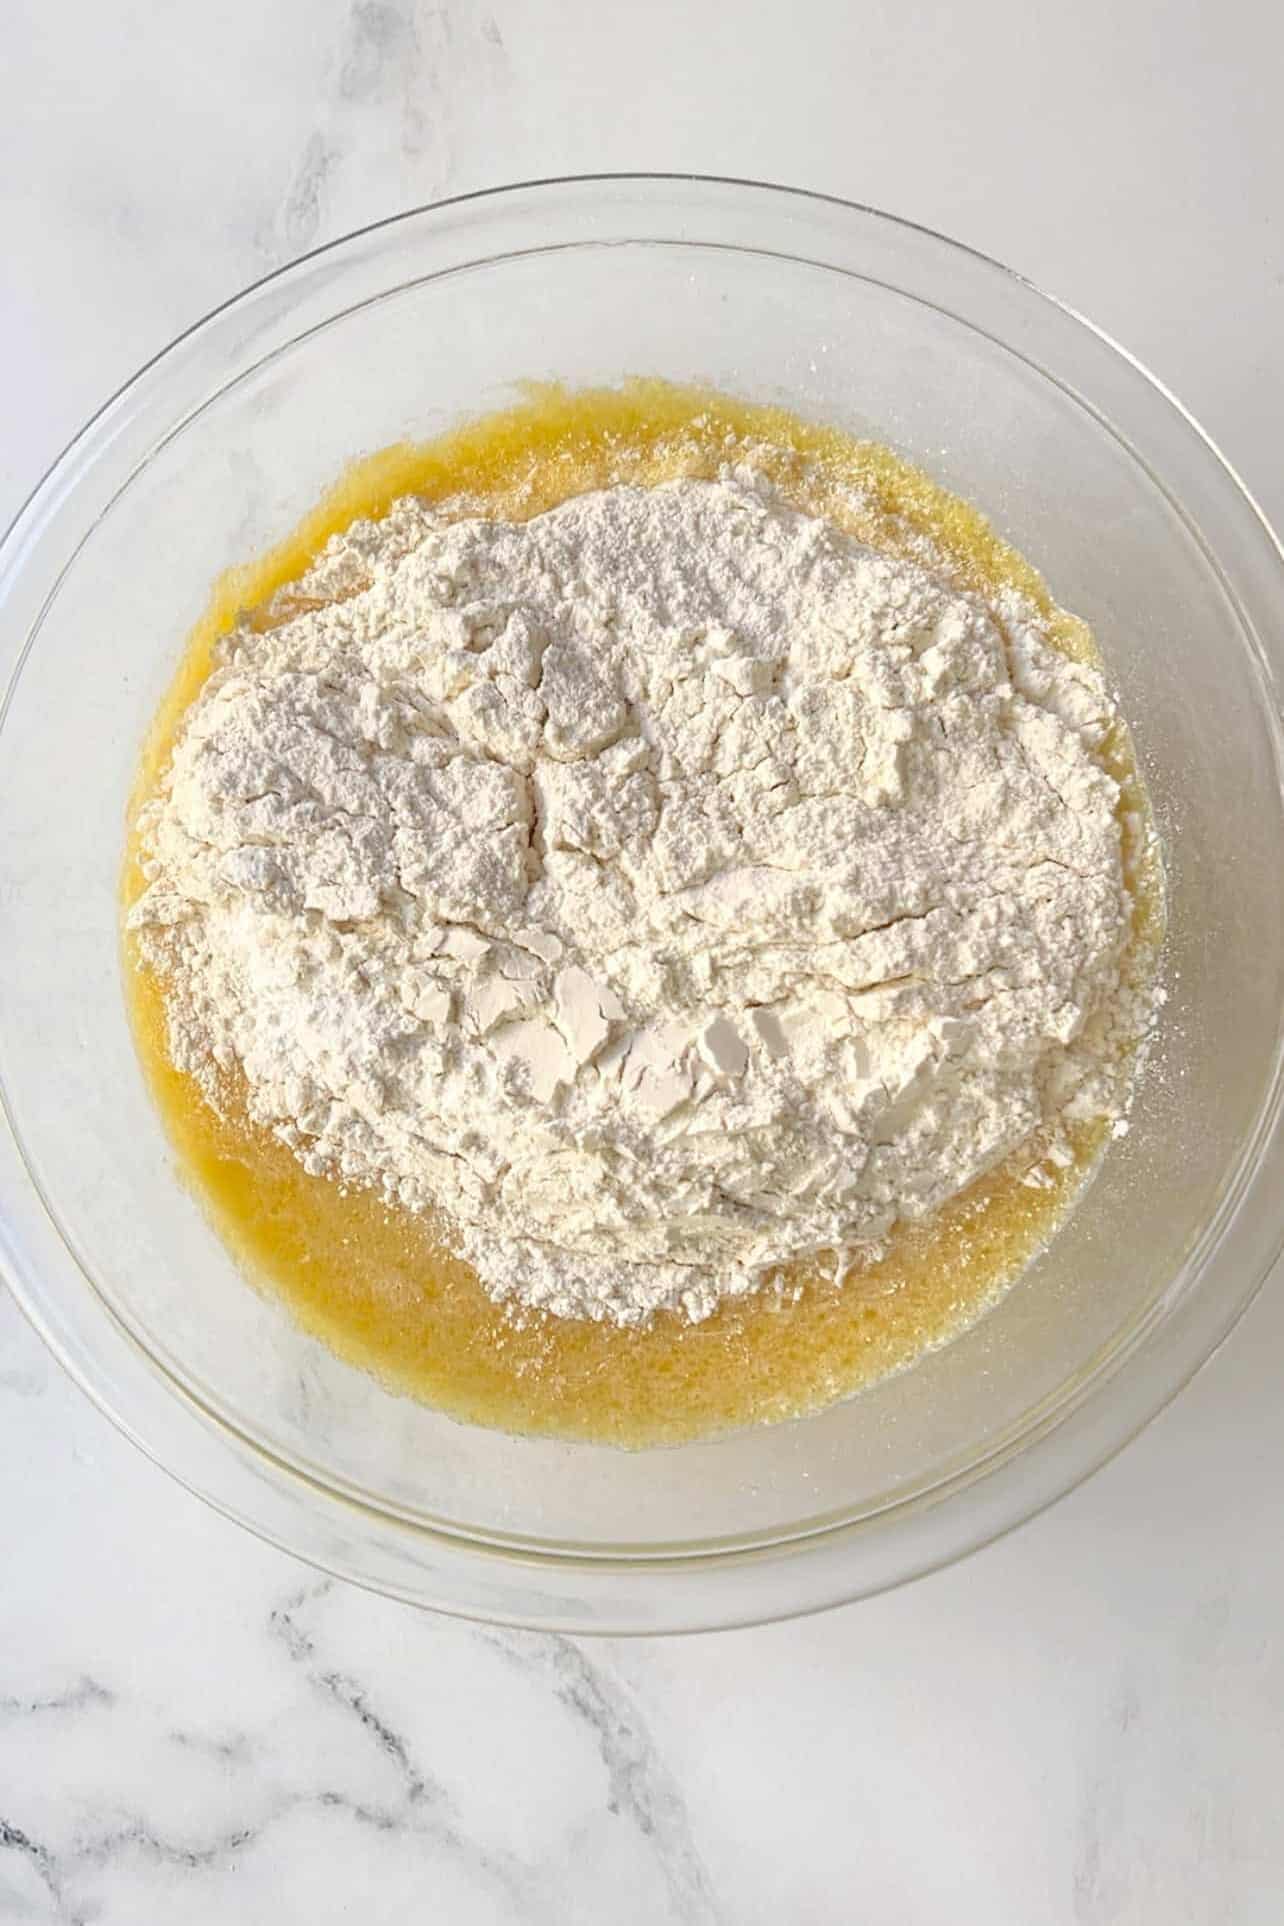
Combine dry bowl into the wet ingredients.
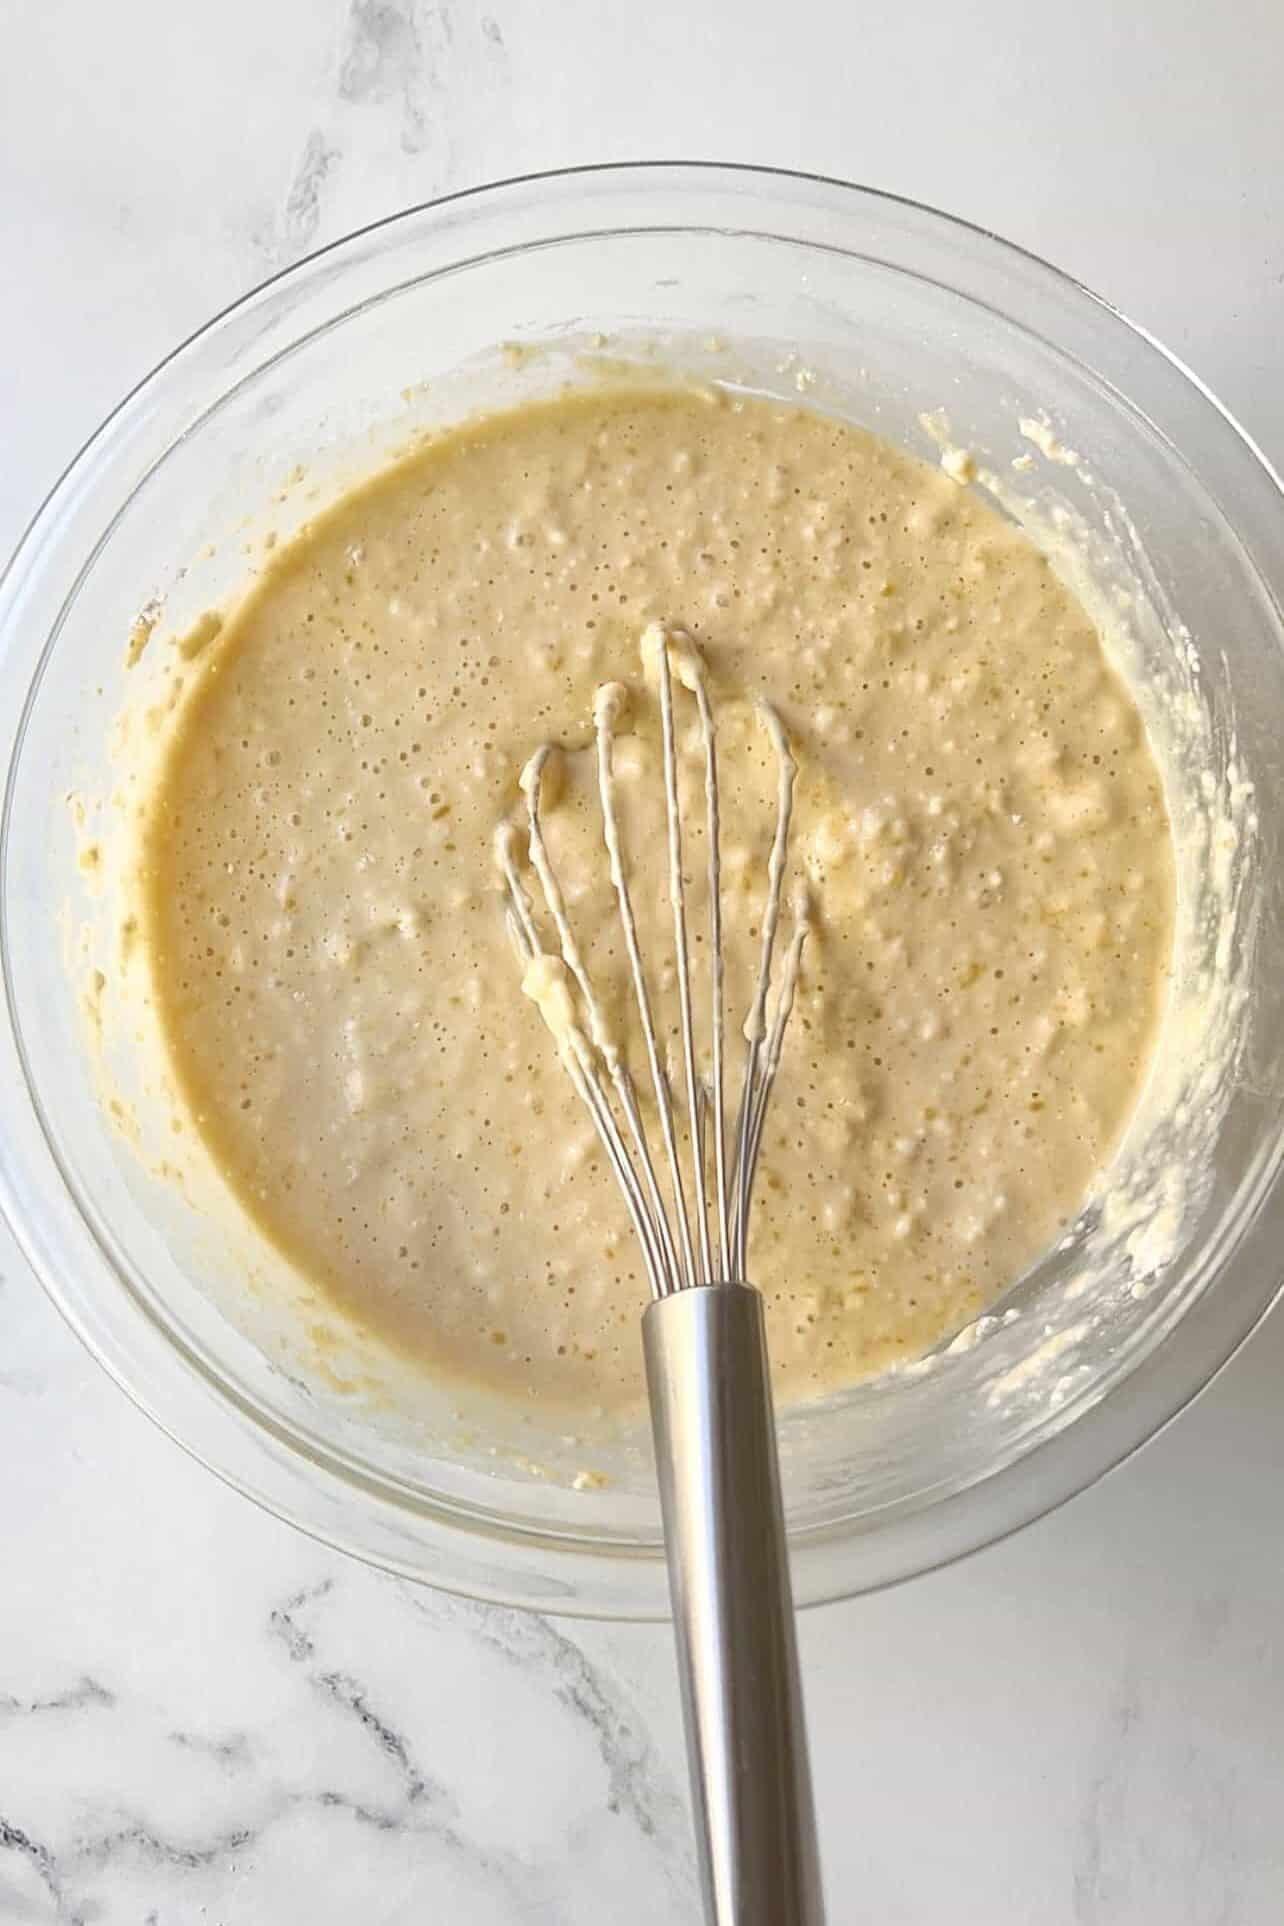
STEP WE OFTEN FORGET: Do not over-mix. Gently whisk only until no dry flour is visible. Do not worry if batter still looks lumpy. ANOTHER OVERLOOKED STEP: Allow batter to rest on the counter for 30 minutes. This relaxes the gluten so you don't end up with tough rubbery pancakes. It also allows all ingredients to come to the same room temperature.
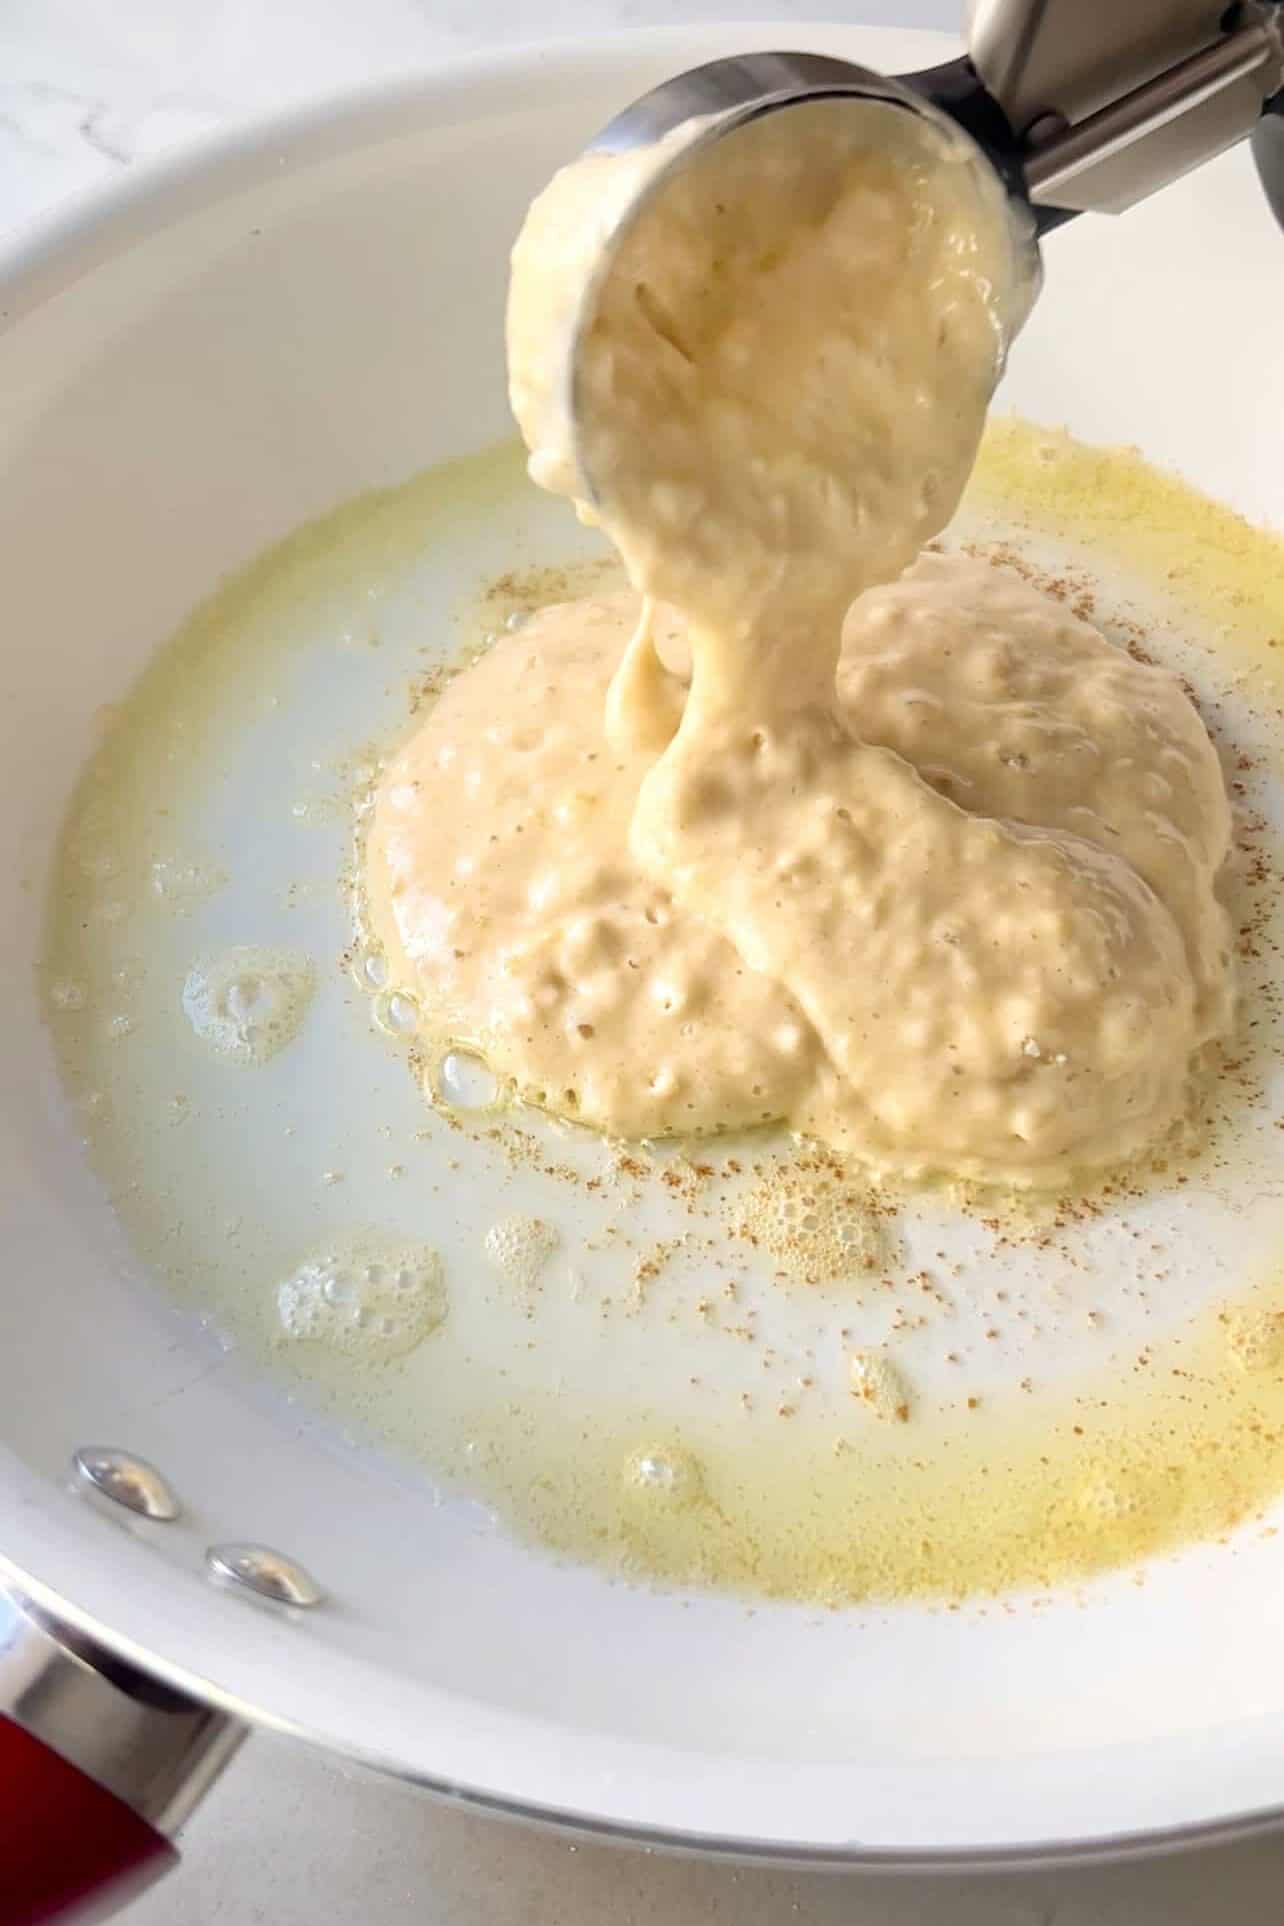
Heat nonstick skillet on medium-low heat. Don't skimp on adding butter to the pan with each pancake! Dollop desired pancake size and smooth out to round shape.
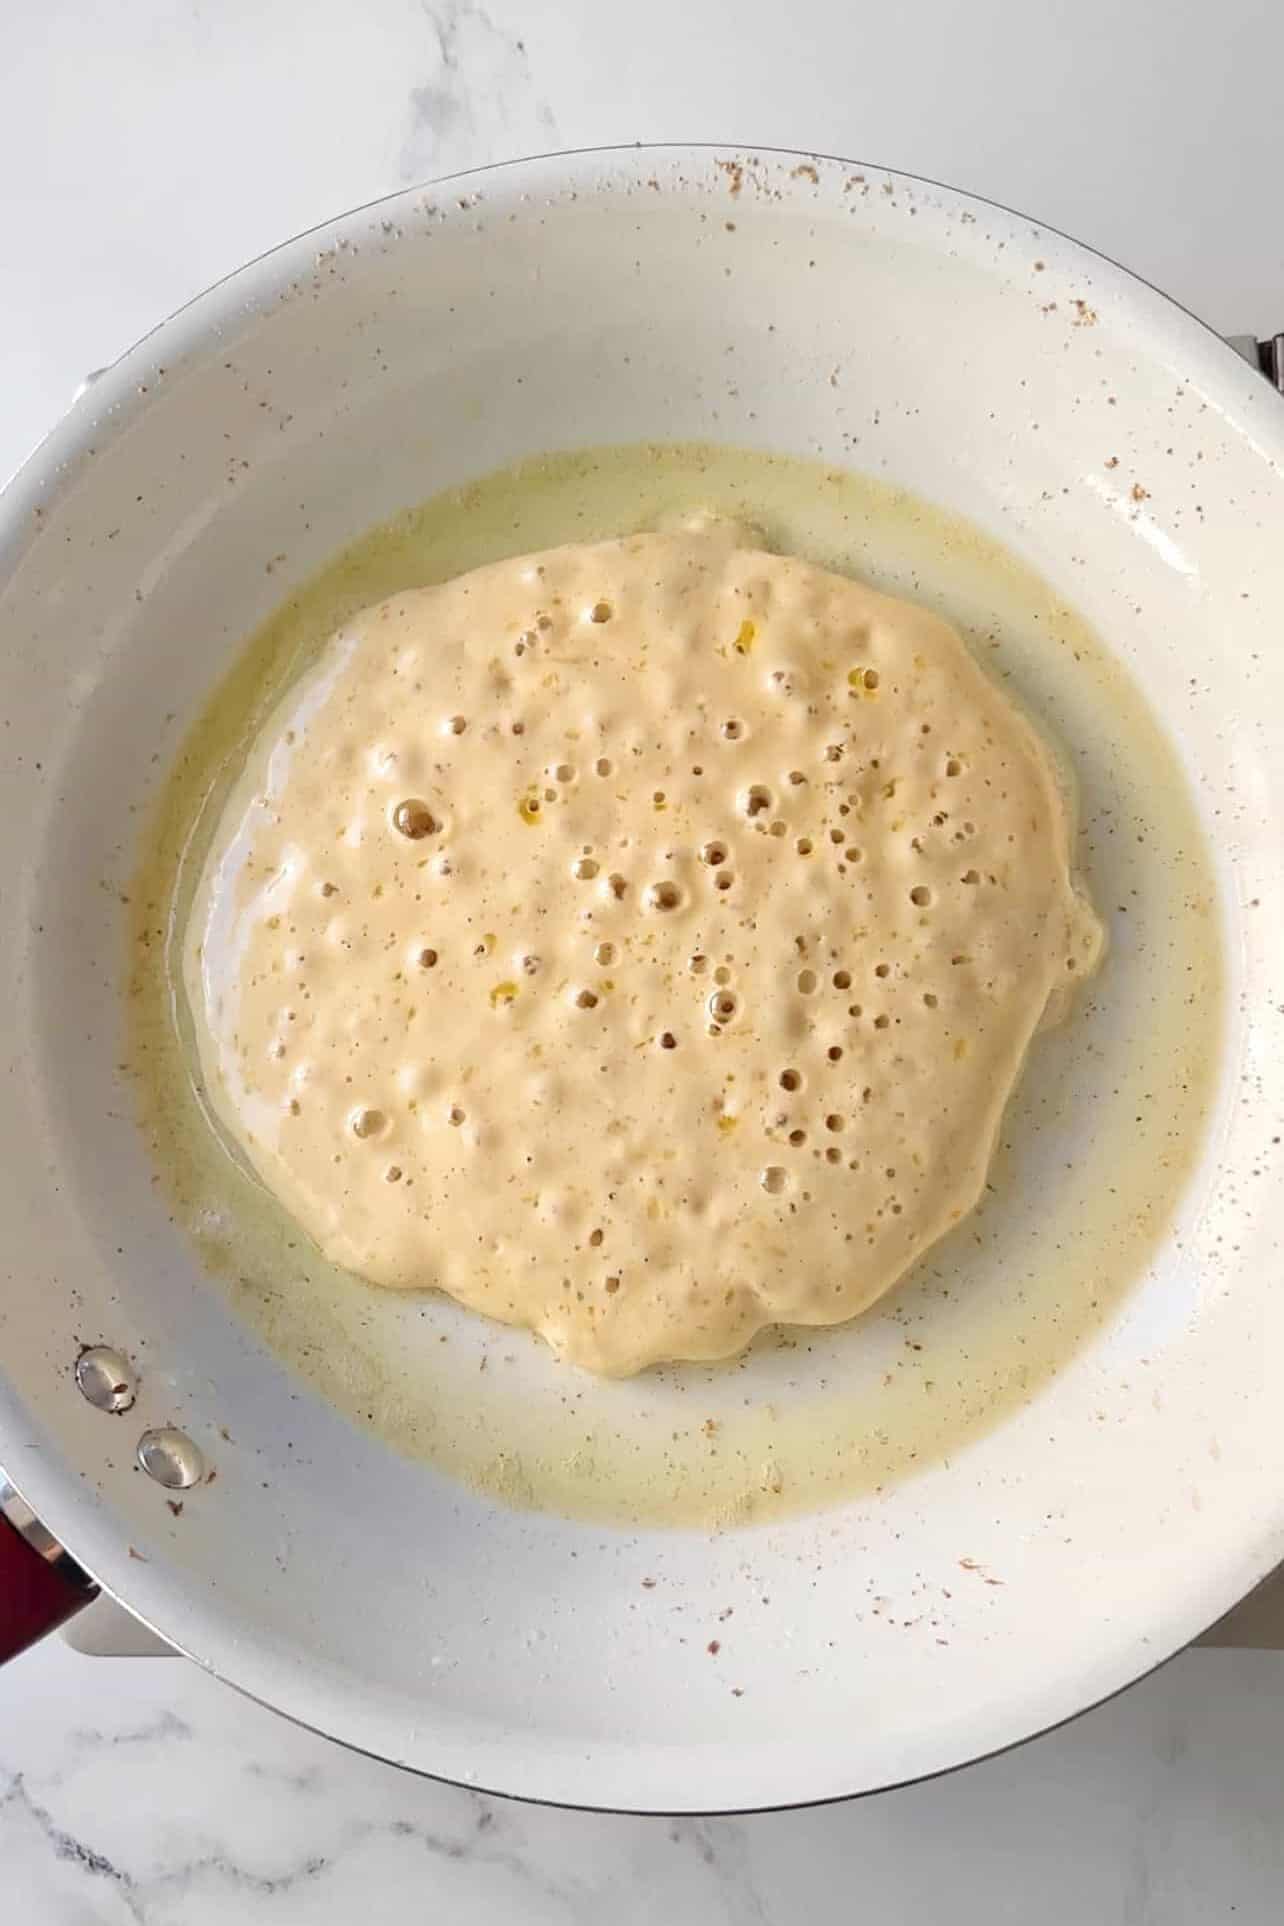
Wait for bubbles to appear, they will slowly start to burst. Edges start to set and round out. Gently use a spatula to peek underneath. It's ready to flip when you see the golden brown crispy edge.
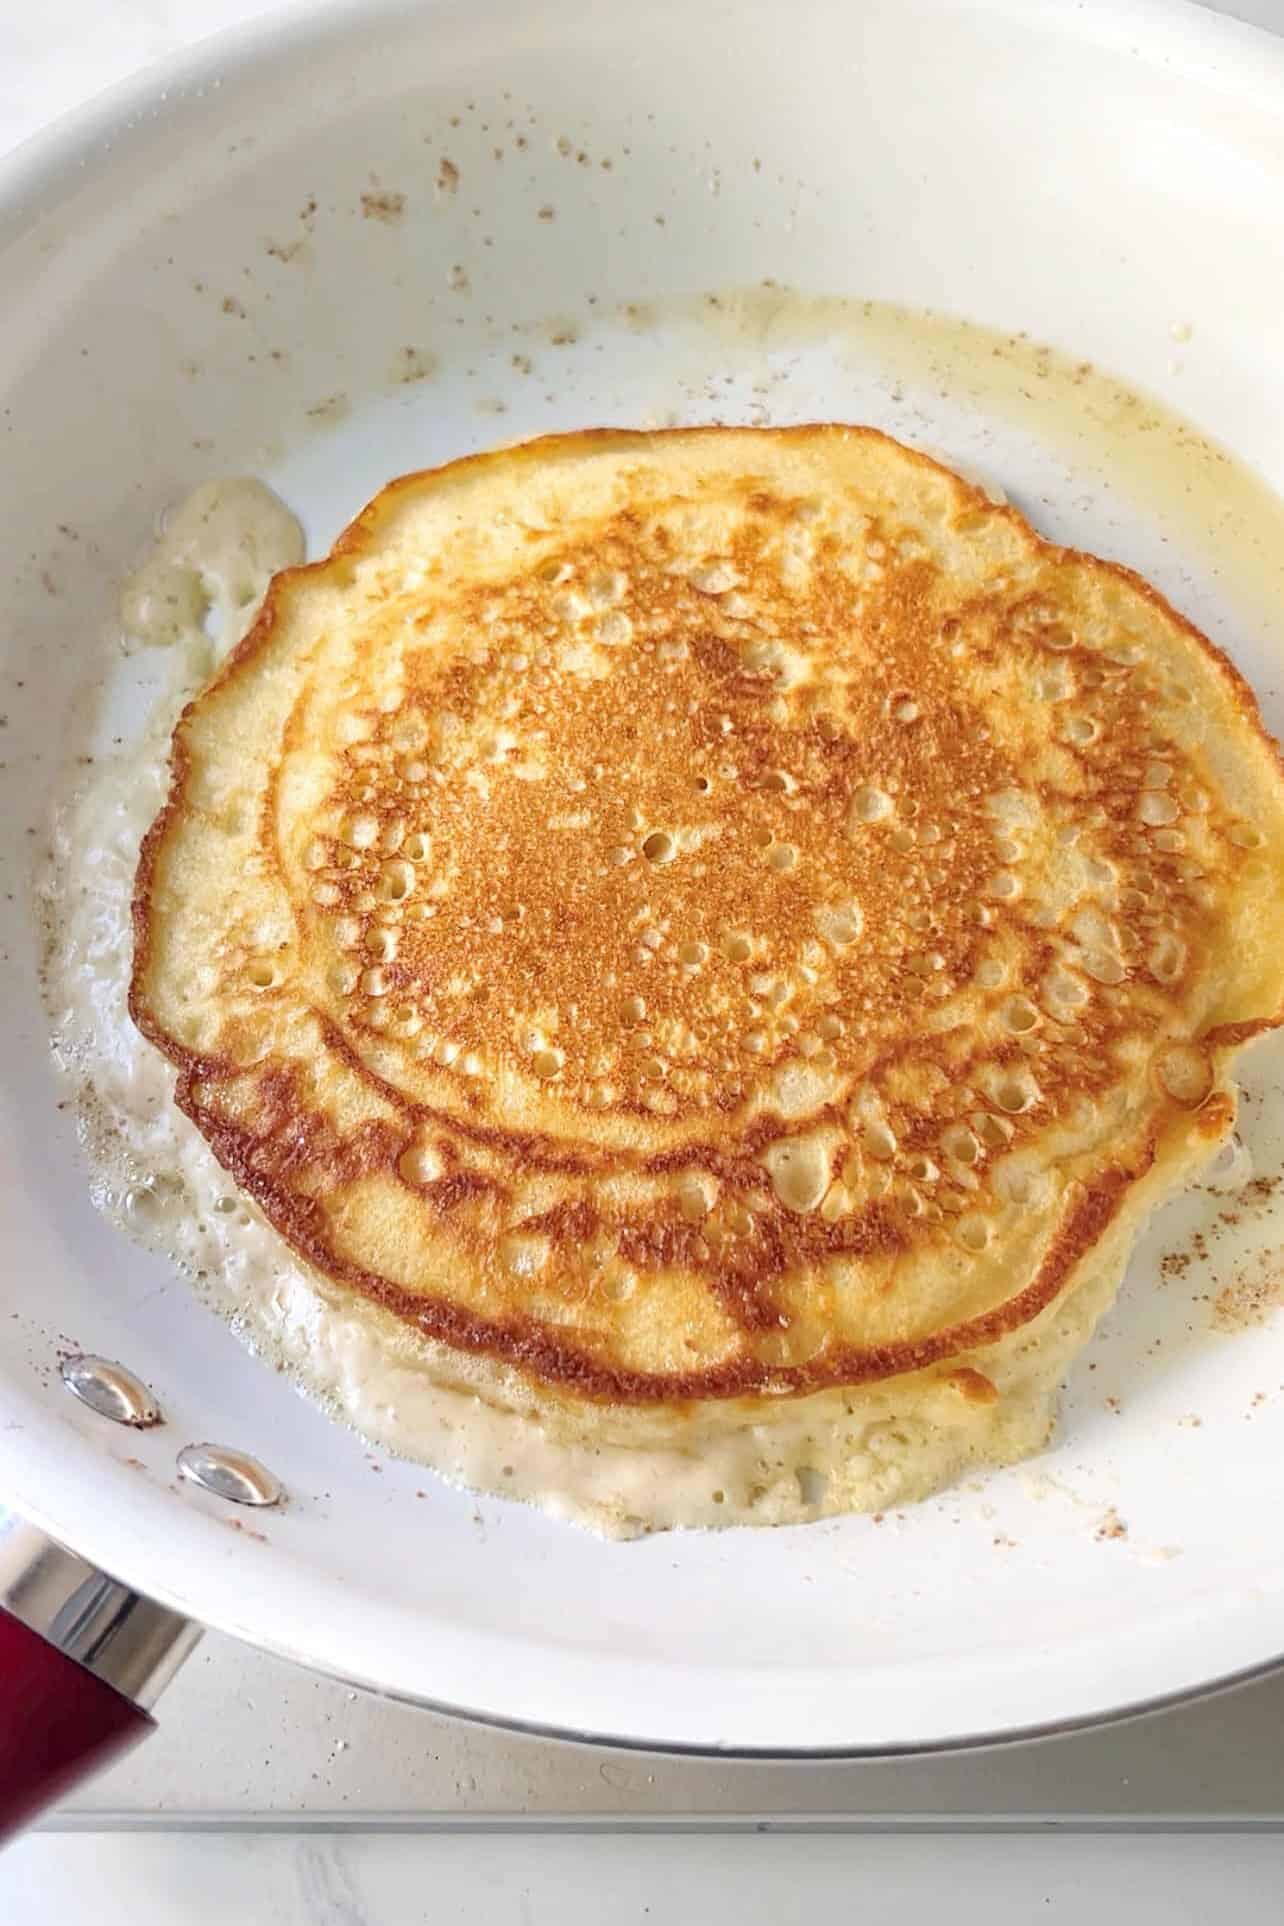
Be sure to gently push center of pancake to check it's cooked through before plating.
Suzy's Tips For Success
- Resist over-mixing the batter: We've all done it, myself included. Over-mixing any batter that includes flour will start to develop gluten, which can lead to rubbery dense pancakes. Gluten is great for bread, but not for cookies, cakes, and you guessed it - pancake batter. Use a light hand when folding in the flour, and stop mixing the moment it's almost been combined. Don't be alarmed if the batter appears lumpy, the flour will continue to be absorbed as it rests.
- Rest the batter: Rest batter on the counter for 30 minutes, or even prep it the night before and chill it covered in the fridge! This allows time for the gluten to relax and flavors to fully develop. If you do chill batter overnight, be sure to bring it back to room temperature before cooking. The batter may separate - just give it a quick gently mix.
- Master knowing when to flip and knowing when pancakes are done: Look for the visual cues! After dolloping the batter, you will see bubbles appear and they will slowly start to burst. The edges around the pancake will start to fluff up. Use a spatula to gently peek underneath. When you see that golden brown edge, they are ready to flip! Don't worry if it takes a few tries. Once you flip, cooking the other side won't take as long. A great way to check is to gently push or poke the center of the pancake to check if you still see wet batter. The center will always set last.
Best Way To Store/Reheat Batter or Pancakes
Feel free to mix pancake batter and store covered in fridge for up to 2 days. There's many recipes who share it can store for longer. Since batter contains dairy, eggs, and baking soda, I personally do not recommend going back 3 days max.
Freeze already-made cooled pancakes in a freezer ziplock bag for up to 2 weeks, separating them with aluminum foil, parchment or wax paper. To reheat, warm frozen pancakes in toaster oven or 325º (162ºC) oven for about 6 minutes.
FAQ
You can make your own substitute by simply combining 1 tablespoon of vinegar or lemon juice for every 1 cup of milk. Once combine, mix and allow it to sit for 5 mins before adding it into your recipe.
Over-mixing. Plain and simple. It happens to many recipes, not just pancake batter. Practice learning when to stop mixing. I know, it sounds simple enough, but it happens a lot! Just use a light hand and fold flour into batter gently. Seeing a few small pockets or streaks of flour is actually okay.
Most likely, it's due to flipping pancakes too early. Once you dollop the batter, wait for the bubbles. The pancakes edges will fluff up and set. Use a spatula to gently peek underneath. If pancake starts to fall apart or it still appears pale, wait. Check again when the bubbles start to burst. When you see that crispy brown rim, they are ready to flip.
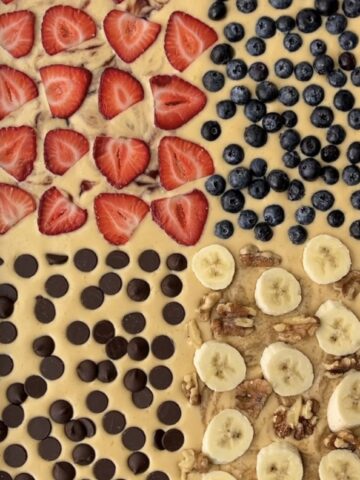
Yes! Add up to 1 cup of fruit or chips into your pancake batter. To avoid over-mixing, fold these in towards the end of gently mixing in your flour or sprinkling them onto the pancake before you flip. You can also simply add these as pancake toppings.
Yes. Use a gluten-free flour blend instead of all-purpose flour, making sure it contains xanthan gum. If it doesn't, be sure to add it in.
For vegan pancakes, do the same process to make buttermilk with vinegar or lemon juice using dairy-free or coconut milk Instead. Substitute in egg replacers, and vegan butter.
You Might Also Like...
Equipment
- nonstick skillet preferably
- 2 mixing bowls
- whisk
- spatula
Ingredients
- 2 eggs
- 3 tbsp granulated sugar
- 2 teaspoon vanilla extract
- ¼ cup unsalted butter + more for griddling
- 2¼ cup buttermilk
- 2¼ cup all-purpose flour
- 3 teaspoon baking powder
- 1 teaspoon baking soda
- 1 teaspoon salt
Instructions
- In a large mixing bowl, combine and eggs, sugar, and vanilla. Stream in cooled melted butter. Then stir in the buttermilk. Set aside.2 eggs, 3 tablespoon granulated sugar, 2 teaspoon vanilla extract, ¼ cup unsalted butter, 2¼ cup buttermilk
- In another mixing bowl, whisk together flour, baking powder, baking soda, and salt.2¼ cup all-purpose flour, 3 teaspoon baking powder, 1 teaspoon baking soda, 1 teaspoon salt
- Empty the dry ingredients to the wet, and fold in gently ONLY until flour is no longer visible. Do not over-mix. The batter may appear lumpy. Allow batter to rest on the counter for 30 mins.
- Add butter generously to nonstick skillet on med-low heat. Dollop batter to pan creating desired pancake shape/size. Bubbles will appear and the pancakes edges will fluff up and set. Use a spatula to gently peek underneath. If pancake starts to fall apart or it still appears pale, wait. Check again when the bubbles start to burst. When you see that crispy brown rim form, they are ready to flip.
- Flip pancake. Gently push or poke the center to check if you still see wet batter as the center will always cook last. Once it's done, transfer to plate. Serve immediately with your favorite syrups, fruit, or pancake toppings.
Nutrition
Looking for other recipes like this?
Morgan says
The perfect pancake!
Suzy says
Yay! Thanks for trying my recipe. They do make the perfect pancakes - it is my son's favorite!
Monique says
I made them for the family, got rave review from them, and making them again this weekend, per their request. Definitely keeping this recipe 💞
Suzy says
That makes me so happy, Monique! Thank you for trying the recipe and I'm glad it's a family favorite now.
Kim Crosby says
Are you sure the buttermilk measurement is correct? Batter was super thin and runny. Had to add a lot of flour.
Suzy says
Hello Kim! I went to check, and yes - I've had a couple people email to tell me their pancake batter looked typical consistency. I'll double check it next time I make a stack!